5 Travel-Friendly Dog Treats: Easy Recipes That Won’t Crumble in Your Bag
Ever tossed a handful of dog treats into your travel bag, only to pull them out later as sad, greasy crumbs? Yeah, I’ve been there too. Planning road trips or hikes with my pup taught me one hard truth: not all dog treats survive the journey. Some melt. Some crumble. Some just go bad way too fast.
That’s why I started making my own travel-friendly dog treats. They hold up in heat, don’t fall apart in your pocket, and keep my dog happy no matter where we roam. In this guide, I’ll walk you through five recipes that actually survive travel, plus tips most articles skip over—like storage tricks, ingredient swaps for allergies, and how to keep treats fresh in hot cars.
Why Travel-Friendly Dog Treats Matter
Regular homemade dog treats often have too much moisture. That sounds fine at home. But toss them in a warm car for three hours, and you’ve got a soggy mess or worse, a treat that spoils.
Travel-friendly treats need three things:
Low moisture content
: This means less water or wet ingredients, so the treat dries out fully and resists mold.
Sturdy texture
: A treat that can handle bouncing around in a bag without turning to dust.
Simple, shelf-stable ingredients
: No fancy stuff that spoils fast. Think oats, peanut butter, pumpkin, and sweet potato.
Get these three right, and you’ve got treats that survive glove compartments, backpacks, and beach bags alike.
Recipe 1: Peanut Butter Banana Biscuits
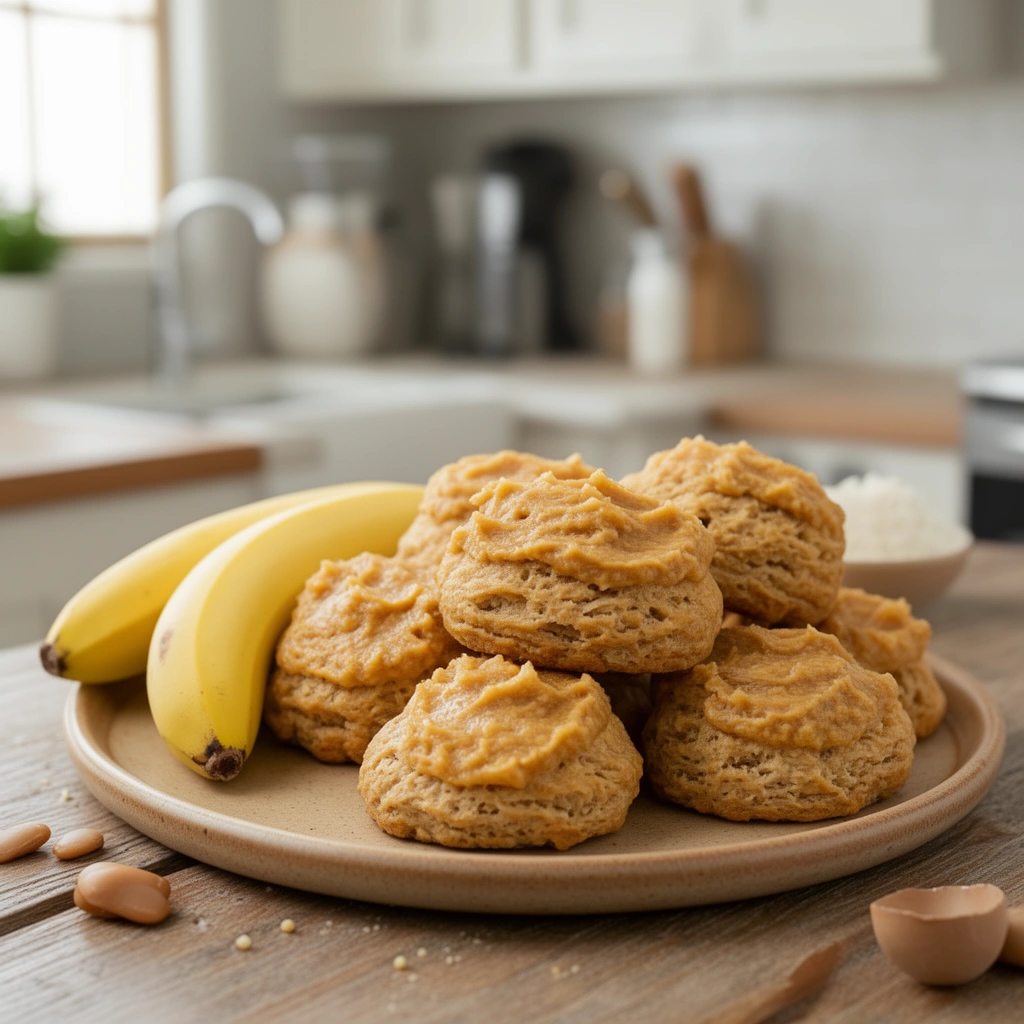
These are my go-to treats. They’re firm, they smell amazing, and dogs go nuts for them.
Ingredients:
- 2 ripe bananas, mashed
- 1/2 cup natural peanut butter (no xylitol!)
- 2 cups whole wheat flour
- 1 egg
- 1 tablespoon coconut oil
Steps to make them:
- Preheat your oven to 350°F (175°C).
- Mash the bananas in a large bowl until smooth.
- Stir in the peanut butter, egg, and coconut oil.
- Slowly add the flour, mixing until it forms a thick dough.
- Roll the dough out to about 1/4 inch thick.
- Cut into small shapes using a cookie cutter or just a knife.
- Bake for 20 minutes, then flip and bake another 15 minutes to fully dry them out.
- Let them cool completely before storing.
That extra baking time matters. It dries the biscuits enough that they won’t turn mushy in a hot car.
Recipe 2: Sweet Potato Chews
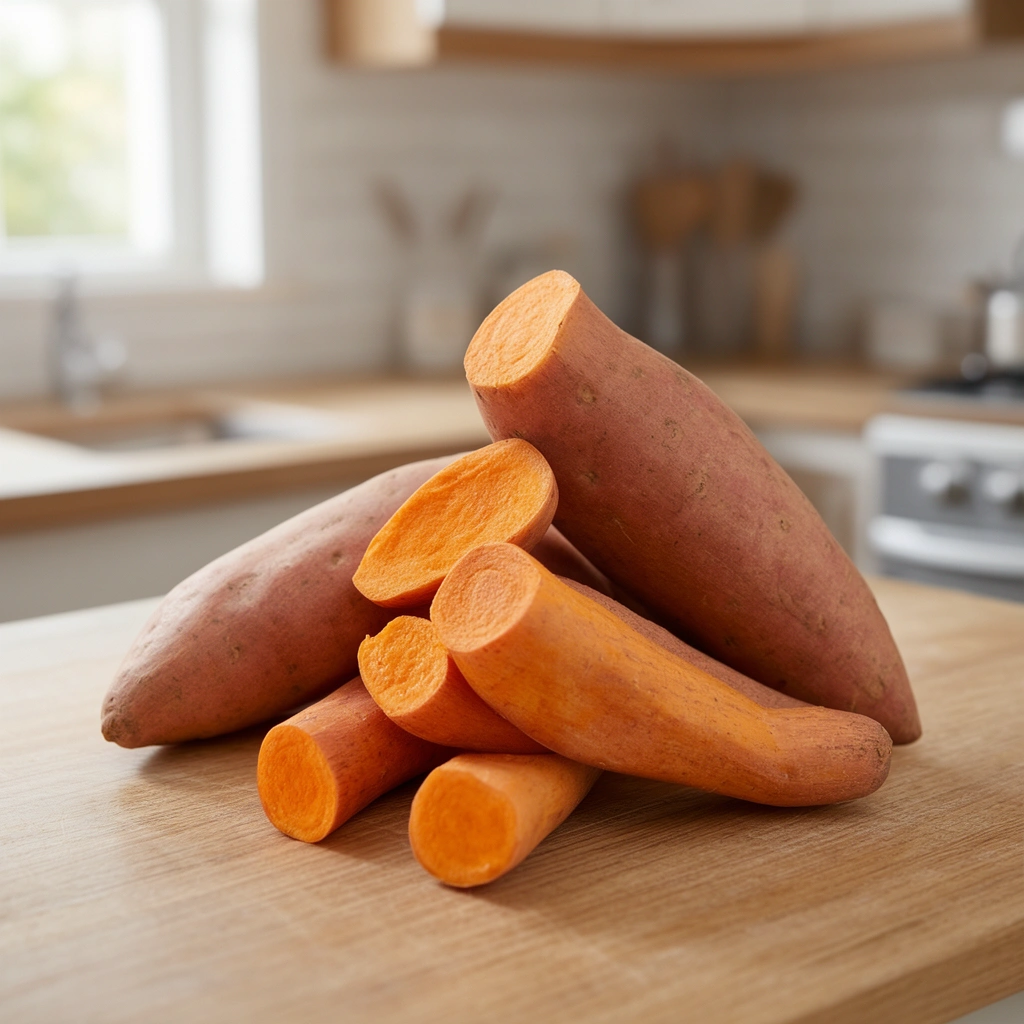
Only one ingredient here. Simple, cheap, and dogs love the chewy texture.
Ingredients:
- 2 large sweet potatoes
Steps to make them:
- Preheat your oven to 250°F (120°C).
- Wash the sweet potatoes and slice them lengthwise into thin strips, about 1/4 inch thick.
- Lay the strips on a baking sheet lined with parchment paper.
- Bake for 3 hours, flipping halfway through.
- Turn off the oven and let the chews sit inside for another hour to finish drying.
The slow bake removes moisture, which is exactly what you want for travel. These chews can last weeks in a sealed container without refrigeration.
Recipe 3: Pumpkin Oat Bites
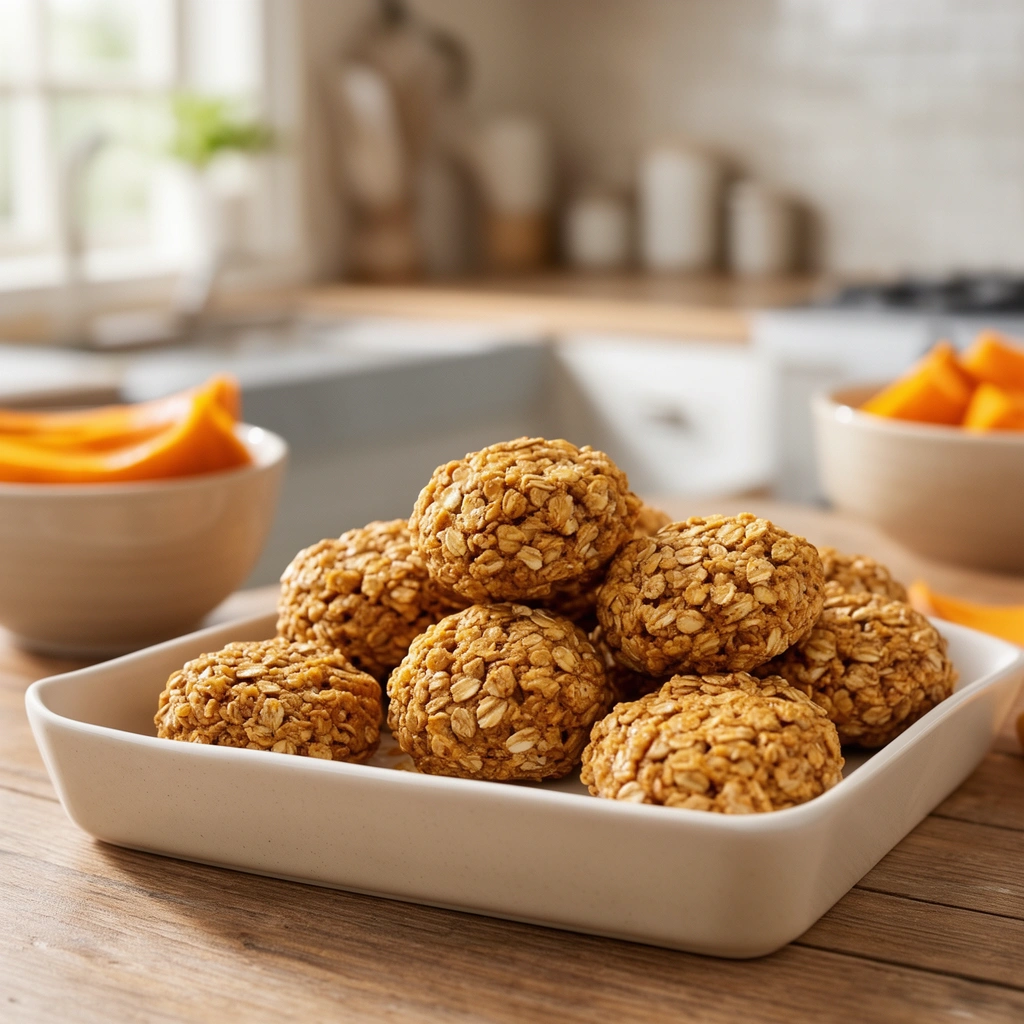
Pumpkin is great for digestion, and oats give these treats a nice crunch that holds up well during travel.
Ingredients:
- 1 cup canned pumpkin puree (plain, not spiced)
- 2 cups rolled oats
- 1 egg
- 1 tablespoon honey (optional)
Steps to make them:
- Preheat oven to 325°F (165°C).
- Mix the pumpkin puree, egg, and honey in a bowl.
- Stir in the oats until the mixture is thick and slightly sticky.
- Scoop small spoonfuls onto a baking sheet, flattening each slightly.
- Bake for 25 minutes, then flip and bake another 10 minutes.
- Cool completely on a wire rack.
These bites stay firm for days and don’t crumble easily, which makes them perfect for tossing into a ziplock bag.
Recipe 4: Chicken Jerky Strips
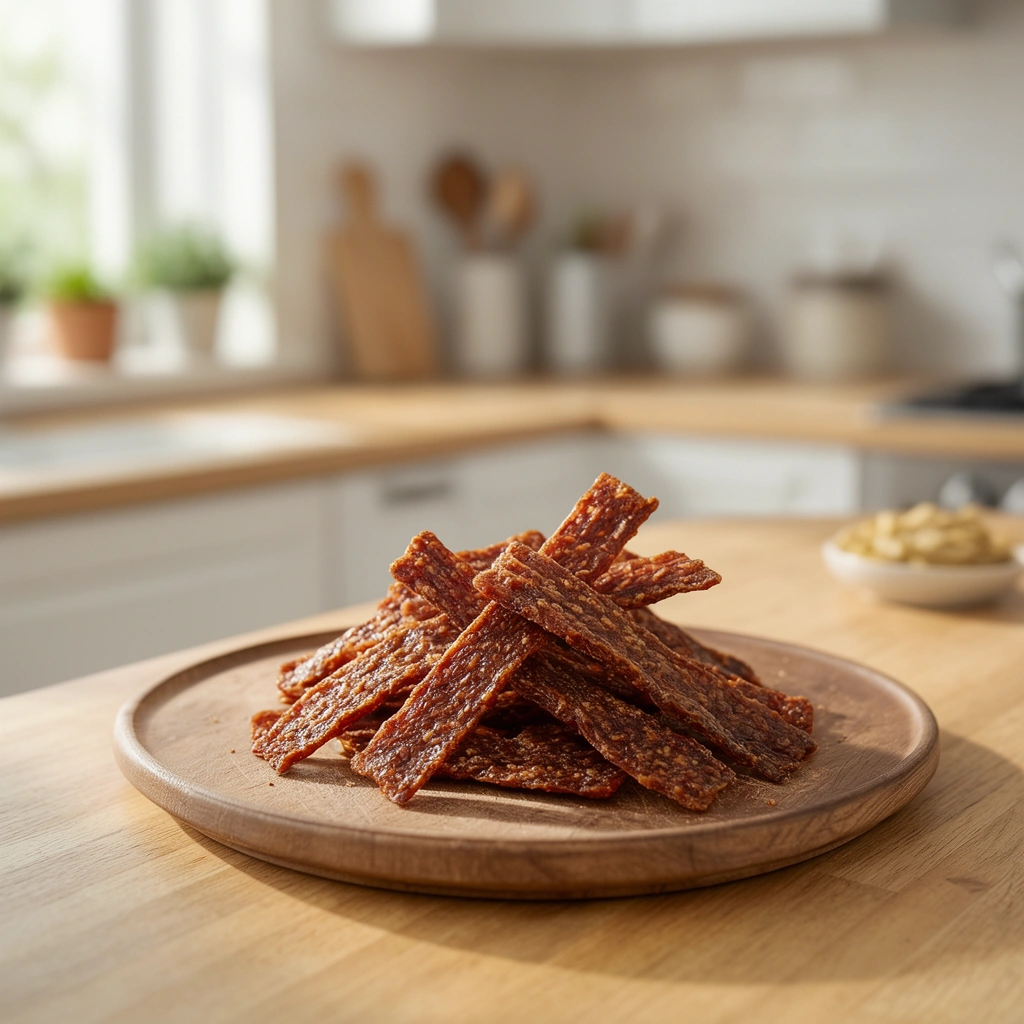
If your dog is more of a meat lover, this one’s for them. Homemade jerky beats store-bought every time—no weird preservatives, no mystery ingredients.
Ingredients:
- 2 boneless, skinless chicken breasts
Steps to make them:
- Preheat oven to 200°F (95°C).
- Slice chicken breasts into thin strips, about 1/8 inch thick.
- Lay strips on a wire rack over a baking sheet (this helps air circulate).
- Bake for 3 to 4 hours, checking every hour.
- The jerky is done when it’s dry and slightly stiff, not soft or rubbery.
- Let cool fully before storing.
Because there’s no added moisture and the meat is fully dried, this jerky is one of the most travel-stable treats you can make.
Recipe 5: Apple Cinnamon Training Treats
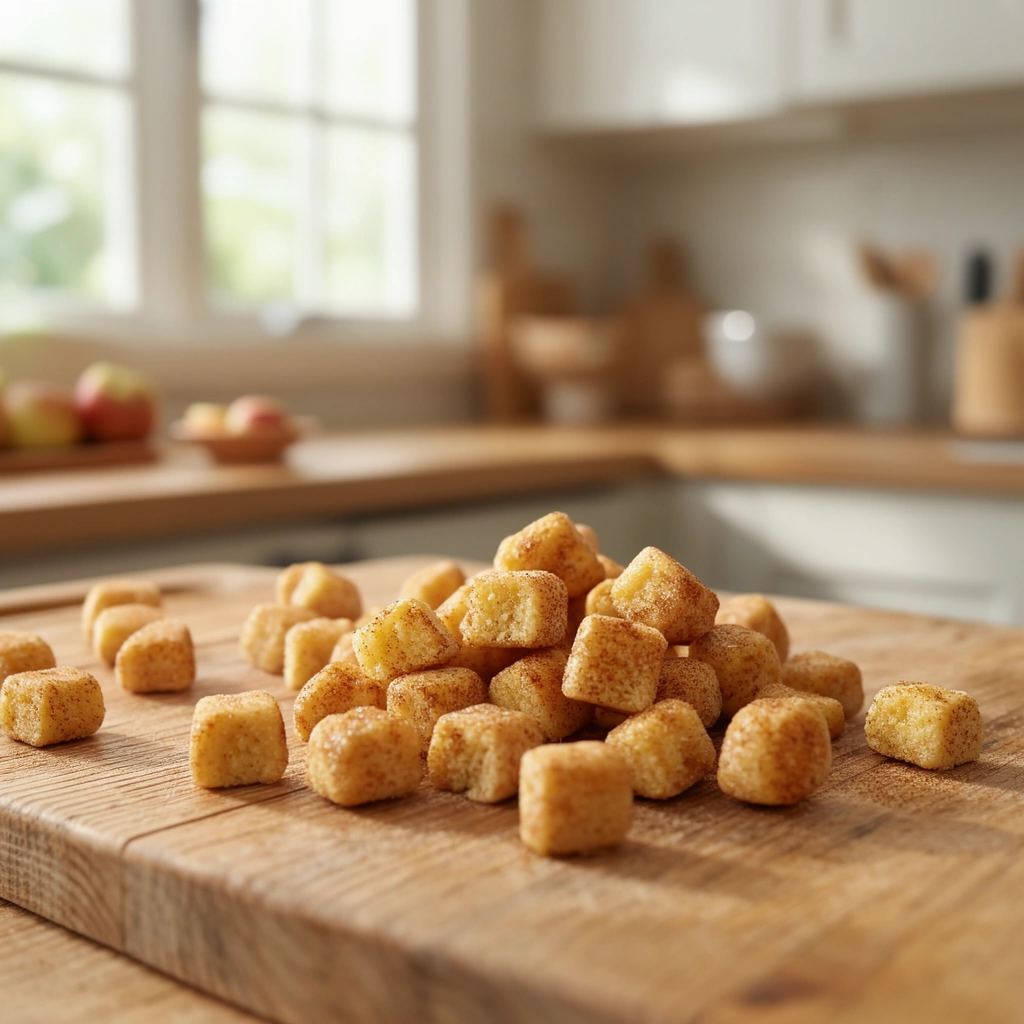
Small, low-calorie, and perfect for training on the go. These are bite-sized, so they’re great for quick rewards during walks or new environments.
Ingredients:
- 1 cup unsweetened applesauce
- 1 1/2 cups whole wheat flour
- 1 teaspoon cinnamon (make sure it’s not cassia in large amounts—use true cinnamon)
- 1 egg
Steps to make them:
- Preheat oven to 350°F (175°C).
- Mix applesauce, egg, and cinnamon in a bowl.
- Slowly add the flour until a dough forms.
- Roll out dough and cut into tiny squares, about the size of a pea or thumbnail.
- Bake for 20 minutes, flip, then bake another 10 minutes.
- Cool completely before packing.
Their small size makes them easy to carry in a treat pouch, and they don’t create much mess.
Tips for Success
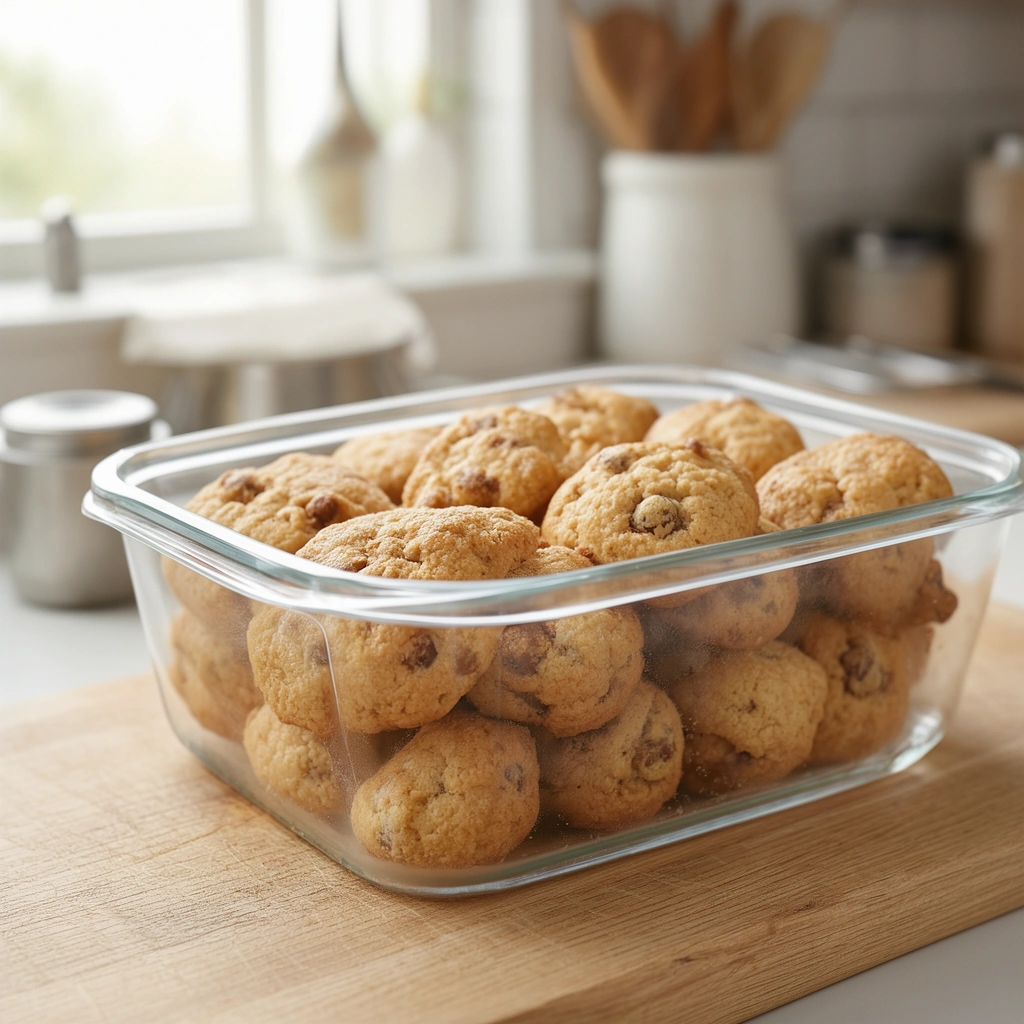
- Always cool treats completely before storing. Warm treats trapped in a container create moisture, which leads to mold.
- Use airtight containers or vacuum-sealed bags for the best shelf life during travel.
- Label treats with the date made, especially if you’re bringing several batches on a long trip.
- Test treats at home first. See how they hold up in your car or bag for a day before relying on them during travel.
- Pack a small cooler if you’re traveling somewhere very hot, even for low-moisture treats. Extreme heat can still speed up spoilage.
- Keep portions small. Travel treats don’t need to be big rewards, just enough to keep your dog engaged and happy.
Common Mistakes and How to Avoid Them
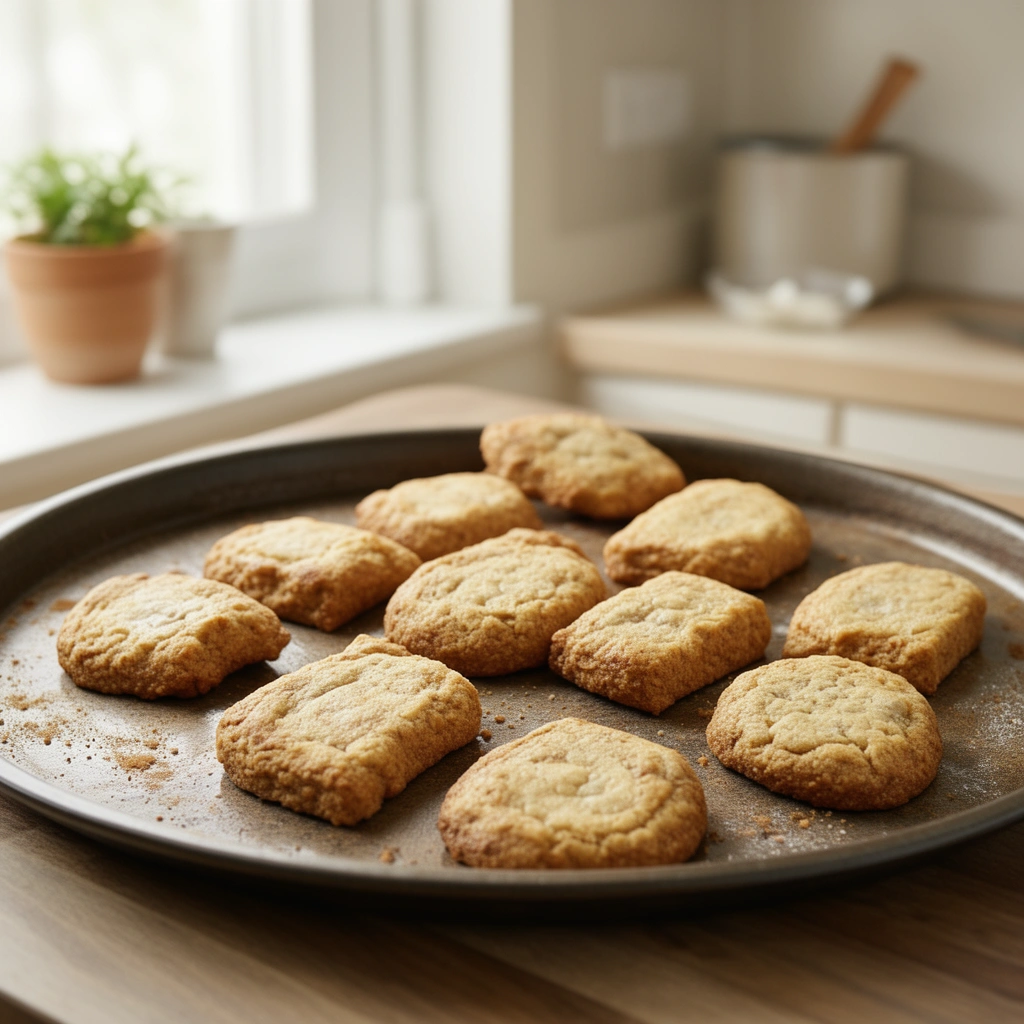
Skipping the full drying time
: Many people pull treats out too early because they look done. Undercooked treats trap moisture and spoil fast. Always bake a little longer than you think you need to, especially for jerky and chews.
Using ingredients that spoil quickly
: Fresh dairy, raw eggs mixed in without baking, or wet fruits without drying can cause treats to go bad within a day or two. Stick to shelf-stable, fully cooked ingredients.
Ignoring your dog’s allergies
: Wheat, peanut, and egg allergies are common. If your dog has sensitivities, swap wheat flour for oat flour, and use pumpkin instead of peanut butter as a binder.
Storing treats in the wrong container
: Paper bags or loosely tied bags let air and moisture in. Always use airtight containers, mason jars, or vacuum-sealed bags for travel.
Forgetting to check treat texture during travel
: Even great homemade treats can react to changes in humidity or heat. Check them halfway through your trip if it’s a long journey.
Variations You Can Try
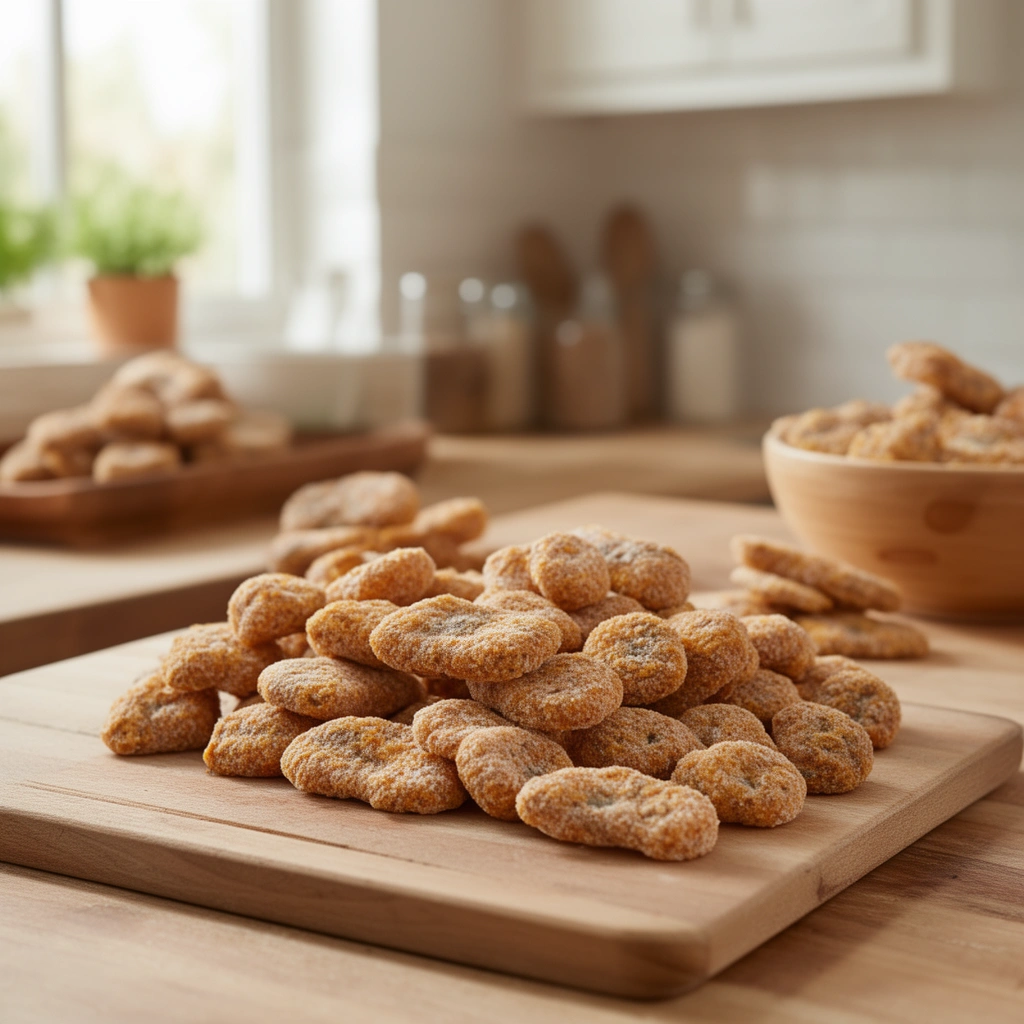
- Freeze-dried versions: If you have a dehydrator or freeze dryer, these recipes work beautifully as freeze-dried treats, which last even longer and weigh less for backpacking trips.
- Grain-free options: Swap wheat flour for chickpea flour or almond flour if your dog needs a grain-free diet.
- Herb-infused treats: Add a pinch of dried parsley or mint to the dough for fresher breath during long car rides.
- Mini training bites: Cut any of these recipes into extra small pieces for quick reward training during travel stops.
- Frozen travel treats: For short trips, you can freeze pumpkin oat bites or sweet potato chews and let them thaw slowly in a cooler bag, keeping them fresh longer in hot weather.
Wrapping Up
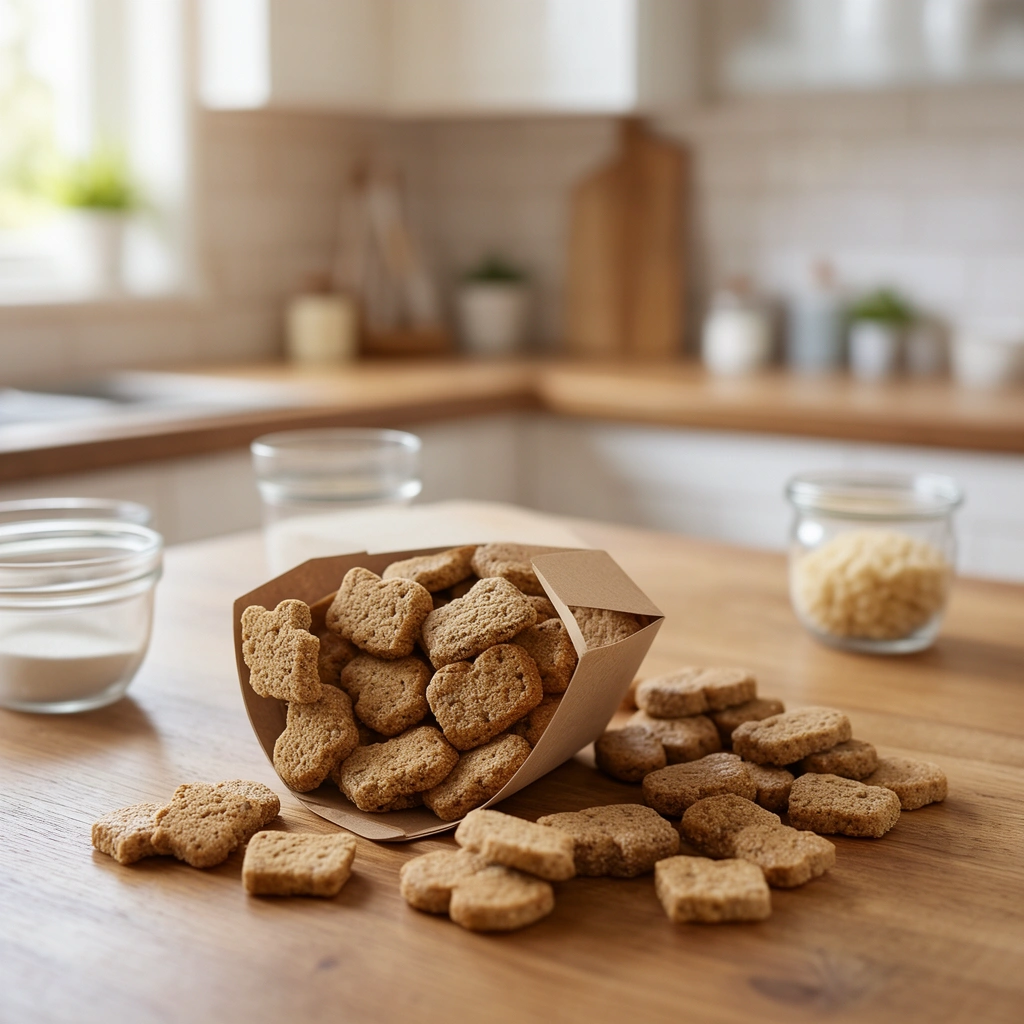
Making your own travel-friendly dog treats isn’t complicated. It just takes the right ingredients, a bit of patience with baking times, and smart storage choices. Whether you’re driving cross-country or heading out for a weekend hike, these five recipes—peanut butter banana biscuits, sweet potato chews, pumpkin oat bites, chicken jerky, and apple cinnamon bites—will keep your dog happy and well-fed without turning into a crumbly mess in your bag.
Next time you’re packing for a trip, skip the store-bought treats loaded with preservatives. Try one of these homemade options instead. Your dog will thank you, and you’ll finally have travel-friendly dog treats that survive the journey just as well as you do.