Gingerbread Dog Treats: A Holiday Recipe Your Pup Will Beg For
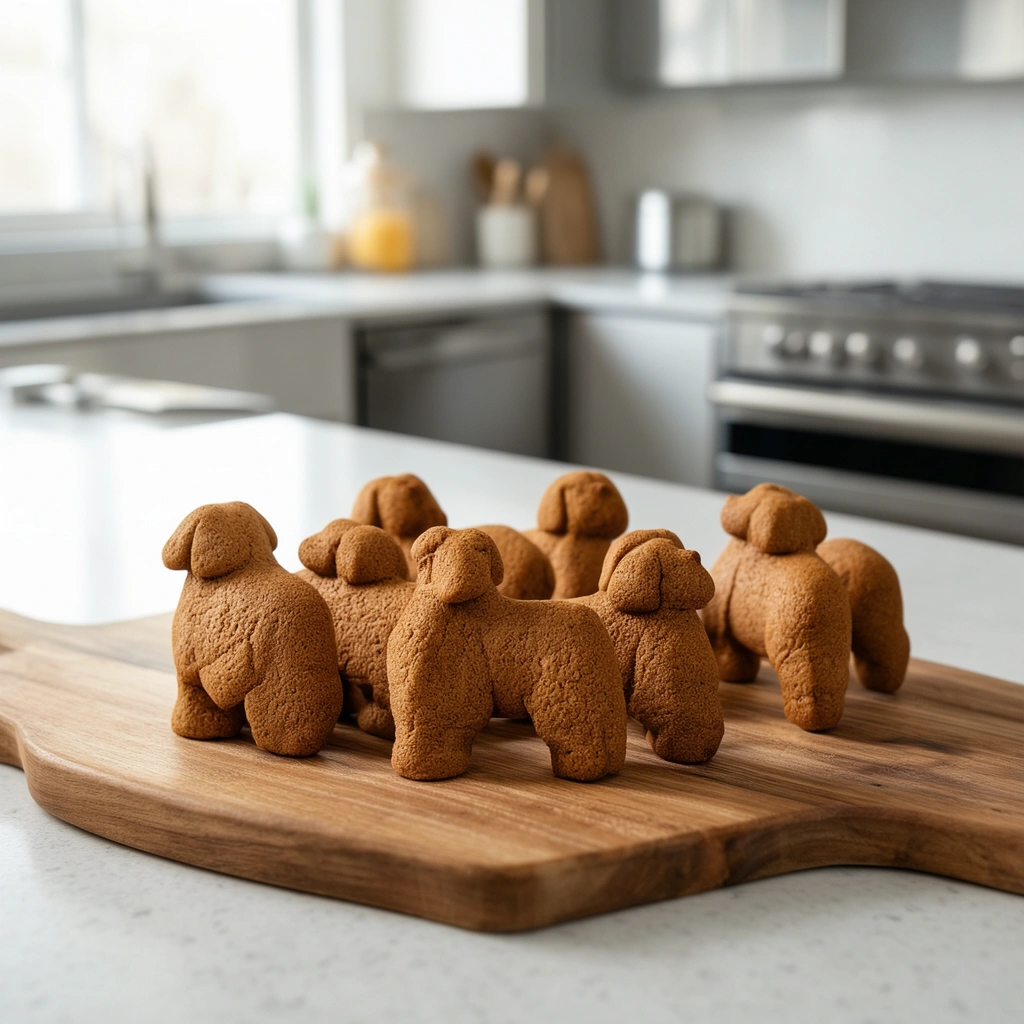
Gingerbread dog treats are one of the sweetest ways to include your furry best friend in your holiday baking traditions. I still remember the first time I pulled a tray of these little gingerbread men out of the oven and watched my dog’s nose twitch from across the kitchen. That’s when I knew I had a winner. If you’ve been searching for a safe, tasty, dog-friendly version of this classic holiday cookie, you’re in the right spot.
A lot of recipes out there skip important details. They forget to mention which spices are risky for dogs, how to store the treats properly, or what to do if your dough turns out too sticky. I’m going to walk you through everything, step by step, so you end up with treats that are safe, delicious, and look adorable on a plate.
What Are Gingerbread Dog Treats, Exactly?
So what makes a “dog version” of gingerbread different from the kind you’d bake for your family? Good question. Regular gingerbread cookies usually contain a lot of sugar, butter, and sometimes nutmeg in large amounts. None of that sits well with a dog’s stomach. Nutmeg, in particular, contains a compound called myristicin that can cause tremors or upset stomachs in large doses.
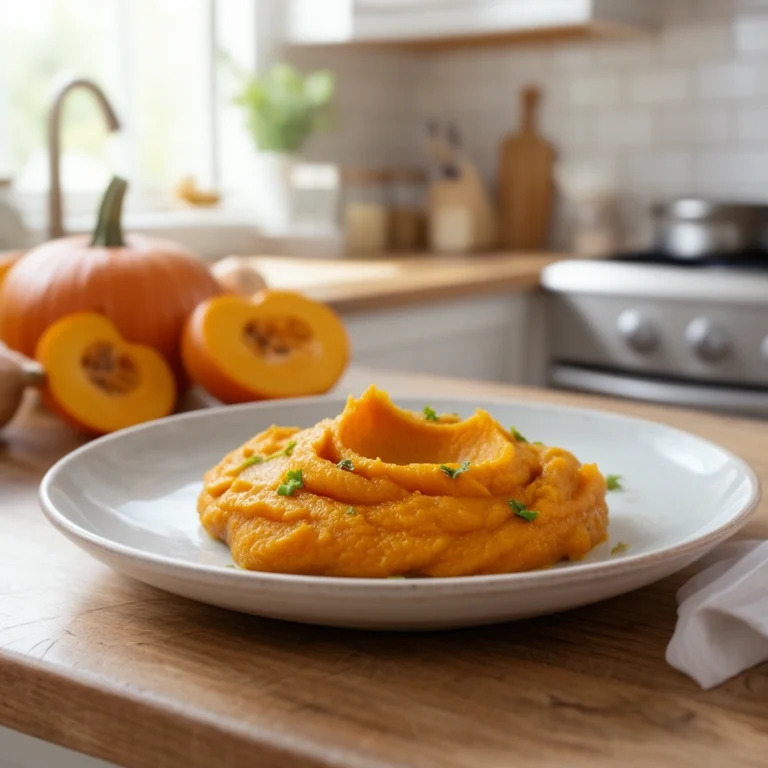
Dog-friendly gingerbread swaps out the risky stuff. Instead of white sugar, we lean on small amounts of molasses or pumpkin puree for sweetness. Butter gets replaced with coconut oil or unsalted dog-safe fat. Ground ginger stays in the mix because, in small amounts, it’s actually good for dogs. It can help settle an upset tummy and even ease joint discomfort in older pups.
The result? A firm, chewy cookie that smells just like the holidays but won’t send your dog to the vet.
Key Terms You Should Know
Definition List
- Molasses: A thick, dark syrup made from sugar cane. Used in small amounts for flavor and natural sweetness, but too much can upset a dog’s stomach due to sugar content.
- Ground Ginger: A warming spice that aids digestion in dogs. Should be used sparingly, no more than a teaspoon per batch.
- Coconut Oil: A plant-based fat that’s safe for dogs and adds a nice texture to the dough. Also gives a light sheen to the finished treat.
- Whole Wheat Flour: The base of most dog treat recipes. Easier on digestion than white flour and adds fiber.
- Xylitol: A sugar substitute that is extremely toxic to dogs. Always check labels on molasses, peanut butter, or any pre-made ingredient to make sure this isn’t hiding in there.
- Cinnamon: Safe in small doses and adds warmth to the flavor, but too much can irritate a dog’s mouth or throat.
Ingredients You’ll Need
- 2 cups whole wheat flour (or oat flour for a gluten-free option)
- 1/2 cup unsweetened pumpkin puree
- 2 tablespoons molasses (make sure it’s xylitol-free)
- 2 tablespoons coconut oil, melted
- 1 teaspoon ground ginger
- 1/2 teaspoon ground cinnamon
- 1 egg
- Water as needed to bind the dough
That’s it. No white sugar, no butter, no artificial anything. Simple, clean ingredients that both smell and taste like the holidays.
Step-by-Step Instructions
Here’s how I make mine, start to finish.
- Preheat your oven to 350°F (175°C) and line a baking sheet with parchment paper.
- In a large bowl, mix the pumpkin puree, molasses, melted coconut oil, and egg until smooth.
- Add the ground ginger and cinnamon. Stir well so the spices spread evenly.
- Slowly add the flour, a half cup at a time, mixing as you go. The dough should turn firm but slightly sticky.
- If the dough feels too dry, add a tablespoon of water. If it’s too wet, sprinkle in a bit more flour.
- Turn the dough onto a floured surface and knead it gently for about a minute.
- Roll the dough out to about 1/4 inch thickness. Thicker cookies stay chewier; thinner ones turn crispier.
- Use a gingerbread man cutter (or any shape you like) to cut out your treats.
- Place them on the baking sheet, leaving a little space between each one.
- Bake for 18 to 20 minutes, or until the edges turn golden brown.
- Let them cool completely on a wire rack before serving. This step matters more than people think, since the inside keeps cooking a bit even after you pull them out.
That’s the whole process. Not complicated, just a little patience needed for the cooling part.
Tips for Success
Baking for dogs is a bit different than baking for humans, so here are a few things that really helped me get consistent results.
- Use a kitchen scale for flour. Scooping flour with a cup can pack it down and throw off the texture. Weighing it gives you more accurate results.
- Don’t skip the parchment paper. These treats can stick without it, especially with the molasses in the mix.
- Test a small batch first. If it’s your first time making these, bake a few and let your dog try one before committing the whole tray to a shape or flavor.
- Store treats in an airtight container. They’ll stay fresh for about a week at room temperature, or up to three months in the freezer.
- Let treats cool fully before storing. Trapping warmth inside a container invites moisture, which leads to mold faster than you’d expect.
- Decorate with dog-safe icing only. A simple mix of plain yogurt and a touch of water works as a festive glaze. Skip the powdered sugar icing entirely.
Common Mistakes and How to Avoid Them
Even simple recipes go sideways sometimes. Here’s what usually trips people up.
- Using too much ginger or cinnamon. More spice doesn’t mean more flavor here. It can actually upset your dog’s stomach. Stick to the measurements above.
- Adding sugar for extra sweetness. Dogs don’t need it, and it can lead to weight gain or digestive issues over time. Pumpkin and molasses already provide enough natural sweetness.
- Skipping the xylitol check. This is the biggest one. Xylitol shows up in more products than people realize, including some brands of peanut butter and molasses. Always read labels carefully.
- Overbaking the treats. Because there’s no white sugar to caramelize, these cookies won’t brown as fast as regular gingerbread. Watch the edges, not the color of the whole cookie.
- Rolling the dough too thin. Thin cookies bake fast and can burn before you notice. Aim for at least a quarter inch of thickness.
- Not cooling completely before storage. This leads to soggy, moldy treats within days. Patience pays off here.
Variations You Can Try
Once you’ve got the base recipe down, it’s easy to switch things up depending on what your dog likes or what you have on hand.
- Peanut Butter Gingerbread: Swap the pumpkin puree for unsweetened, xylitol-free peanut butter. Adds a nutty flavor dogs go wild for.
- Apple Cinnamon Twist: Replace the molasses with unsweetened applesauce for a lighter, fruitier version.
- Grain-Free Option: Use almond flour or oat flour instead of whole wheat for dogs with grain sensitivities.
- Frosted Gingerbread Bones: Use a bone-shaped cutter and top with plain yogurt icing for a cute holiday gift.
- Mini Training Treats: Roll the dough thinner and cut into small squares. Great for training sessions since they’re low in calories per piece.
- Pumpkin Spice Blend: Add a pinch of ground cloves along with the ginger and cinnamon for a deeper, spicier aroma (keep cloves minimal, as too much can be harsh on digestion).
Wrapping Up
Making gingerbread dog treats at home doesn’t have to be complicated or risky. Once you know which spices to avoid, how much sweetness is safe, and how to store the finished cookies, you’re set up for success every single time. I love that this recipe lets my dog join in on the holiday spirit without any of the ingredients that could hurt her.
Whether you’re baking a batch for your own pup or wrapping some up as gifts for other dog owners, these treats bring a little extra joy to the season. Give this gingerbread dog treats recipe a try, and I bet it becomes a yearly tradition in your house too.