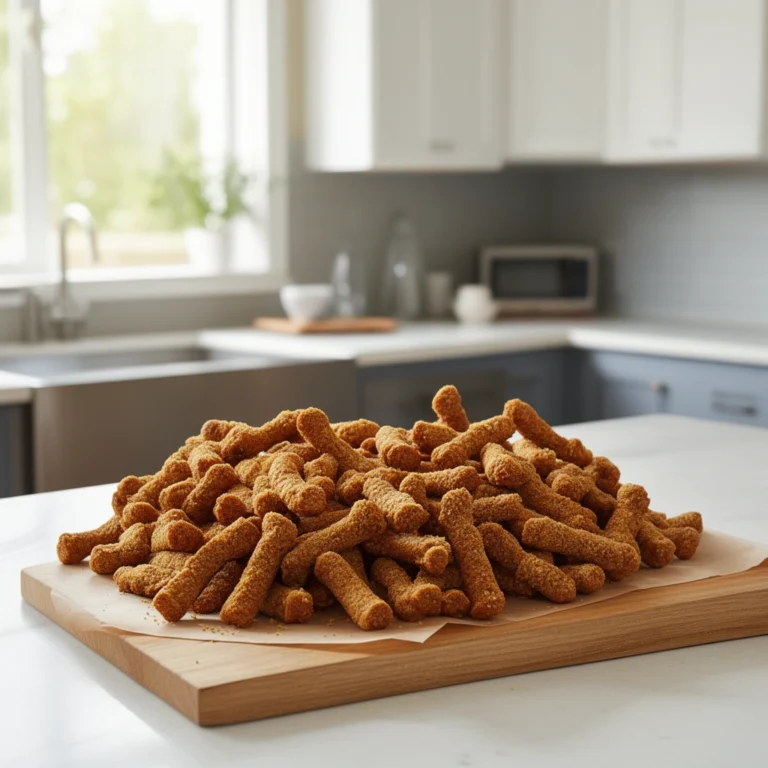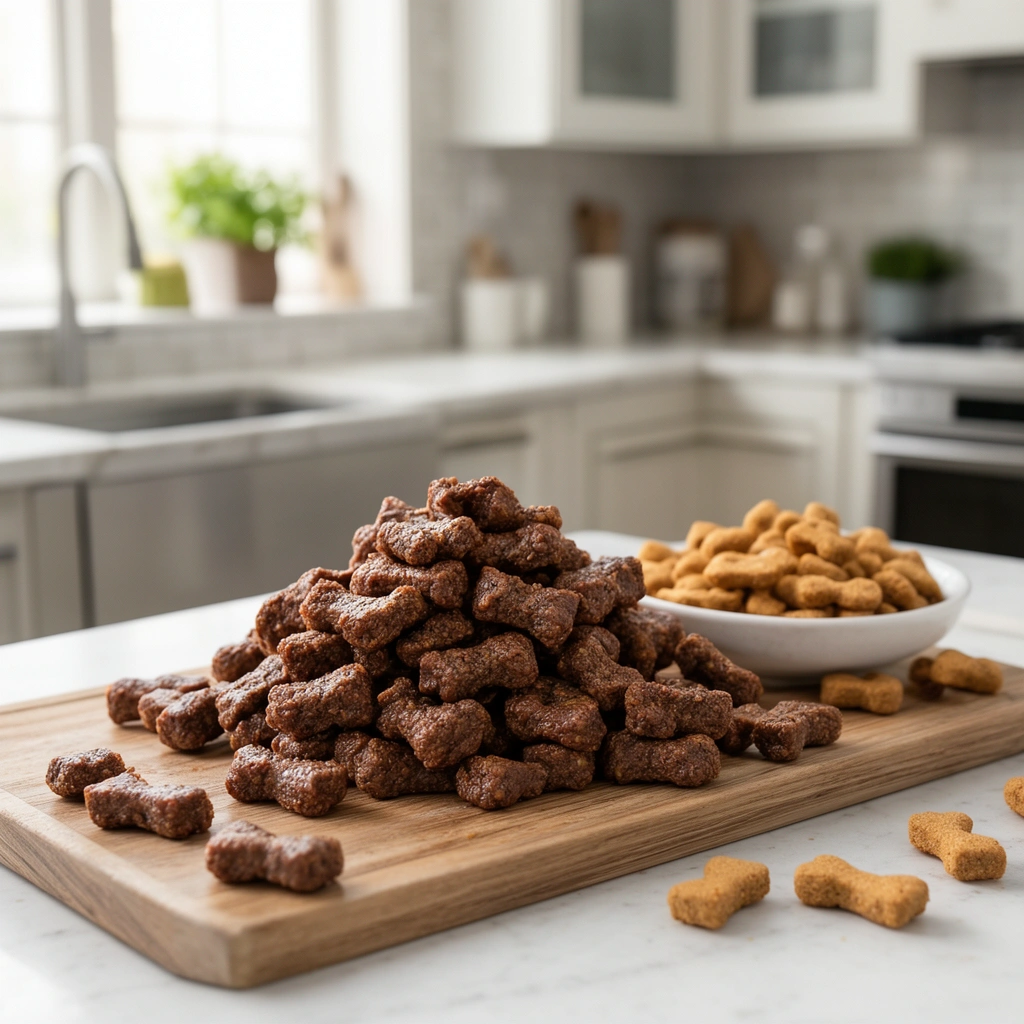
Beef Dog Treats: The Ultimate Homemade Recipe Your Pup Will Beg For
Ever caught your dog staring at you with those big, hopeful eyes while you’re cooking beef for dinner? I have. That’s exactly why I started making beef dog treats at home. My golden retriever, Max, used to get store-bought treats loaded with mystery ingredients I couldn’t even pronounce. Now, he gets treats made with real beef, simple pantry staples, and a whole lot of love.
If you’ve been searching for a way to spoil your furry friend without the guilt, you’re in the right place. Beef dog treats are easy to make, budget-friendly, and way healthier than most bagged options at the pet store. Let’s dig into everything you need to know.
What Are Beef Dog Treats, Anyway?
Beef dog treats are exactly what they sound like: snacks made primarily with beef as the star ingredient. But there’s more nuance here than you might think. Some treats use ground beef mixed into a dough. Others use beef liver, beef jerky strips, or even bone broth as a flavor base. The type you choose depends on your dog’s preferences, dietary needs, and how much time you want to spend in the kitchen.
Unlike commercial treats, homemade beef treats let you control every single ingredient. No fillers. No preservatives. No weird chemical names you have to Google. Just meat, a few binders, and maybe some veggies thrown in for good measure.
Here’s a quick breakdown of common terms you’ll run into:
Ground beef
: Finely minced beef, usually the base ingredient for soft-baked treats.
Beef liver
: An organ meat packed with vitamins A and B12, often dehydrated into jerky-style treats.
Binder
: An ingredient like flour, oats, or eggs that holds the treat dough together.
Dehydrating
: A slow-cooking method that removes moisture, creating a chewy, jerky-like texture.
Bone broth
: A liquid made by simmering beef bones, often used to add flavor and nutrients to dough.
Training treats
: Small, low-calorie treats meant for repeated use during obedience sessions.
Knowing these terms helps you follow recipes better and even tweak them to fit your dog’s specific needs.
Why Make Beef Dog Treats at Home?
I get asked this a lot. Why bother baking when you can just grab a bag off the shelf? Here’s my honest answer: control and quality.
- You know exactly what’s going into your dog’s body.
- You can avoid common allergens like corn, soy, or wheat if your dog has sensitivities.
- Homemade treats are usually cheaper per batch than premium store brands.
- You can customize texture—soft, chewy, or crunchy—based on your dog’s age and teeth.
- Freshness beats anything sitting on a shelf for months.
Plus, there’s something satisfying about watching your dog enjoy a treat you made with your own hands. It’s a small thing, but it matters.
Ingredients You’ll Need
Before jumping into the steps, let’s gather what you need. This recipe makes soft-baked beef treats that most dogs go crazy for.
- 1 pound of lean ground beef
- 1 cup of whole wheat flour (or oat flour for grain-sensitive pups)
- 1 large egg
- 1/4 cup of unsalted beef broth
- 1 tablespoon of chopped parsley (helps freshen breath)
- Optional: 1/4 cup of shredded carrots or pumpkin puree for extra fiber
That’s it. No fancy ingredients, no trips to specialty stores. Everything here is stuff you probably already have or can grab at any regular grocery store.
Step-by-Step: How to Make Beef Dog Treats
Alright, let’s get cooking. I’ll walk you through this like I’m standing right next to you in the kitchen.
Step 1: Preheat your oven
Set it to 350°F (175°C). This gives it time to warm up while you prep the dough.
Step 2: Brown the beef
Cook the ground beef in a skillet over medium heat until it’s fully browned. Drain excess fat, but don’t wash it out completely—some fat adds flavor dogs love.
Step 3: Mix the dry ingredients
In a large bowl, combine the flour with any dry add-ins like chopped parsley.
Step 4: Combine wet ingredients
In a separate bowl, whisk the egg and beef broth together.
Step 5: Bring it all together
Add the cooked beef to the dry mixture, then pour in the wet ingredients. Stir until you get a thick, workable dough. If it’s too dry, add a splash more broth. Too wet? Sprinkle in extra flour.
Step 6: Roll out the dough
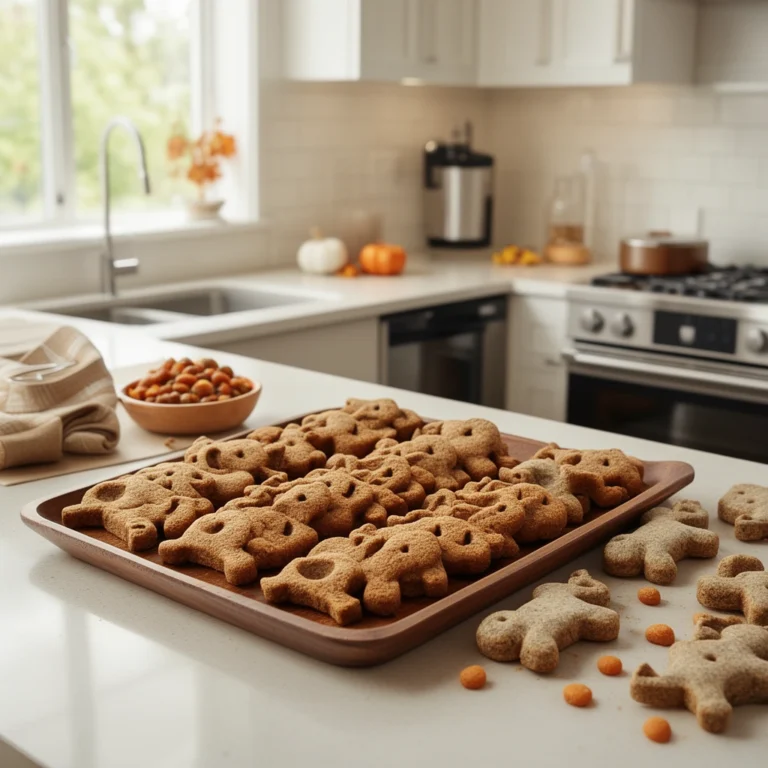
Place the dough on a floured surface. Roll it to about 1/4-inch thickness using a rolling pin.
Step 7: Cut into shapes
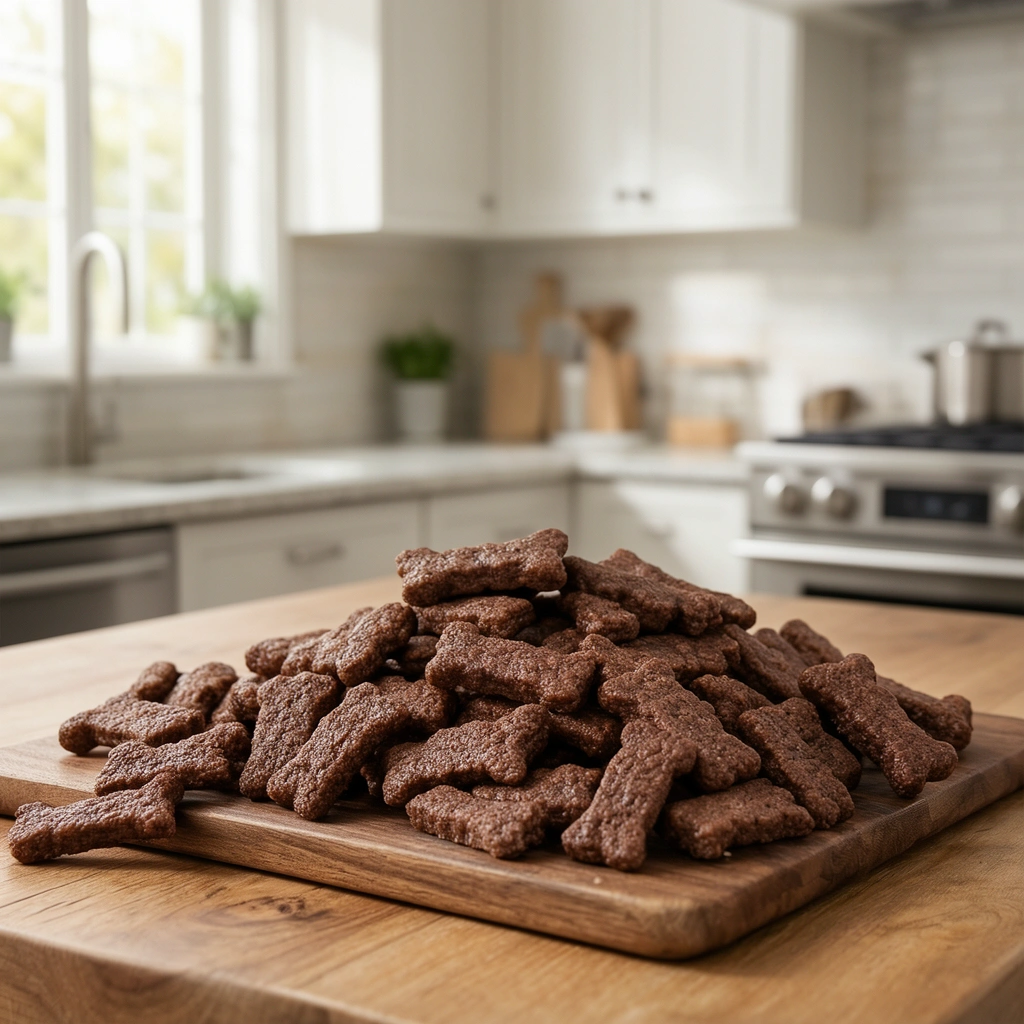
Use a cookie cutter (bone shapes are classic, but any shape works) to cut the dough into treat-sized pieces.
Step 8: Bake
Place the shapes on a parchment-lined baking sheet. Bake for 20-25 minutes, or until firm and slightly golden.
Step 9: Cool completely
Let the treats cool on a wire rack. This step matters more than people think—warm treats can be too soft and crumbly.
Step 10: Store properly
Keep treats in an airtight container. Refrigerate if you plan to use them within a week, or freeze for longer storage.
Tips for Success
Making beef dog treats sounds simple, but a few small details separate a mediocre batch from a great one.
- Always use lean beef to avoid overly greasy treats that can upset your dog’s stomach.
- Cut treats into consistent sizes so baking time stays even across the batch.
- Test one treat before storing the whole batch—make sure texture matches what your dog prefers.
- Add a pinch of turmeric for dogs with joint issues; it has natural anti-inflammatory properties.
- Label your storage container with the date. Homemade treats don’t have preservatives, so freshness matters.
- If your dog has a sensitive stomach, introduce new treats slowly, one at a time, to watch for reactions.
Common Mistakes and How to Avoid Them
I’ve made plenty of mistakes over the years. Here’s what to watch out for so you don’t repeat them.
Mistake: Using seasoned or salted beef
Salt, garlic, and onion powder are toxic to dogs. Always use plain, unseasoned meat.
Mistake: Skipping the fat drain step
Too much grease can cause digestive upset or even pancreatitis in sensitive dogs. Drain most of it before mixing.
Mistake: Overbaking
This dries out the treats and makes them rock-hard. Check a few minutes before the timer goes off.
Mistake: Using the wrong flour
Some dogs are sensitive to wheat. If you notice itching, digestive issues, or excessive gas, switch to oat or rice flour.
Mistake: Not cooling treats fully
Storing warm treats traps moisture, leading to mold growth faster than you’d expect.
Mistake: Ignoring portion size
Treats should never replace a balanced meal. Stick to the “10% rule”—treats shouldn’t make up more than 10% of your dog’s daily calorie intake.
Variations You Can Try
Once you’ve nailed the basic recipe, it’s fun to switch things up. Here are some variations I’ve tested with Max and a few friends’ dogs.
- Beef and sweet potato treats: Swap the parsley for mashed sweet potato for added vitamins and natural sweetness.
- Beef liver jerky: Slice beef liver thin, then dehydrate at a low oven temperature (170°F) for 4-6 hours for a chewy, protein-packed snack.
- Grain-free beef treats: Replace flour entirely with almond flour or coconut flour for dogs with grain allergies.
- Frozen beef treats: Mix ground beef with plain yogurt and freeze in silicone molds for a cooling summer treat.
- Beef and pumpkin training bites: Make the dough extra small and soft, perfect for quick rewards during training sessions.
- Beef bone broth ice cubes: Freeze bone broth into ice cube trays for a low-calorie, hydrating treat option.
Each variation keeps the beef base but changes texture, flavor, or nutritional focus depending on what your dog needs most.
Wrapping It Up
Making beef dog treats at home isn’t just about saving money—though that’s a nice bonus. It’s about giving your dog something wholesome, free from unnecessary additives, and made with genuine care. I’ve watched Max’s tail wag harder for these homemade bites than any store-bought bag I ever bought him.
Start with the basic recipe, get comfortable with the process, then experiment with variations based on what your pup loves. Whether you’re baking soft training bites or dehydrating chewy jerky, beef dog treats are one of the easiest ways to show your dog some extra love in the kitchen.