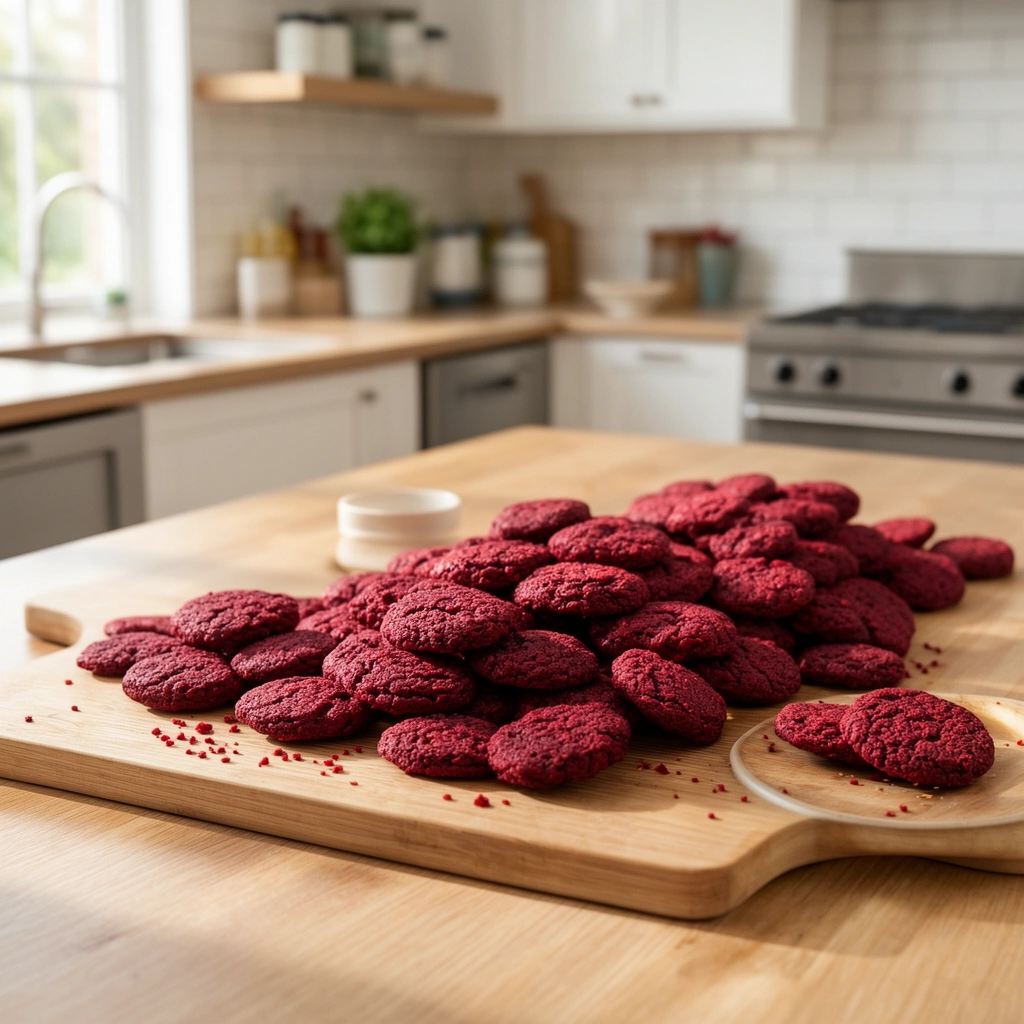
Beet Dog Treats: A Simple, Healthy Way to Spoil Your Pup
Ever caught your dog staring at you while you chop up veggies for dinner? That’s exactly how I started making beet dog treats. My dog wouldn’t stop sniffing around the kitchen counter, and I figured, why not turn this bright red root into something he could actually eat? Beets are packed with good stuff, and dogs seem to love the natural sweetness. If you’re looking for a treat that’s healthy, colorful, and easy to make at home, you’re in the right place.
I’ve tested a bunch of recipes, tweaked ratios, burned a few batches (oops), and finally landed on a method that works every time. In this article, I’ll walk you through everything you need to know about making beet dog treats—from picking the right ingredients to storing the finished product. I’ll also cover mistakes I made so you don’t have to repeat them.
What Are Beet Dog Treats, Anyway?
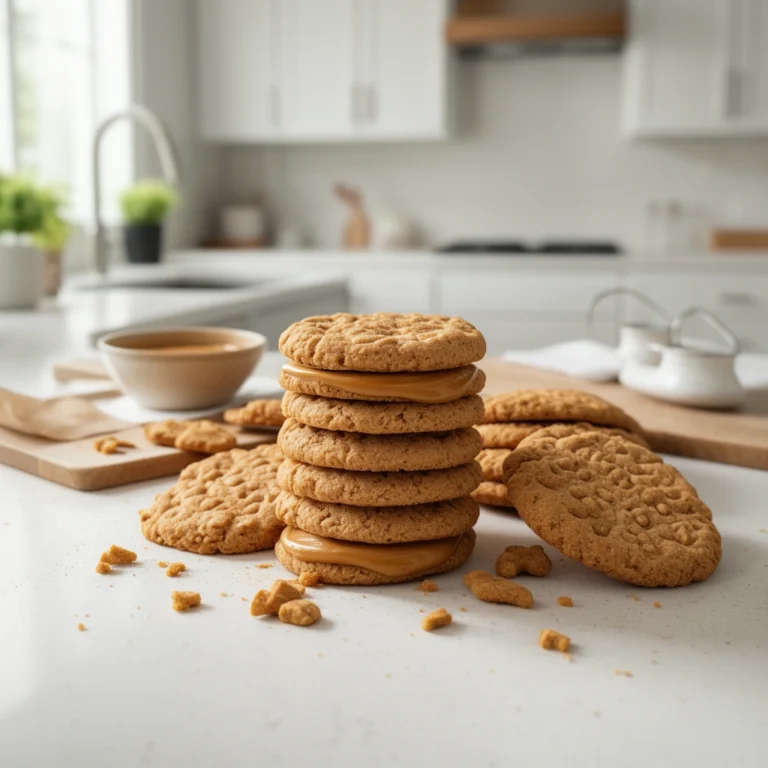
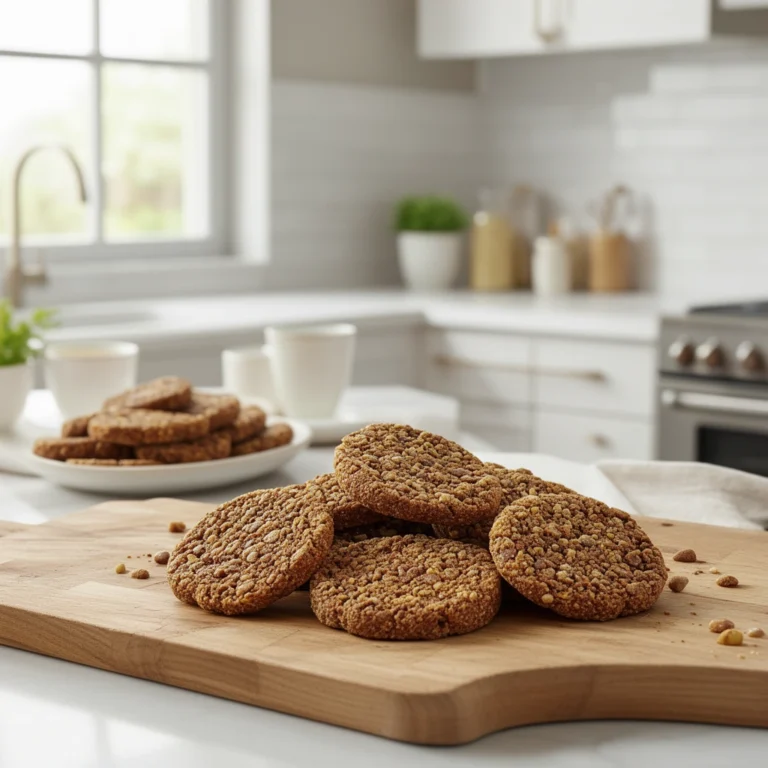
Let’s talk basics first. Beet dog treats are homemade snacks made primarily from beets, usually combined with dog-safe flour, eggs, and sometimes peanut butter or oats. They’re baked until crunchy or chewy, depending on your preference.
Beets bring a lot to the table nutritionally. They’re loaded with fiber, folate, manganese, and potassium. Plus, that deep red-purple color comes from natural pigments called betalains, which have antioxidant properties. Dogs don’t need beets in their diet the way they need protein, but as an occasional treat, beets offer a nice nutritional boost.
Here’s a quick breakdown of the key terms you’ll run into while making these treats:
Beet
: A root vegetable that’s naturally sweet, high in fiber, and rich in antioxidants. Safe for dogs in moderation.
Dehydrating
: A method of removing moisture from food using low heat over a long period. Great for making chewy treats.
Baking
: Cooking with dry heat in an oven. Produces crunchier treats compared to dehydrating.
Binder
: An ingredient (like egg or flour) that holds the treat mixture together so it doesn’t fall apart.
Grain-free flour
: Flour made from non-grain sources like chickpeas or coconut, often used for dogs with grain sensitivities.
Now that we’ve got the lingo down, let’s get into the good stuff—actually making these treats.
Ingredients You’ll Need
Before you start, gather everything so you’re not scrambling halfway through. Here’s what typically goes into a solid batch of beet dog treats:
- 1 medium-sized beet, peeled and grated or pureed
- 1 cup whole wheat flour (or oat flour for grain-sensitive pups)
- 1 egg
- 2 tablespoons plain, unsweetened peanut butter (make sure it’s xylitol-free)
- 1/4 cup water (adjust as needed for dough consistency)
- Optional: a pinch of cinnamon for extra flavor
That’s it. No fancy equipment, no rare ingredients. Just simple stuff you can grab at any grocery store.
Step-by-Step Process for Making Beet Dog Treats
I’ll break this down into clear steps so you don’t miss anything.
- Prep the beet. Wash it thoroughly, peel off the skin, and either grate it finely or puree it in a food processor. Pureeing gives a smoother dough, while grating adds a bit of texture.
- Mix wet ingredients. In a large bowl, combine the beet puree, egg, and peanut butter. Stir until it’s well blended.
- Add dry ingredients. Slowly mix in the flour, a little at a time. You want a dough that’s firm but not dry and crumbly.
- Adjust with water. If the dough feels too stiff, add water a tablespoon at a time until it comes together nicely.
- Roll out the dough. On a floured surface, roll the dough to about 1/4-inch thickness. Thinner dough means crunchier treats; thicker dough means chewier ones.
- Cut into shapes. Use a cookie cutter (bone shapes are classic, but honestly any shape works) or just cut into small squares with a knife.
- Bake. Preheat your oven to 350°F (175°C). Place the treats on a parchment-lined baking sheet and bake for 20-25 minutes, or until firm and slightly golden on the edges.
- Cool completely. Let the treats cool on a wire rack before storing or serving. This step matters more than people think—warm treats can be too soft and won’t have that satisfying crunch.
If you’d rather skip the oven, you can dehydrate thin beet slices instead. Just slice the beet into thin rounds, place them in a dehydrator at 125°F, and let them dry for 8-12 hours until crispy.
Tips for Success
Making beet dog treats isn’t complicated, but a few small things can make a big difference in how they turn out.
- Always peel the beet. The skin can be tough and slightly bitter, which dogs don’t love.
- Grate or puree finely. Chunky bits of beet can make the dough uneven and harder to shape.
- Don’t skip cooling time. Treats firm up as they cool, so patience pays off here.
- Store in an airtight container. Beet treats can last up to two weeks at room temperature, or up to three months in the freezer.
- Start with small portions. If your dog has never had beets before, offer a tiny piece first to check for any reaction.
- Use parchment paper. It prevents sticking and makes cleanup way easier.
Common Mistakes and How to Avoid Them
I’ve messed up plenty of batches over the years, so let me save you the trouble.
Mistake: Using too much beet.
Too much beet puree makes the dough sticky and hard to shape. Stick to one medium beet per batch unless you’re adjusting the whole recipe.
Mistake: Skipping the peeling step.
The skin holds dirt and can taste bitter. Always peel before grating or pureeing.
Mistake: Overbaking.
Beet treats can dry out fast because of their sugar content. Keep an eye on them after the 20-minute mark to avoid burning.
Mistake: Adding sweeteners.
Beets are already naturally sweet. There’s no need for honey, sugar, or syrup. Dogs don’t need the extra sugar, and it can upset their stomach.
Mistake: Forgetting to check peanut butter labels.
Some peanut butters contain xylitol, which is toxic to dogs. Always double-check the ingredient list before adding it to any dog treat recipe.
Mistake: Not adjusting for allergies.
If your dog has grain sensitivities, regular flour can cause digestive issues. Swap it out for oat flour, chickpea flour, or coconut flour instead.
Similar Variations You Can Try
Once you’ve nailed the basic recipe, it’s fun to experiment. Here are a few variations I’ve tried and loved:
- Beet and carrot treats: Add grated carrot along with the beet for extra crunch and a vitamin A boost.
- Beet and pumpkin treats: Swap half the beet puree for pumpkin puree. This combo is great for dogs with sensitive stomachs since pumpkin helps with digestion.
- Beet and blueberry treats: Toss in a handful of mashed blueberries for added antioxidants and a slightly tart flavor.
- Beet and oatmeal treats: Replace the flour entirely with rolled oats blended into flour form. Adds fiber and a chewier texture.
- Frozen beet treats: For summer, freeze the beet puree mixture in silicone molds for a cool, refreshing snack instead of baking it.
Each variation keeps the same basic process—just swap or add ingredients based on what you’re going for.
A Quick Word on Safety
I want to be upfront here. While beets are generally safe for dogs, they’re not for every pup. Beets are high in oxalates, which can be a concern for dogs prone to kidney stones. If your dog has a history of kidney issues, it’s worth checking with your vet before adding beets to their diet, even in small amounts.
Also, beets can cause a dog’s urine or stool to turn a reddish color. This isn’t harmful, just a bit alarming if you’re not expecting it. I remember panicking the first time I saw it before realizing it was just from the beets.
Portion control matters too. Treats should never make up more than 10% of your dog’s daily calorie intake. Beet treats are healthy, but they’re still treats, not meals.
Wrapping It Up
Making beet dog treats at home is one of those small projects that feels way more rewarding than it should. You get to control exactly what goes into your dog’s snack, skip the preservatives found in store-bought options, and watch your pup enjoy something you made with your own hands. The process is straightforward, the ingredients are easy to find, and the payoff—both nutritionally and in tail wags—is totally worth it.
So next time you’re prepping veggies in the kitchen and your dog gives you that hopeful look, you’ll know exactly what to do. Grab a beet, follow these steps, and whip up a batch of beet dog treats your dog will absolutely love.