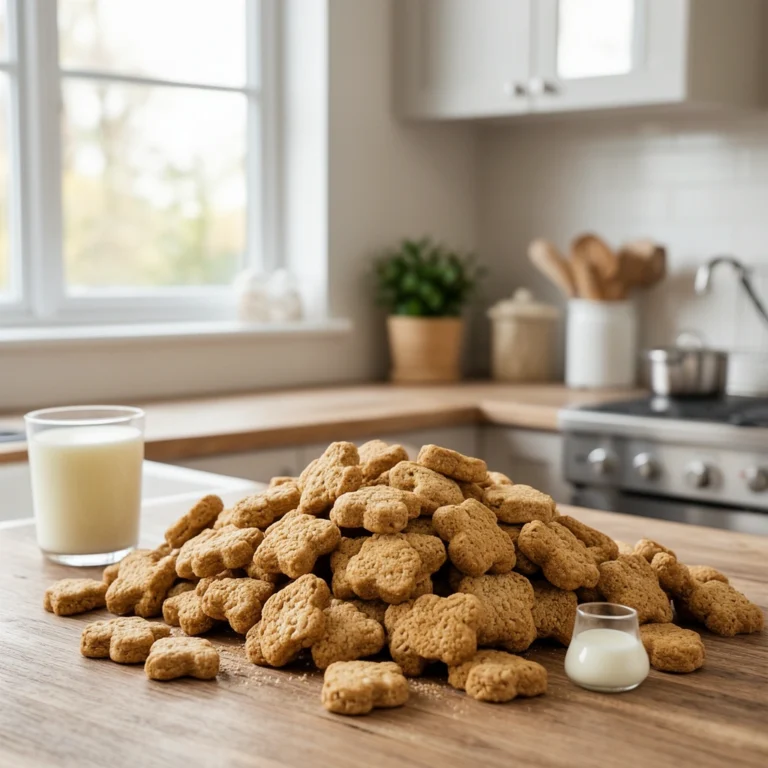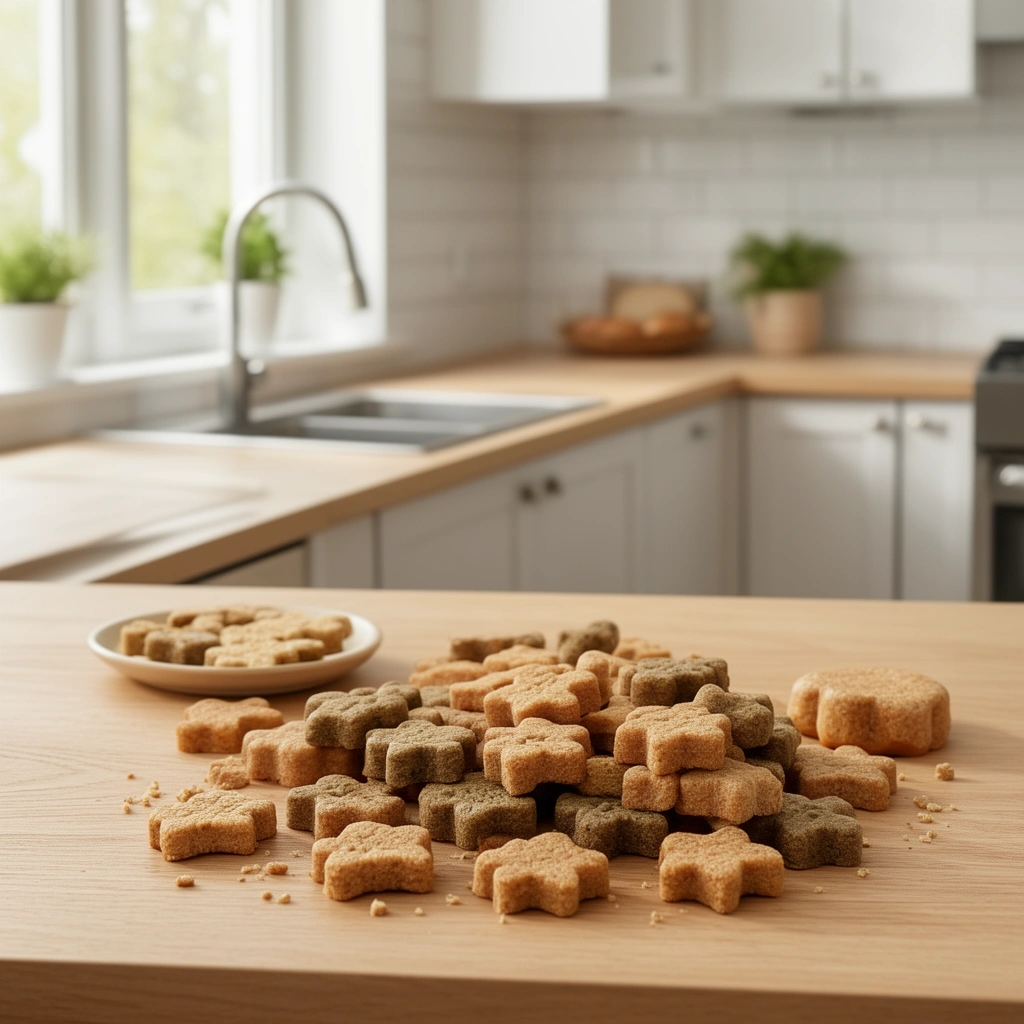
Baby Food Dog Treats: The Simple Way to Spoil Your Pup
Ever wonder what to do with that half-used jar of baby food sitting in your fridge? I’ve been there, staring at leftover applesauce or pureed sweet potato, wondering if it’s going to waste. Turns out, baby food dog treats are one of the easiest, cheapest ways to give your furry friend something special without spending hours in the kitchen.
I started making these treats about two years ago when my Cavalier King Charles Spaniel started turning her nose up at store-bought biscuits. A friend mentioned baby food, and honestly? I was skeptical. But after my first batch disappeared in about thirty seconds flat, I became a believer.
What Exactly Are Baby Food Dog Treats?
Let’s break this down simply. Baby food dog treats are homemade snacks that use pureed baby food as a main ingredient, mixed with dog-safe flour and sometimes an egg to bind everything together. They’re soft, easy to digest, and perfect for dogs of all ages—especially puppies, seniors, or pups recovering from dental work.
The beauty here lies in simplicity. You’re not hunting down obscure ingredients or spending a fortune. Most baby food jars cost less than two dollars, and you probably already have flour in your pantry.
Here’s a quick breakdown of what makes these treats work so well:
Definition of Key Terms:
Puree
: A smooth, blended mixture with no chunks—this is essentially what baby food already is.
Binder
: An ingredient like egg or flour that holds the treat together during baking.
Dehydrated Treats
: Treats baked at low temperatures for longer periods to remove moisture, creating a chewier texture.
Single-Ingredient Baby Food
: Baby food containing only one fruit, vegetable, or protein—no added sugars, salts, or seasonings.
Why Baby Food Works So Well for Dog Treats
Baby food isn’t just convenient. It’s genuinely smart for dog treats, and here’s why:
- Pre-pureed texture means less prep work for you
- Consistent quality control since baby food manufacturers follow strict safety standards
- Portion-sized jars prevent waste and make measuring simple
- Wide variety of flavors lets you rotate treats so your dog doesn’t get bored
- Gentle on sensitive stomachs, especially for dogs with digestive issues or seniors with weaker teeth
I’ve noticed my competitor’s take on this topic barely touched on ingredient safety, which honestly worried me a bit. Not all baby food is created equal, and dog owners need to know what to avoid before tossing random jars into their cart.
Choosing the Right Baby Food (This Part Matters)
Not every baby food jar belongs in your dog’s treats. Some contain onion powder, garlic, or excessive salt—ingredients that are downright dangerous for dogs.
What to look for:
- Single-ingredient purees (sweet potato, carrot, pumpkin, chicken, apple, banana)
- No added salt, sugar, or preservatives
- No onion or garlic powder, even in trace amounts
- Organic options if your budget allows, though not mandatory
Best baby food flavors for dogs:
- Sweet potato
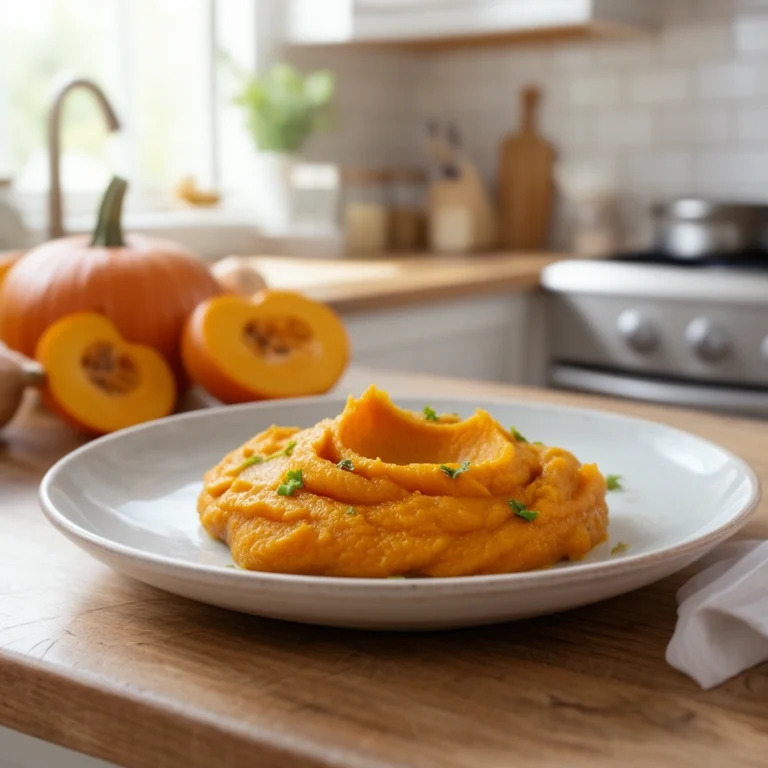
- Pumpkin
- Carrot
- Chicken or turkey
- Peas
- Green beans
- Banana
- Apple (unsweetened)
Steer clear of anything with grapes, raisins, chocolate, or xylitol. These are toxic to dogs, no exceptions.
Step-by-Step: How to Make Baby Food Dog Treats
Alright, let’s get into the actual making of these treats. I’ll walk you through my go-to recipe, which takes about 25 minutes total, including bake time.
Ingredients you’ll need:
- 1 jar (4 oz) single-ingredient baby food
- 1 cup whole wheat flour (or oat flour for grain-sensitive dogs)
- 1 egg
- Optional: 2 tablespoons of peanut butter (make sure it’s xylitol-free)
Steps:
- Preheat your oven to 350°F (175°C)
- In a large bowl, mix the baby food, egg, and peanut butter (if using)
- Gradually add flour, stirring until a dough forms
- If the dough feels too sticky, add flour a tablespoon at a time until workable
- Roll the dough out on a floured surface to about ¼ inch thickness
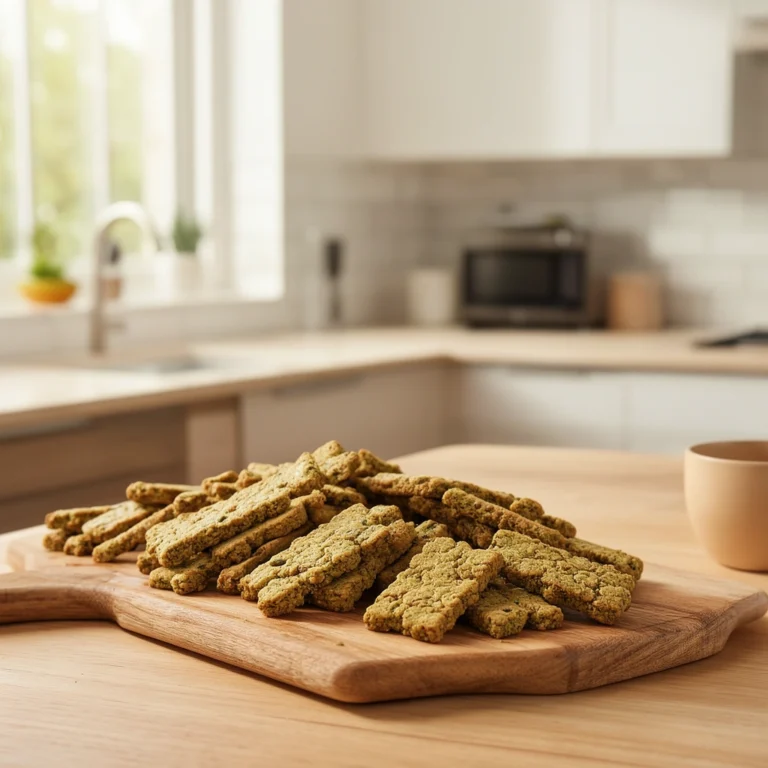
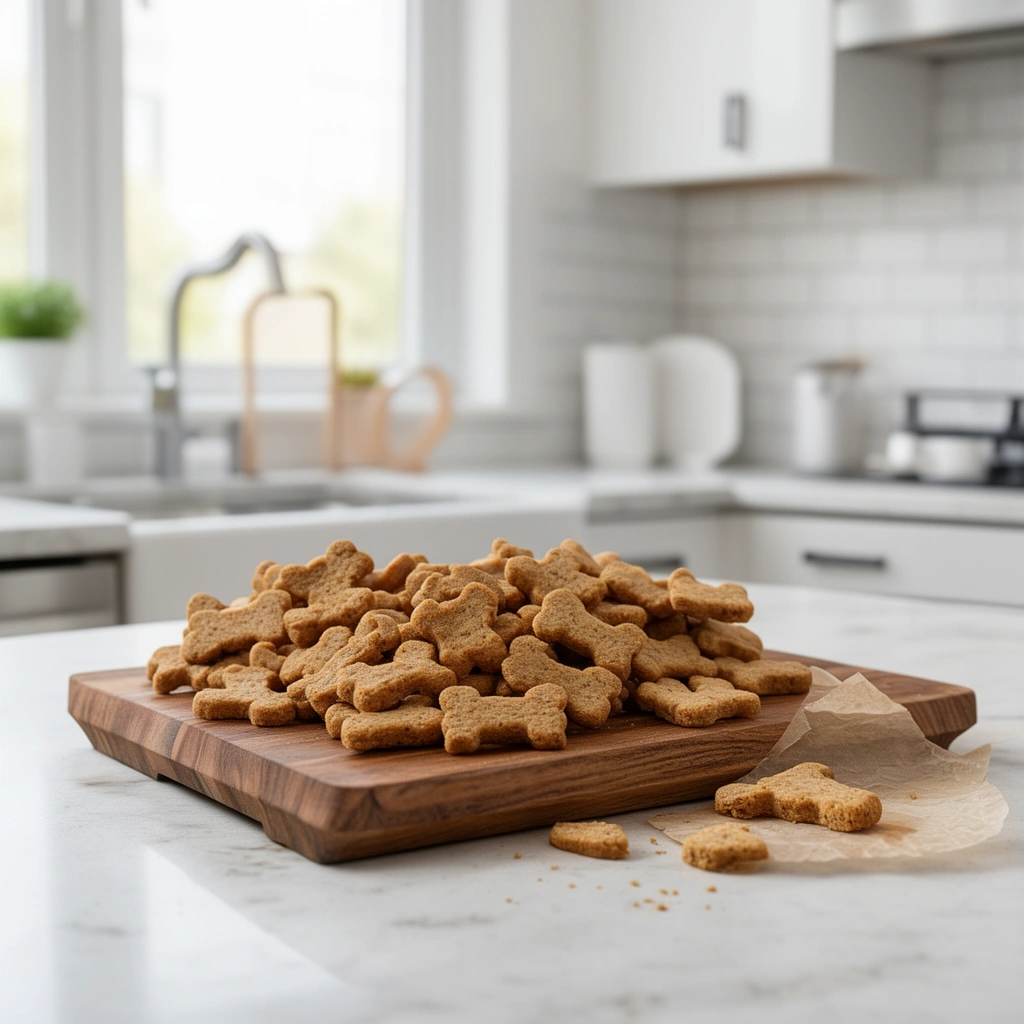
- Cut into shapes using a cookie cutter, or simply slice into small squares
- Place treats on a parchment-lined baking sheet, leaving space between each
- Bake for 15-18 minutes, or until edges turn golden brown
- Let cool completely before storing or serving
That’s it. No fancy equipment, no complicated techniques. Just basic mixing and baking.
Tips for Success
I’ve made dozens of batches at this point, and I’ve picked up a few tricks along the way that make a real difference.
- Check the consistency of your dough before rolling it out. Too wet, and your treats won’t hold shape. Too dry, and they’ll crumble.
- Use parchment paper every single time. Trust me, cleanup becomes so much easier.
- Cool treats completely before storing them in an airtight container. Warm treats trapped in a sealed container create moisture, which leads to mold.
- Store in the fridge for up to a week, or freeze for up to three months.
- Test a small piece first if your dog has never tried baby food treats before. Some dogs have sensitive stomachs, and it’s better to catch reactions early.
- Label your treats if you make multiple flavors at once. It’s easy to forget which jar you used after baking several batches.
Common Mistakes and How to Avoid Them
Even simple recipes have pitfalls. Here’s where things typically go wrong, based on my own trial and error.
Mistake: Using baby food with hidden additives
Solution: Always read labels twice. Some “natural” baby foods sneak in onion or garlic powder for flavor.
Mistake: Overbaking treats until they’re rock hard
Solution: Pull treats from the oven as soon as edges turn golden. They’ll firm up more as they cool.
Mistake: Skipping the flour measurement and eyeballing it
Solution: Measure flour properly. Too much makes treats dense and unappetizing; too little makes them fall apart.
Mistake: Forgetting your dog’s allergies
Solution: Introduce new flavors one at a time, waiting a few days before trying another variety.
Mistake: Storing treats improperly
Solution: Use airtight containers and refrigerate if you’re not freezing them. Room temperature storage invites bacteria growth, especially with moist treats like these.
Similar Variations You Can Try
Once you’ve nailed the basic recipe, experimenting becomes half the fun. Here are some variations I’ve tried and loved:
Frozen Baby Food Pupsicles
Mix baby food with plain yogurt, pour into ice cube trays, and freeze. Perfect for hot summer days.
Baby Food and Oatmeal Bites
Swap wheat flour for rolled oats blended into flour. Great for dogs with grain sensitivities.
Pumpkin Spice Treats (dog-safe, no actual spices)
Use pumpkin baby food as your base, add a touch of cinnamon (safe in small amounts), and skip nutmeg entirely since it’s toxic to dogs.
Peanut Butter Banana Bites
Combine banana baby food with a spoonful of peanut butter for an extra protein boost.
Dehydrated Baby Food Chews
Instead of baking, spread thin layers of baby food puree onto a dehydrator sheet and dry for 6-8 hours. This creates a jerky-like texture dogs go wild for.
No-Bake Baby Food Balls
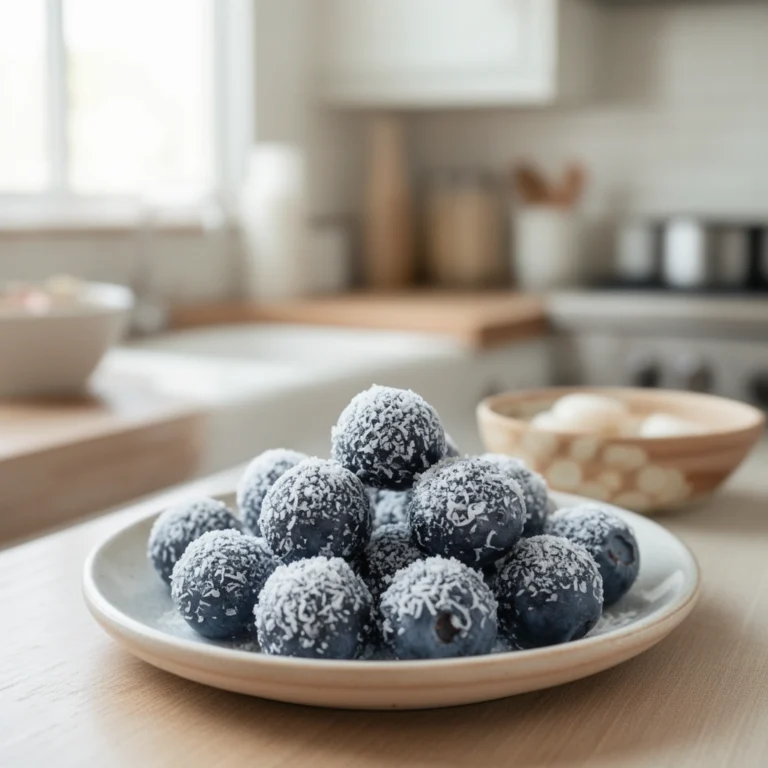
Mix baby food with oat flour and a bit of coconut oil, roll into small balls, and refrigerate until firm. No oven required.
A Few Extra Considerations My Competitor Missed
I noticed some gaps worth addressing here. First, portion control matters more than people realize. These treats, while healthy, shouldn’t replace regular meals or exceed 10% of your dog’s daily caloric intake. Second, puppies under six months should only get treats specifically formulated for their age group, since their digestive systems are still developing.
Also, dogs with kidney issues need extra caution with high-sodium baby foods, even ones marketed as “natural.” Always check with your vet if your dog has existing health conditions before introducing new treats into their diet.
Wrapping It Up
Baby food dog treats genuinely changed how I approach homemade snacks for my pup. They’re affordable, quick to make, and endlessly customizable based on what your dog loves most. Whether you’re dealing with a picky eater, a senior dog with dental issues, or you just want to try something new, this recipe delivers every time.
Give these baby food dog treats a shot the next time you’re at the grocery store. Grab a few jars, some flour, and an egg—you’ll have happy, wagging tails within the hour.