5 Training Treats for Puppies with Chicken: Homemade Recipes That Actually Work
Ever tried to train a puppy with treats that fall apart in your pocket or smell so bad you want to hold your breath? I’ve been there. Chicken training treats for puppies are the gold standard because pups go crazy for that smell, and honestly, they’re way healthier than most store-bought options packed with fillers and mystery meat.
I started making my own chicken treats after my puppy turned his nose up at every “premium” training treat I bought. Turns out, homemade chicken treats aren’t just cheaper—they’re also easier to control for size, texture, and ingredients. Below, I’ll walk you through five different chicken treat recipes, plus the stuff most articles skip: storage tips, common mistakes, and smart variations for pups with allergies or sensitivities.
Why Chicken Treats Work So Well for Puppy Training
Before jumping into recipes, let’s talk about why chicken specifically works so well. Puppies have a strong sense of smell, and chicken has a scent that’s hard to resist. It’s also a lean protein, which means it won’t pack on unnecessary weight even if you’re using treats constantly during training sessions.
Here’s a quick breakdown of key terms you’ll want to know before starting:
High-value treat
: A treat so tasty your puppy will work hard to earn it, even around distractions. Chicken almost always qualifies.
Training-size treat
: A treat cut small enough (pea-sized or smaller) so your pup doesn’t fill up too fast during a session.
Dehydrating
: A cooking method that removes moisture from chicken, creating a shelf-stable, jerky-like treat.
Binder
: An ingredient (like oat flour or egg) that holds baked treats together.
Rendering
: The process of cooking fat out of meat, which matters because too much fat can upset a puppy’s stomach.
Now let’s get into the actual recipes.
Recipe 1: Simple Baked Chicken Bites
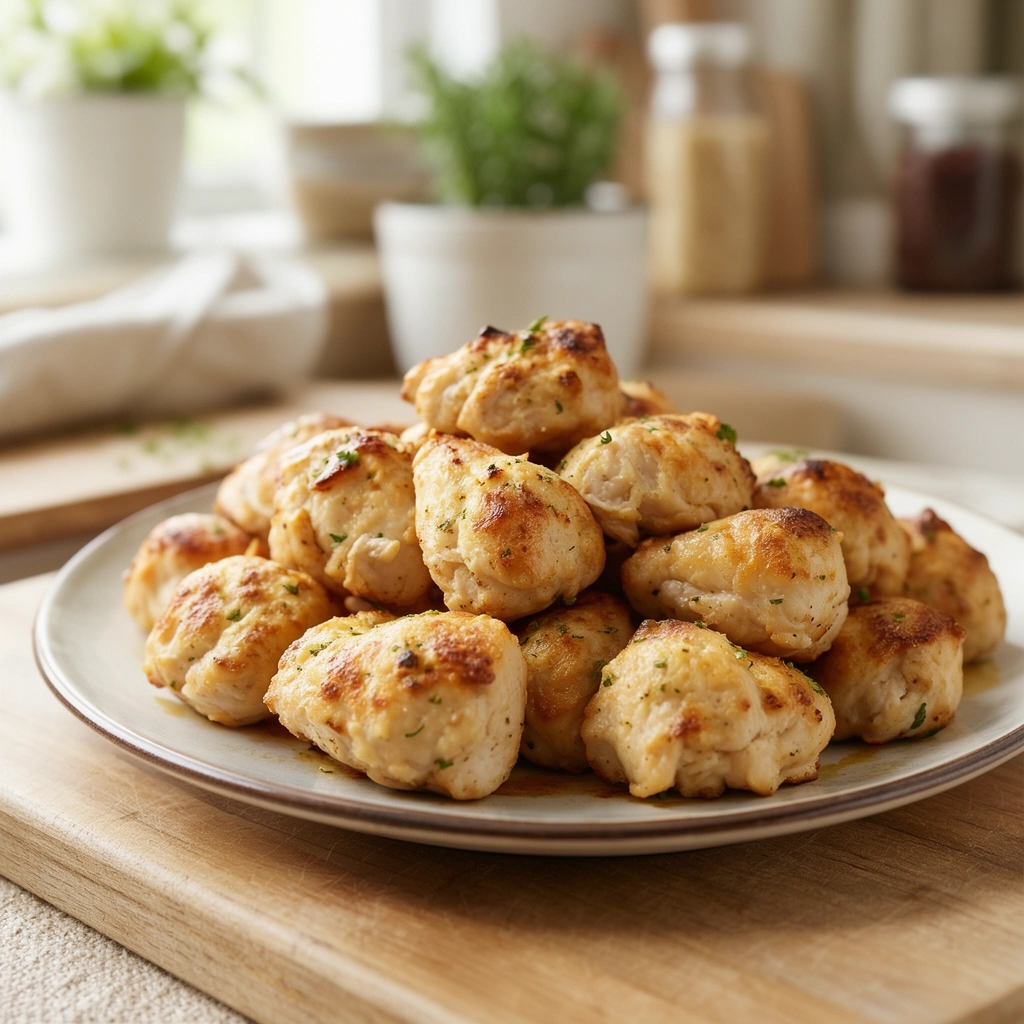
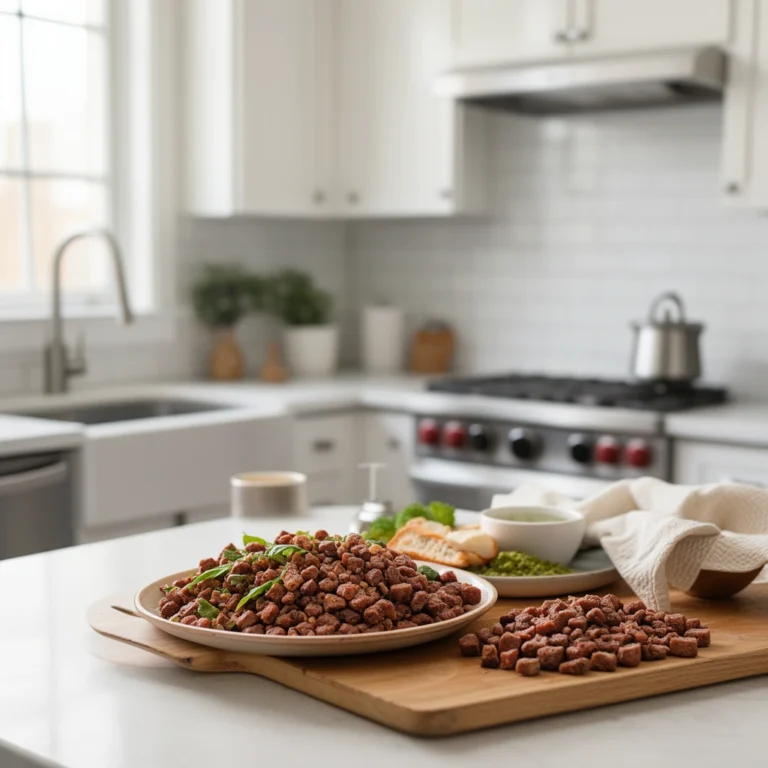
This is the treat I make most often because it only needs two ingredients and takes almost no effort.
Ingredients:
- 1 pound boneless, skinless chicken breast
- Parchment paper (no oil or seasoning needed)
Steps:
- Preheat your oven to 350°F.
- Cut the chicken breast into small, bite-sized cubes—pea-sized works best for training.
- Line a baking sheet with parchment paper and spread the pieces out evenly.
- Bake for 20-25 minutes, flipping halfway through.
- Let cool completely before storing.
These bites are soft, which makes them perfect for younger puppies who are still working on their teeth.
Recipe 2: Chicken and Sweet Potato Jerky
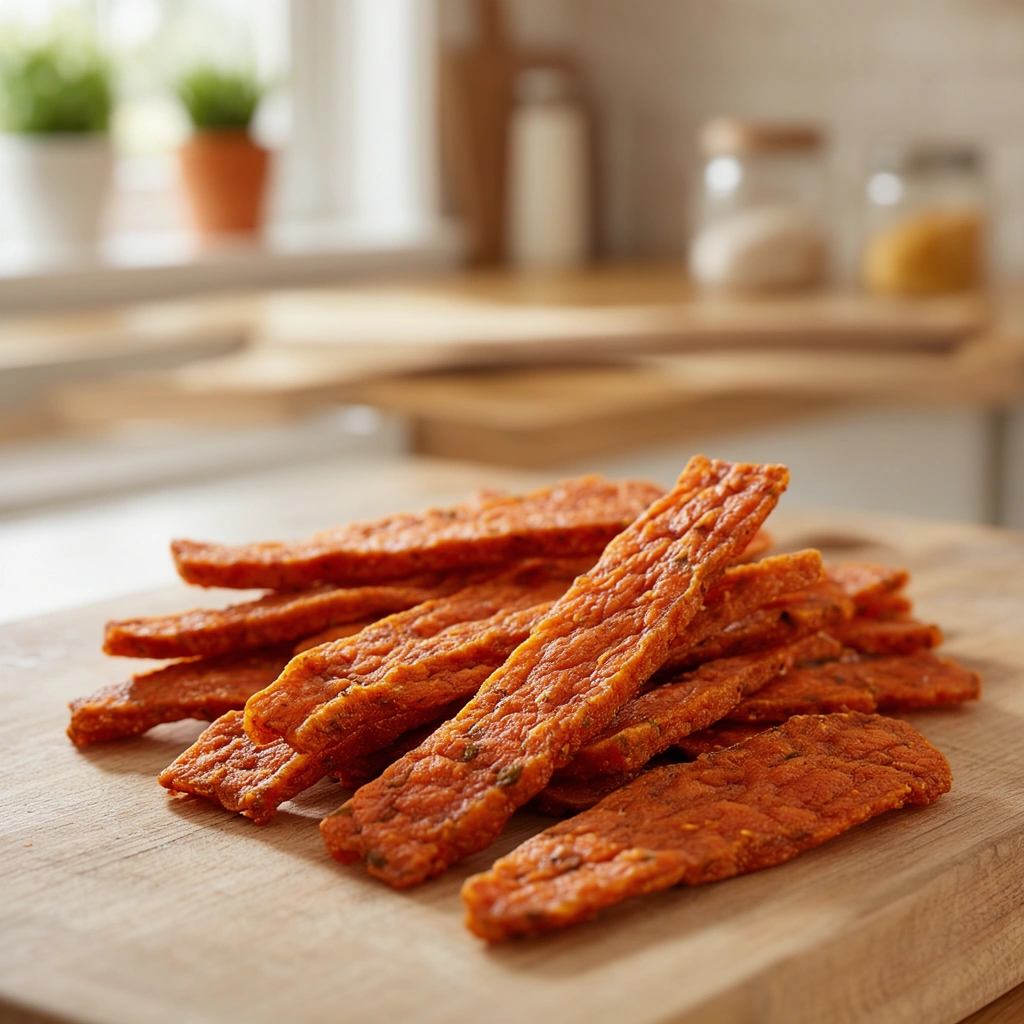
Jerky treats last longer and are great for pups who need a chewier texture.
Ingredients:
- 1 pound chicken breast, sliced thin
- 1 medium sweet potato, sliced thin
Steps:
- Preheat your oven to 250°F (low and slow is key here).
- Slice both chicken and sweet potato into thin strips, about a quarter-inch thick.
- Place strips on a wire rack over a baking sheet so air circulates underneath.
- Bake for 2.5 to 3 hours, checking every 30 minutes near the end.
- Remove once the jerky is firm but still slightly bendable.
This one takes patience, but the payoff is a treat that lasts weeks in an airtight container.
Recipe 3: Chicken Liver Training Bites
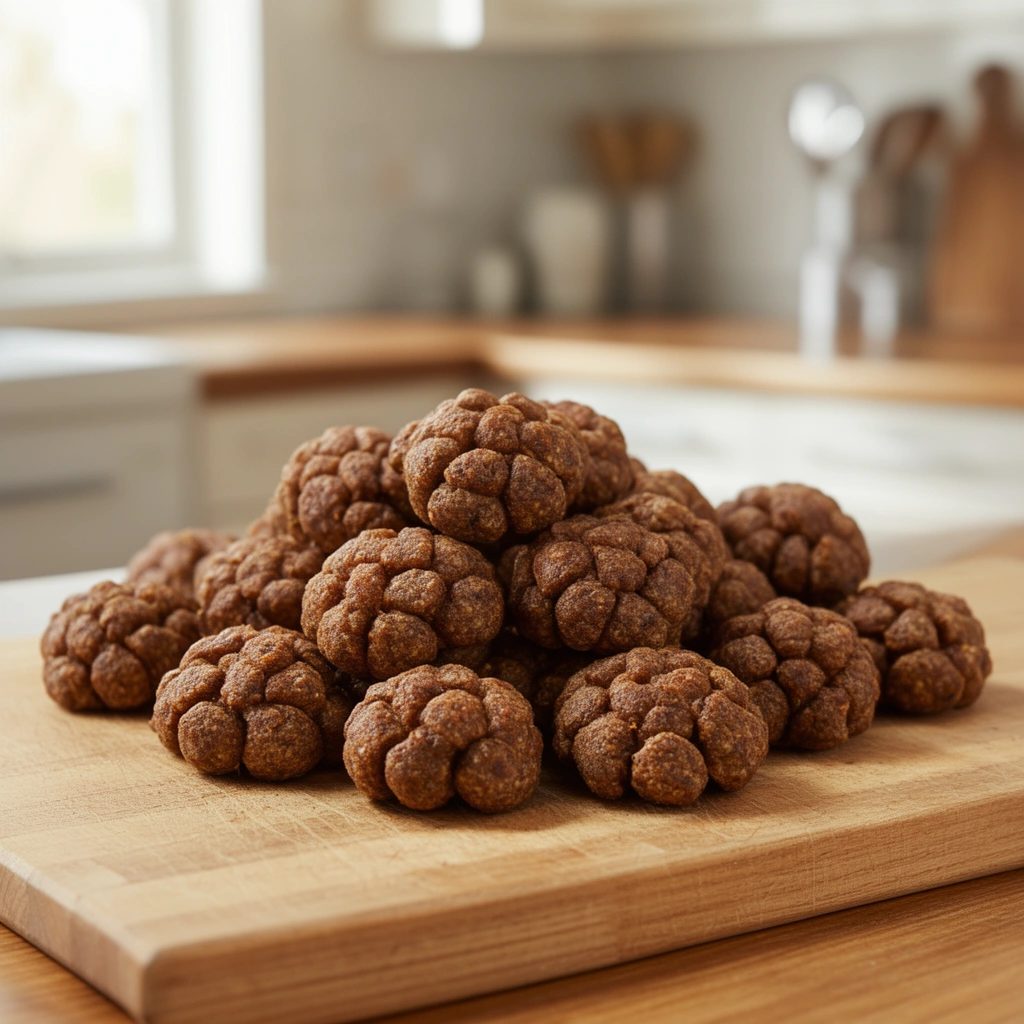
If you need something extra stinky and irresistible for high-distraction training (like at the dog park), liver treats are the answer.
Ingredients:
- 1 pound chicken liver
- 1 cup oat flour
Steps:
- Preheat your oven to 300°F.
- Blend the chicken liver in a food processor until smooth.
- Mix the pureed liver with oat flour until it forms a thick paste.
- Spread the mixture thinly onto a parchment-lined baking sheet.
- Bake for 15-20 minutes, then cut into small squares once cooled.
Fair warning: your kitchen will smell strong while these bake. But puppies absolutely love them.
Recipe 4: Chicken and Pumpkin Training Cookies
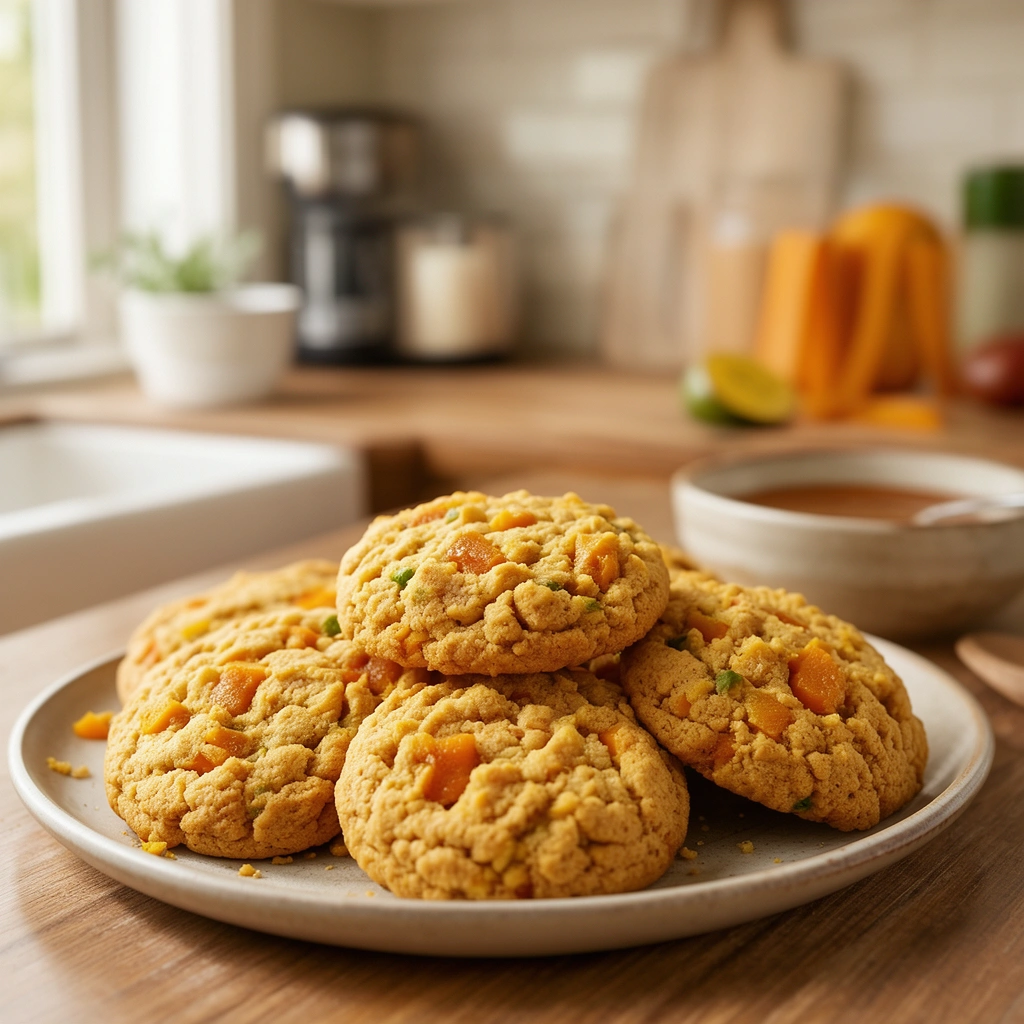
These are great for pups with sensitive stomachs since pumpkin helps with digestion.
Ingredients:
- 1 cup cooked, shredded chicken
- 1/2 cup canned pumpkin (plain, not spiced)
- 1 cup oat flour
- 1 egg (as a binder)
Steps:
- Preheat your oven to 325°F.
- Mix shredded chicken, pumpkin, and egg together in a bowl.
- Slowly add oat flour until the dough is workable but not sticky.
- Roll into small balls or use a mini cookie cutter for shapes.
- Bake for 20 minutes until firm.
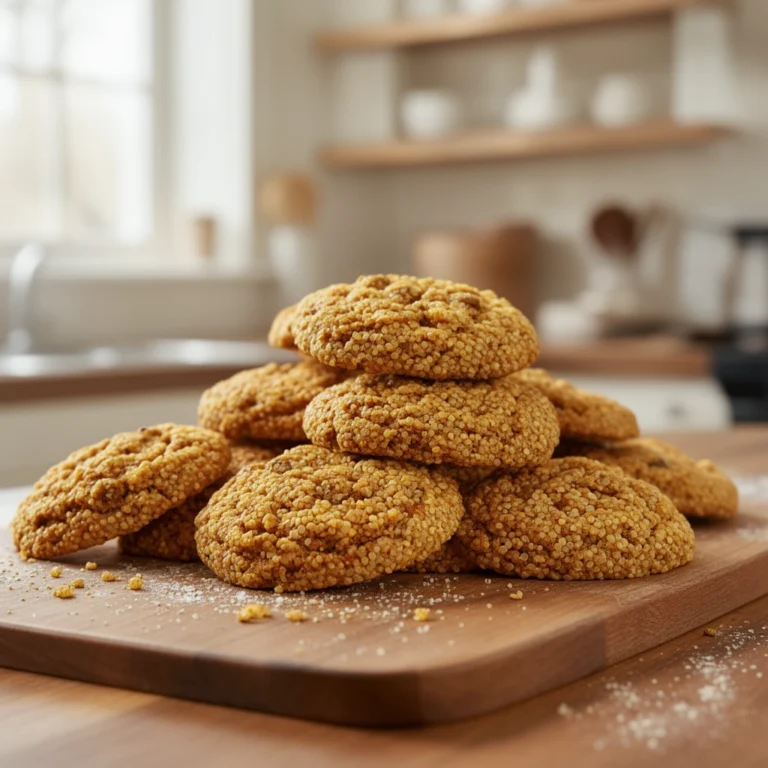
These have a softer, cookie-like texture that most puppies find easy to chew.
Recipe 5: Freeze-Dried Chicken Training Nuggets
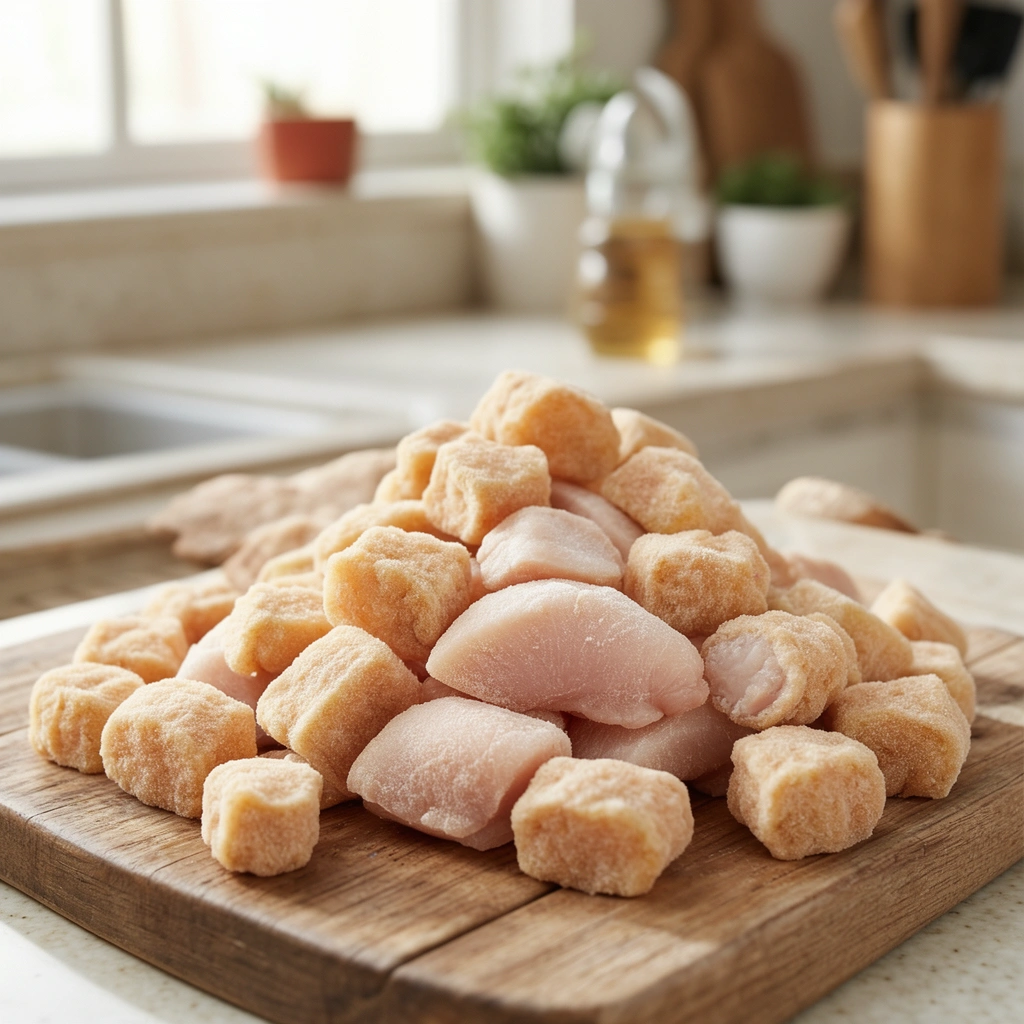
For pet parents without a dehydrator, this method uses your freezer instead.
Ingredients:
- 1 pound chicken breast, cut into small cubes
Steps:
- Boil the chicken cubes for 10 minutes until fully cooked.
- Pat the pieces completely dry with paper towels.
- Spread them on a parchment-lined tray, leaving space between each piece.
- Freeze for at least 24 hours.
- Store in the freezer and thaw a small batch before each training session.
This method skips the oven altogether and works well if you want a softer treat without added moisture from baking.
Tips for Success
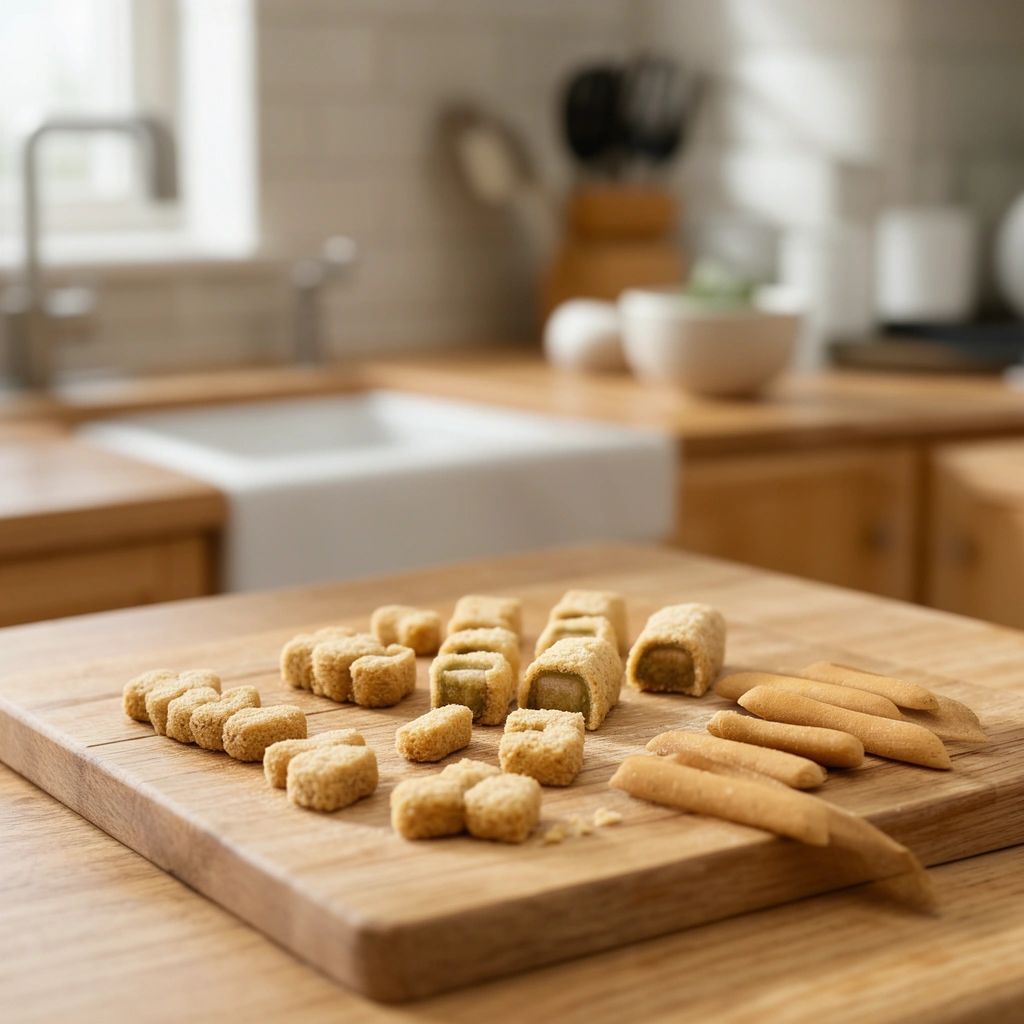
- Cut treats smaller than you think you need—training sessions work best with quick, tiny rewards.
- Always let treats cool completely before storing to avoid trapped moisture, which leads to mold.
- Use plain chicken without added salt, garlic, or seasoning since these can be harmful to puppies.
- Store baked treats in the fridge for up to a week or freeze for up to three months.
- Test a new treat in small amounts first to watch for any allergic reactions.
Common Mistakes and How to Avoid Them
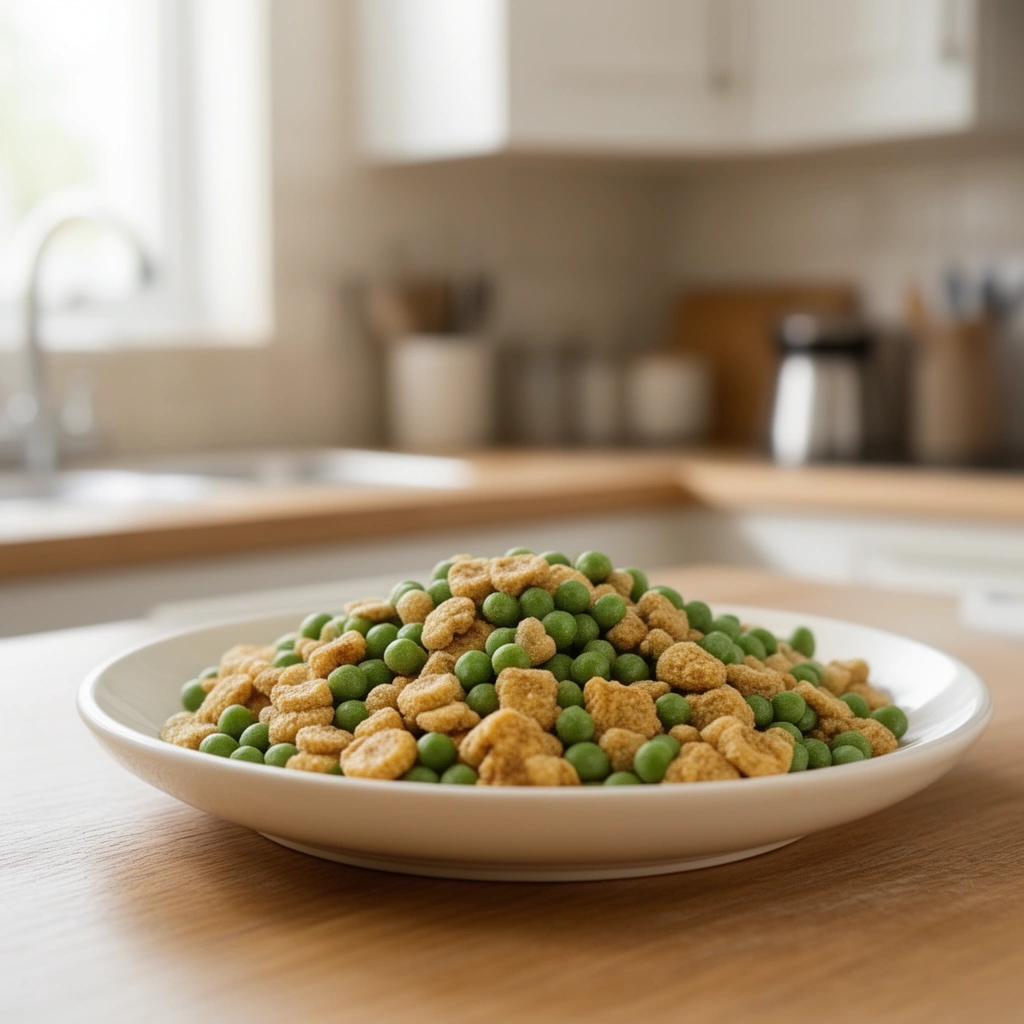
Mistake: Making treats too large
: This fills your puppy up fast and slows down training. Stick to pea-sized pieces.
Mistake: Skipping the cooling step
: Treats that go into storage while warm can trap steam, leading to soggy or moldy treats within days.
Mistake: Adding seasoning for flavor
: Puppies don’t need salt, pepper, garlic, or onion powder—chicken alone is already appealing to them, and some seasonings are toxic.
Mistake: Overcooking liver treats
: Liver dries out fast and can turn rock-hard if left in the oven too long. Check often.
Mistake: Not adjusting for allergies
: Some pups react poorly to eggs or oat flour. Watch for itching, stomach upset, or excessive licking after introducing a new treat.
Similar Variations to Try
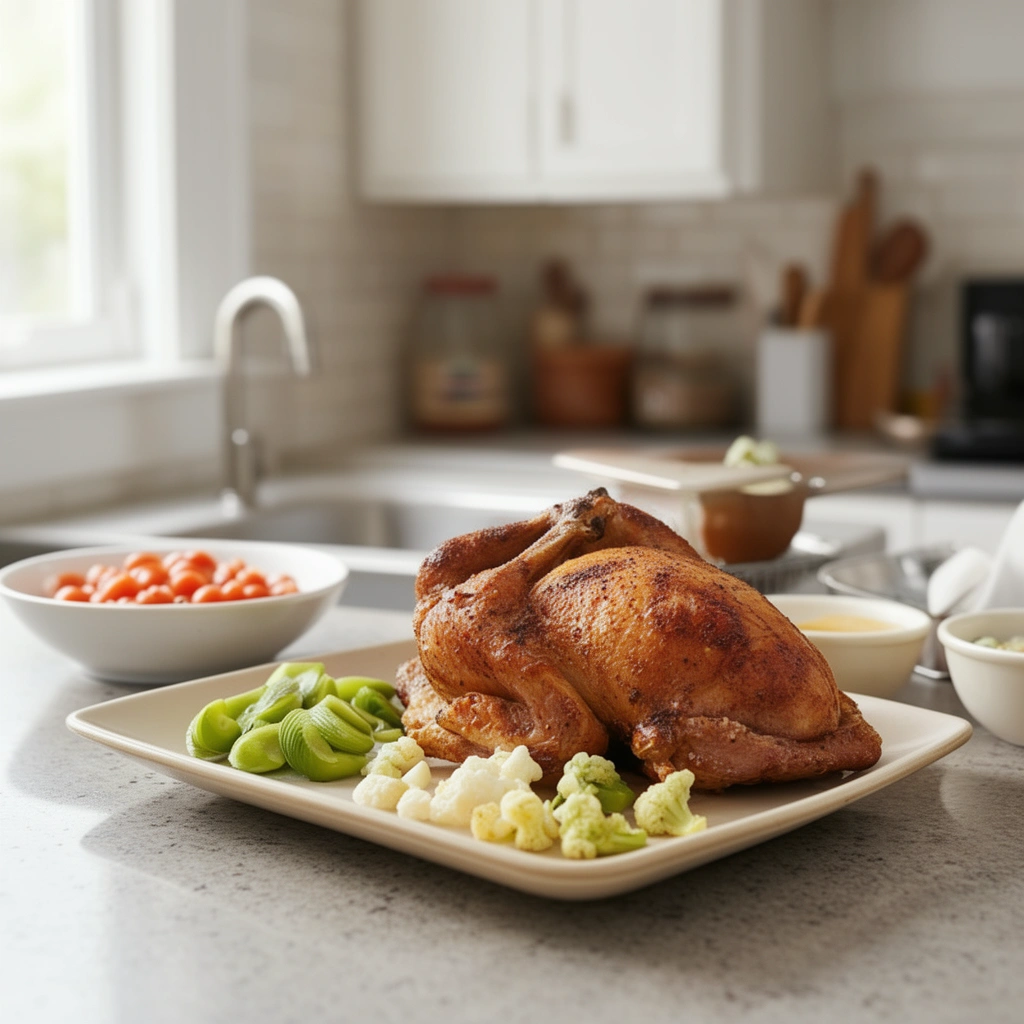
If your puppy needs variety or has specific dietary needs, here are some swaps and additions worth trying:
- Turkey instead of chicken: Works the same way in any of these recipes if your pup has a chicken sensitivity.
- Peanut butter chicken bites: Add a spoonful of unsweetened, xylitol-free peanut butter to the pumpkin cookie recipe for extra flavor.
- Chicken and carrot bites: Swap sweet potato for shredded carrot in the jerky recipe for a lower-calorie option.
- Grain-free version: Replace oat flour with coconut flour or ground flaxseed for pups with grain sensitivities.
- Freeze-dried liver crumbles: Follow the freeze-dry method from recipe five but use liver instead of chicken breast for an extra-stinky, high-value treat.
Wrapping It Up
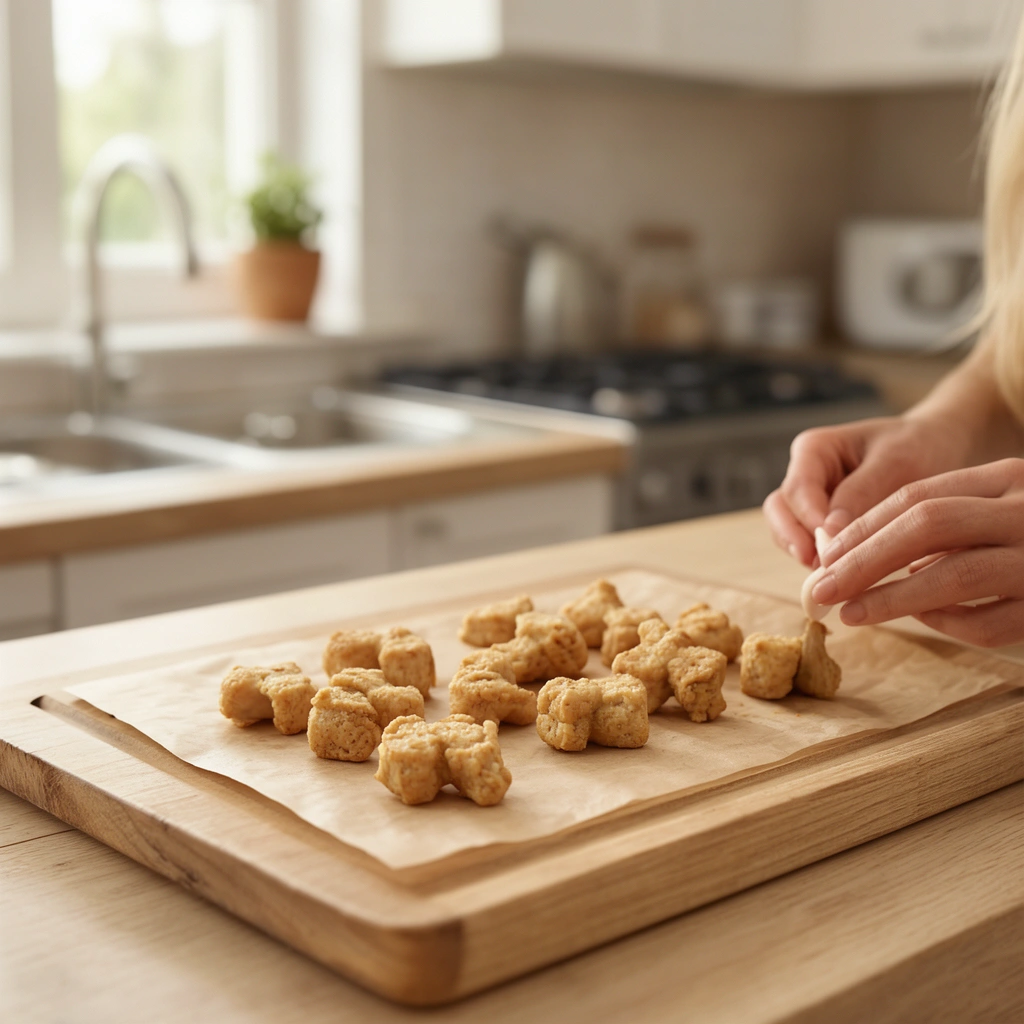
Making your own chicken training treats for puppies isn’t complicated, and honestly, it beats spending money on store-bought bags full of preservatives. Whether you go with soft baked bites, chewy jerky, or stinky liver squares, you’ll have full control over what goes into your pup’s mouth—and that peace of mind is worth the extra effort.
Give one of these five recipes a try this week. Your puppy’s training sessions (and taste buds) will thank you, and you’ll never look at store-bought chicken training treats the same way again.