5 Long-Lasting Chew Treats That Beat Boredom
Ever caught your pup staring at you with that “I’m-so-bored-I-could-chew-the-couch” look? Yeah, I’ve been there too. Long-lasting chew treats are honestly one of the best fixes for a bored, restless dog. They keep those jaws busy, calm anxious energy, and even help clean teeth while your furry friend gnaws away happily.
I’ve spent months testing recipes, watching my own dogs demolish (or sometimes ignore) different chews, and digging into what actually makes a treat “long-lasting” versus one that’s gone in ten minutes flat. This article covers everything I wish someone had told me sooner—safe ingredients, proper drying times, storage tricks, and mistakes that could turn a fun treat into a vet visit.
What We’re Making Today
I’m sharing five different homemade chew treats that dogs genuinely love and that actually last. These aren’t your typical five-minute biscuit recipes. We’re talking about treats designed specifically to keep a dog occupied for 20 minutes or more—perfect for crate time, rainy days, or when you just need a little peace and quiet.
Each recipe uses simple ingredients you can find at any grocery store or pet supply shop. No fancy equipment needed either. Just your oven, a dehydrator (optional but helpful), and some patience.
Key Terms You Should Know
Before jumping into the recipes, let’s clear up some terms that’ll pop up throughout this guide.
Dehydrating
: Removing moisture from food using low heat over several hours, which makes treats last longer and chewier.
Rawhide alternative
: A natural chew made from something other than animal hide, often safer and more digestible.
Single-ingredient treat
: A chew made from just one food source, ideal for dogs with allergies or sensitive stomachs.
Bully stick
: A dried muscle from beef, popular for its long-lasting chew and high protein content.
Choking hazard size
: The size at which a treat becomes small enough to swallow whole, posing a serious risk.
The 5 Long-Lasting Chew Treats
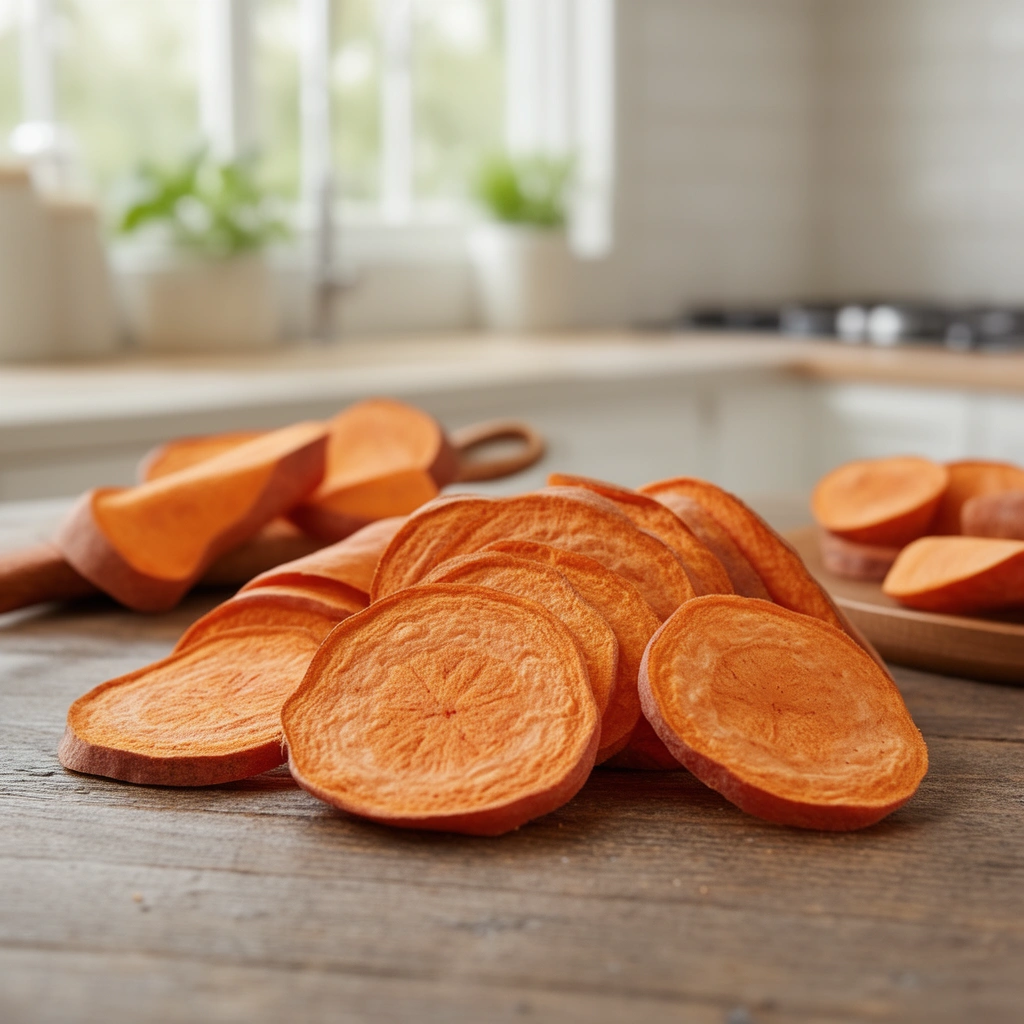
1. Sweet Potato Chews
Sweet potatoes are cheap, healthy, and dogs go nuts for them. Slicing them thin and dehydrating turns them into a chewy, satisfying treat.
What you’ll need:
- 2 large sweet potatoes
- A mandoline slicer or sharp knife
- Parchment paper
- Oven or dehydrator
Steps:
- Wash and peel the sweet potatoes.
- Slice them lengthwise into strips about ¼ inch thick.
- Lay strips on a parchment-lined baking sheet.
- Bake at 250°F for 3 hours, flipping halfway through.
- Let cool completely before serving.
- Store in an airtight container for up to two weeks.
2. Bully Sticks (Store-Bought Guide)
I’ll be honest—making bully sticks at home isn’t realistic for most people. But knowing how to pick a good one matters just as much as any recipe.
What to look for:
- Odor-free or low-odor options (better quality, less smell)
- Made from free-range beef
- Thickness matched to your dog’s chewing strength
- No artificial preservatives listed
Choose a thicker stick for power chewers. Thin ones disappear fast and can become a choking risk once they get small.
3. Frozen Peanut Butter and Banana Chews
This one’s a crowd-pleaser, especially in summer. It’s soft enough for older dogs but still takes time to finish because of the freezing.
Ingredients:
- 1 ripe banana
- ½ cup plain, unsalted peanut butter (no xylitol!)
- Silicone mold or ice cube tray
Steps:
- Mash the banana in a bowl until smooth.
- Mix in the peanut butter until fully combined.
- Spoon the mixture into molds.
- Freeze for at least 4 hours.
- Pop out and serve immediately, or store frozen for up to a month.
4. Dehydrated Chicken Jerky Strips
Chicken jerky is a favorite for a reason—it’s protein-packed and dogs practically inhale the smell before they even taste it.
Ingredients:
- 2 boneless, skinless chicken breasts
- No seasoning, no salt, nothing added
Steps:
- Slice chicken breasts into thin, even strips.
- Lay strips flat on a dehydrator tray or baking sheet.
- Dehydrate at 165°F for 4-6 hours, or bake at 250°F for about 3 hours.
- Check for a firm, leathery texture—not soft or mushy.
- Cool fully before storing in the fridge for up to a week.
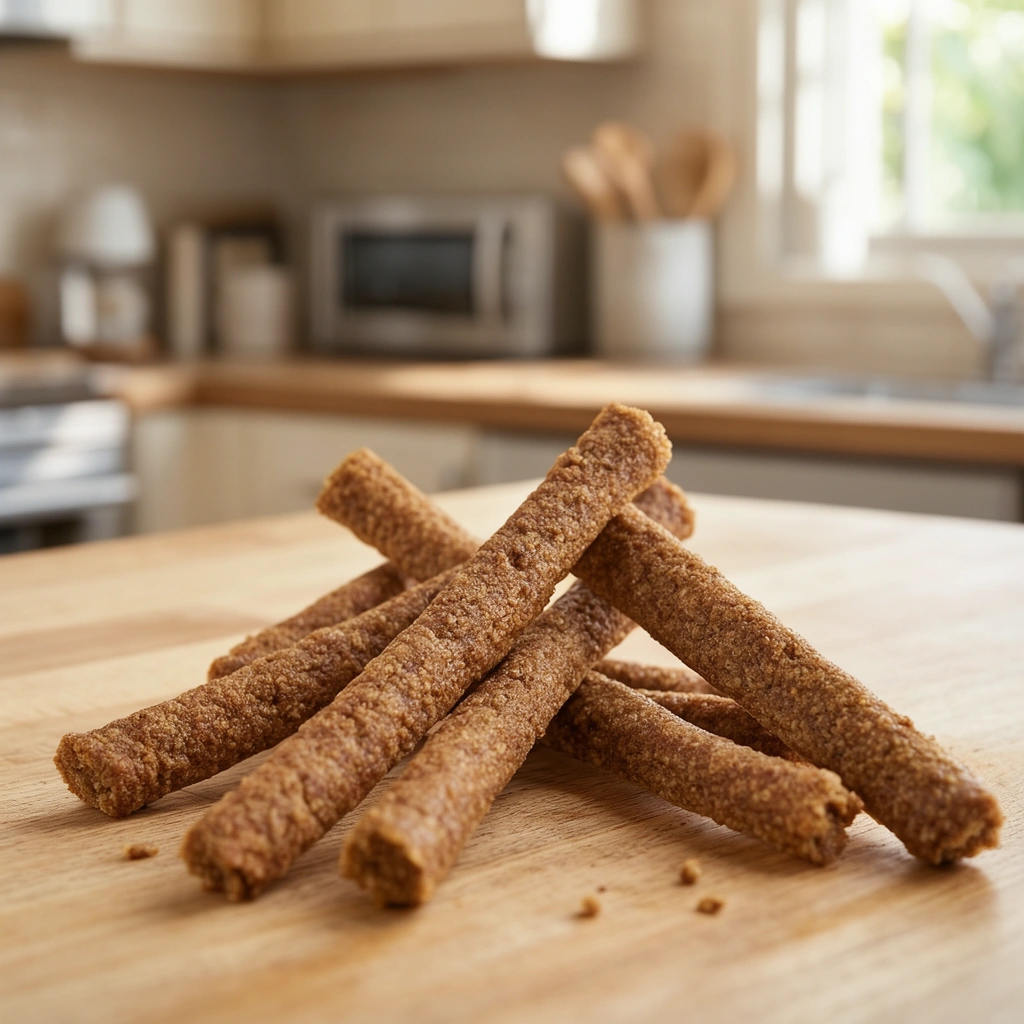
5. Pumpkin and Oat Hard Chews
These are great for dogs who like a crunchy, biscuit-style chew that still takes some real effort to finish.
Ingredients:
- 1 cup canned pumpkin (plain, not spiced)
- 2 cups rolled oats
- 1 egg
Steps:
- Preheat oven to 300°F.
- Mix pumpkin, oats, and egg into a thick dough.
- Roll dough into a sheet about ½ inch thick.
- Cut into sticks or shapes using a knife or cookie cutter.
- Bake for 45 minutes, then flip and bake another 30-40 minutes until hard.
- Cool completely—they’ll harden more as they sit.
- Store in an airtight container for up to three weeks.
Tips for Success
Getting these treats right takes a little know-how. Here’s what I’ve learned through trial and error:
- Always cut treats to match your dog’s size. A Chihuahua and a Great Dane need very different portions.
- Lower, slower baking temperatures create chewier, longer-lasting textures compared to high heat.
- Cool treats completely before storing—trapped heat creates moisture, and moisture invites mold.
- Label your storage containers with the date made. Homemade treats don’t have preservatives, so they spoil faster than store-bought ones.
- Introduce new treats slowly. Even natural ingredients can upset a sensitive stomach if given in large amounts right away.
Common Mistakes and How to Avoid Them

I’ve made plenty of these mistakes myself, so let me save you the trouble.
Mistake: Skipping the cooling step
Moist treats packed away warm turn moldy within days. Always let treats sit out until completely cool.
Mistake: Using seasoned or salted meat
Onion powder, garlic, and heavy salt are common in seasoned meats and are toxic or harmful to dogs. Stick to plain, unseasoned cuts.
Mistake: Ignoring your dog’s chewing style
Aggressive chewers can break off large chunks of harder treats, creating a choking risk. Watch your dog’s first few sessions with any new chew.
Mistake: Overestimating shelf life
Homemade treats lack preservatives. Don’t assume a treat lasts a month just because it looks dry on the outside.
Mistake: Choosing the wrong size stick or chew
A chew too small for a large dog becomes dangerous fast. Always size up rather than down for bigger breeds.
Similar Variations You Can Try

Once you’ve got the basics down, feel free to switch things up:
- Swap sweet potato for carrots or apples in the dehydrated chew recipe.
- Add a spoonful of plain yogurt to the peanut butter banana mix for extra creaminess.
- Use turkey breast instead of chicken for the jerky strips if your dog has a poultry sensitivity.
- Mix in a tablespoon of flaxseed to the oat chews for added omega-3s.
- Try coconut flour instead of oats for a grain-free version of the pumpkin chews.
Wrapping It Up
Boredom doesn’t have to mean a chewed-up shoe or a torn couch cushion. These five long-lasting chew treats give your dog something productive—and delicious—to focus on. Whether you go with sweet potato chews, frozen peanut butter bites, or crunchy pumpkin oat sticks, you’re giving your pup a safe outlet for that chewing instinct.
Start with one recipe, watch how your dog reacts, and adjust from there. Every dog is different, so what works for one might need tweaking for another. At the end of the day, a little effort in the kitchen means a happier, calmer dog—and honestly, that’s worth every minute spent making these long-lasting chew treats.