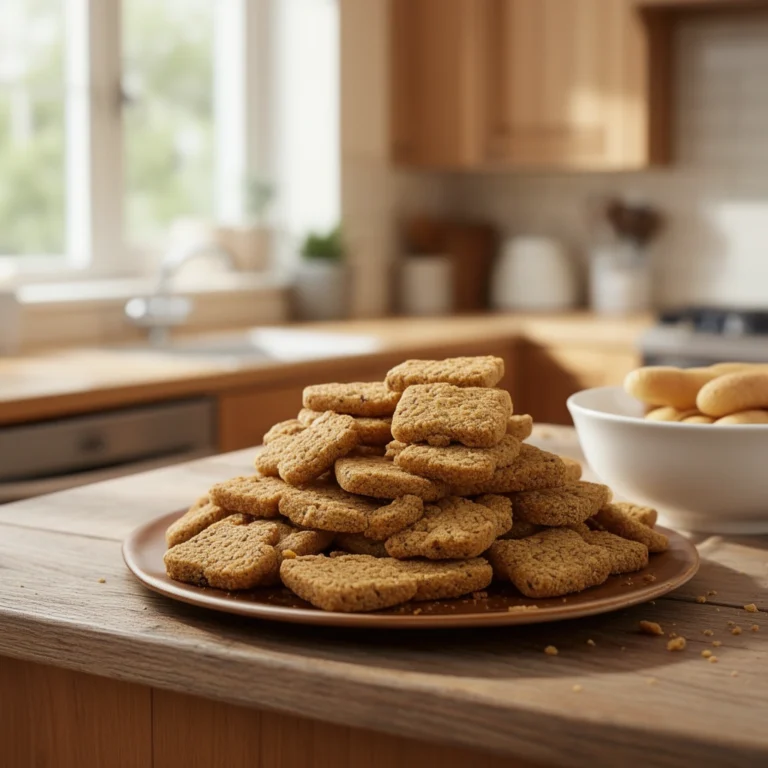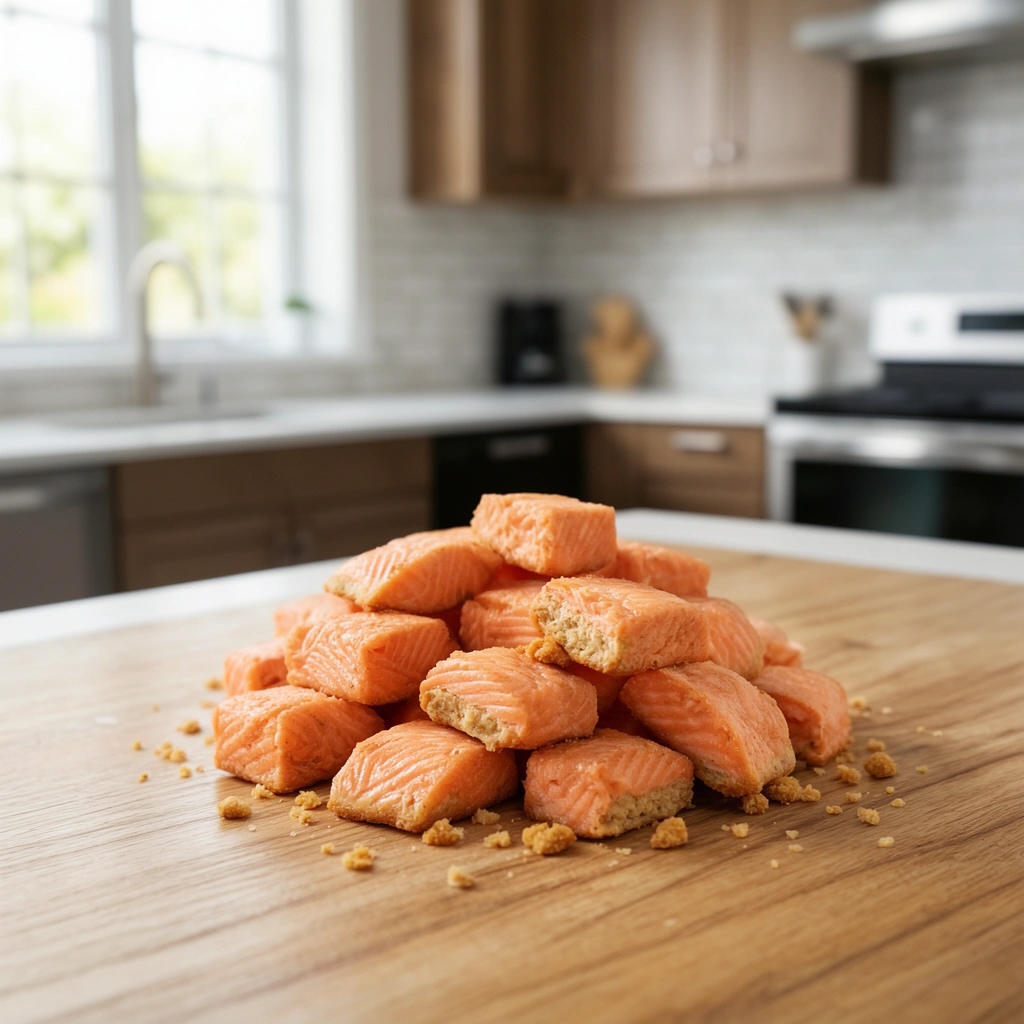
Salmon Dog Treats: A Complete Guide to Making Them Safely at Home
Ever caught your dog staring at your plate the second you open a can of salmon? Yeah, mine does that too. Salmon dog treats aren’t just a fun kitchen project—they’re one of the best ways to give your pup a healthy, protein-packed snack that actually smells good enough for you to consider eating too (don’t worry, I won’t judge). In this guide, I’m going to walk you through everything you need to know about making salmon dog treats at home, including a few things I noticed a lot of other recipe blogs tend to skip over.
Why Salmon Makes a Great Treat for Dogs
Salmon isn’t just a tasty fish. It’s loaded with nutrients that actually do something for your dog’s body. Before I get into the recipe, let’s talk about why this ingredient deserves a spot in your dog’s treat jar.
Salmon gives your dog:
- Omega-3 fatty acids that support skin health and reduce inflammation
- High-quality protein that helps build and repair muscle
- Vitamin D for bone strength and immune function
- B vitamins that support energy metabolism
- A shiny, soft coat thanks to those healthy fats
Here’s something a lot of articles gloss over: not all salmon is created equal. The type you buy actually matters a lot for your dog’s safety.
Key Terms You Should Know Before You Start
Wild-caught salmon
: Salmon caught in natural waters like rivers or oceans. Generally leaner and has fewer contaminants from farming practices.
Farm-raised salmon
: Salmon raised in controlled environments. Often fattier, which can be good or bad depending on your dog’s needs.
Neorickettsia helminthoeca
: A parasite found in raw Pacific salmon that causes “salmon poisoning disease” in dogs. This is deadly serious and one of the biggest reasons you should never feed raw salmon to your dog.
Dehydrating
: A cooking method that removes moisture from food using low heat over a long period, creating a chewy, shelf-stable treat.
Freezer-safe
: Describes treats that can be frozen without losing their texture or nutritional value once thawed.
I bring up that parasite because I noticed a lot of recipe sites just say “cook the salmon” without explaining why raw salmon is genuinely dangerous. It’s not a texture preference thing. Dogs can die from eating raw salmon caught in the Pacific Northwest, so this isn’t something to skip past.
What You’ll Need
Before jumping into the steps, gather your ingredients and tools. This isn’t a complicated recipe, but having everything ready makes the process smoother.
Ingredients:
- 1 pound of fresh or canned salmon (boneless, skinless is easiest)
- 1 cup of oat flour or almond flour
- 1 egg (helps bind everything together)
- 1 tablespoon of coconut oil (optional, adds extra shine to the coat)
- A splash of water if the mixture feels too dry
Tools:
- A food processor or blender
- A baking sheet
- Parchment paper
- A cookie cutter (or just use a knife for simple squares)
- An oven or dehydrator
Step-by-Step: How to Make Salmon Dog Treats
I’ve tested a few different methods, and this one gives the best balance of flavor, texture, and shelf life.
- Step 1: Cook the salmon first. Never use raw salmon. Bake, steam, or poach it until it’s fully cooked and flakes apart easily.
- Step 2: Remove bones and skin. Even small bones can be a choking hazard, so double-check by running your fingers through the flesh.
- Step 3: Blend the salmon. Toss the cooked fish into a food processor and pulse until it turns into a paste-like consistency.
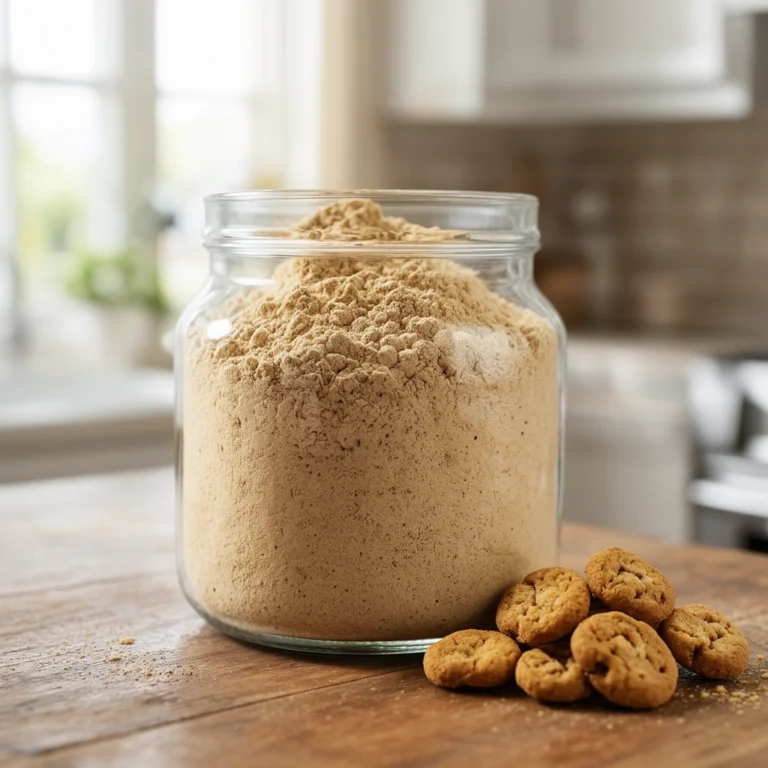
- Step 4: Add your dry ingredients. Mix in the oat flour a little at a time until you get a dough that holds together without being sticky.
- Step 5: Crack in the egg. This acts as a natural binder and adds a bit of extra protein.
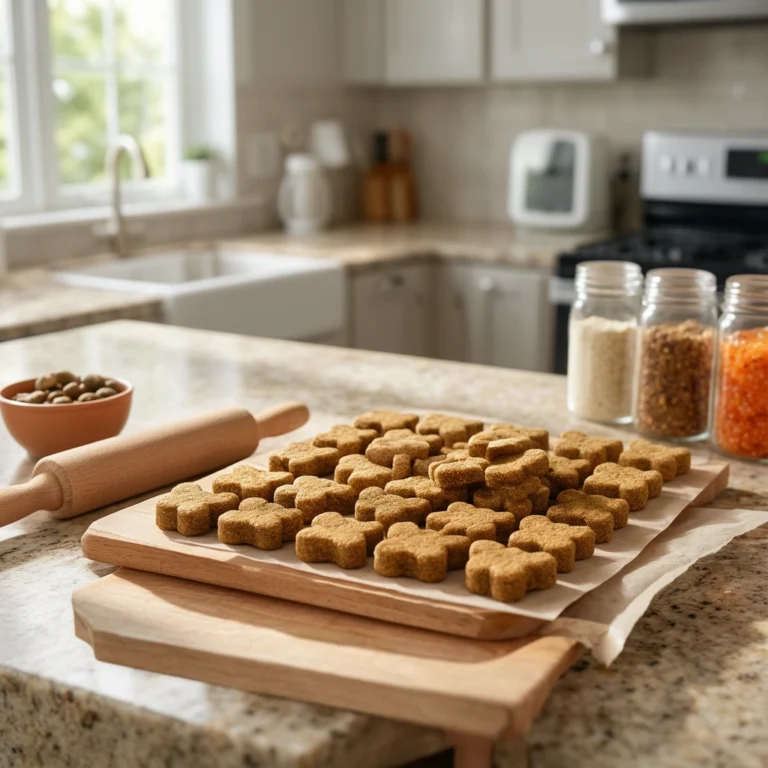
- Step 6: Roll out the dough. Use a rolling pin on a floured surface until it’s about a quarter-inch thick.
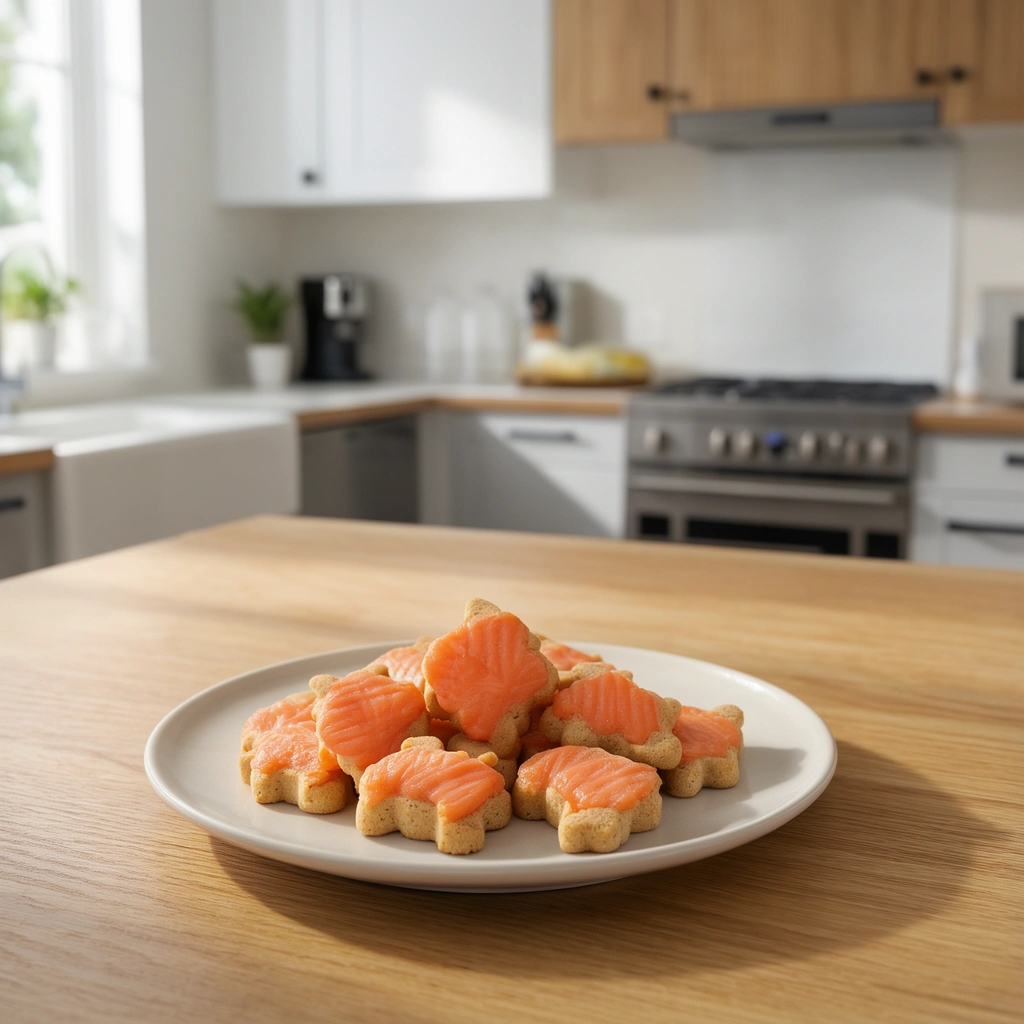
- Step 7: Cut into shapes. Bones, squares, or little fish shapes—whatever makes you smile.
- Step 8: Bake or dehydrate. For baking, use 300°F for about 20-25 minutes. For dehydrating, go low and slow at 145°F for 4-6 hours for a chewier treat.
- Step 9: Cool completely. Treats will firm up more as they cool, so don’t skip this part.
- Step 10: Store properly. Keep in an airtight container in the fridge for up to a week, or freeze for up to three months.
Tips for Success
I’ve made my fair share of crumbly, sad-looking treats before figuring out what actually works. Here’s what I’ve learned along the way.
- Always pat the salmon dry after cooking. Extra moisture makes the dough too wet and treats won’t hold their shape.
- If your dough feels too sticky, add flour a tablespoon at a time instead of dumping in a bunch at once.
- Smaller treats bake more evenly than large ones, especially if you’re making training treats.
- Let treats fully cool on a wire rack instead of the baking sheet. This keeps the bottoms from getting soggy.
- Test a small piece for texture before storing the whole batch. You want it firm, not mushy.
Common Mistakes and How to Avoid Them
Even simple recipes can go sideways. Here are the mistakes I see most often, plus how to dodge them.
Using raw salmon
: This is the biggest and most dangerous mistake. Always cook the salmon fully before using it in any recipe.
Leaving bones in the mix
: Even tiny bones can cause internal injury. Always double-check your fish before blending.
Adding seasoning
: Garlic, onion powder, and salt might taste great to us, but they’re toxic or harmful to dogs. Keep it plain and simple.
Skipping the cooling step
: Treats that go straight into a container while warm can turn soft and moldy faster.
Overbaking
: Salmon treats can dry out and crumble if left in the oven too long. Keep an eye on the clock and check early.
Ignoring portion size
: Treats should never make up more than 10% of your dog’s daily calories. Even healthy snacks add up fast.
Variations You Can Try
Once you’ve nailed the basic recipe, it’s fun to switch things up based on your dog’s preferences or dietary needs.
- Sweet potato salmon treats: Add mashed sweet potato instead of some of the flour for extra fiber and natural sweetness.
- Salmon and pumpkin bites: Great for dogs with sensitive stomachs, since pumpkin helps with digestion.
- Grain-free version: Swap oat flour for coconut flour or chickpea flour if your dog has grain sensitivities.
- Frozen salmon pupsicles: Blend cooked salmon with plain yogurt and freeze in ice cube trays for a summer treat.
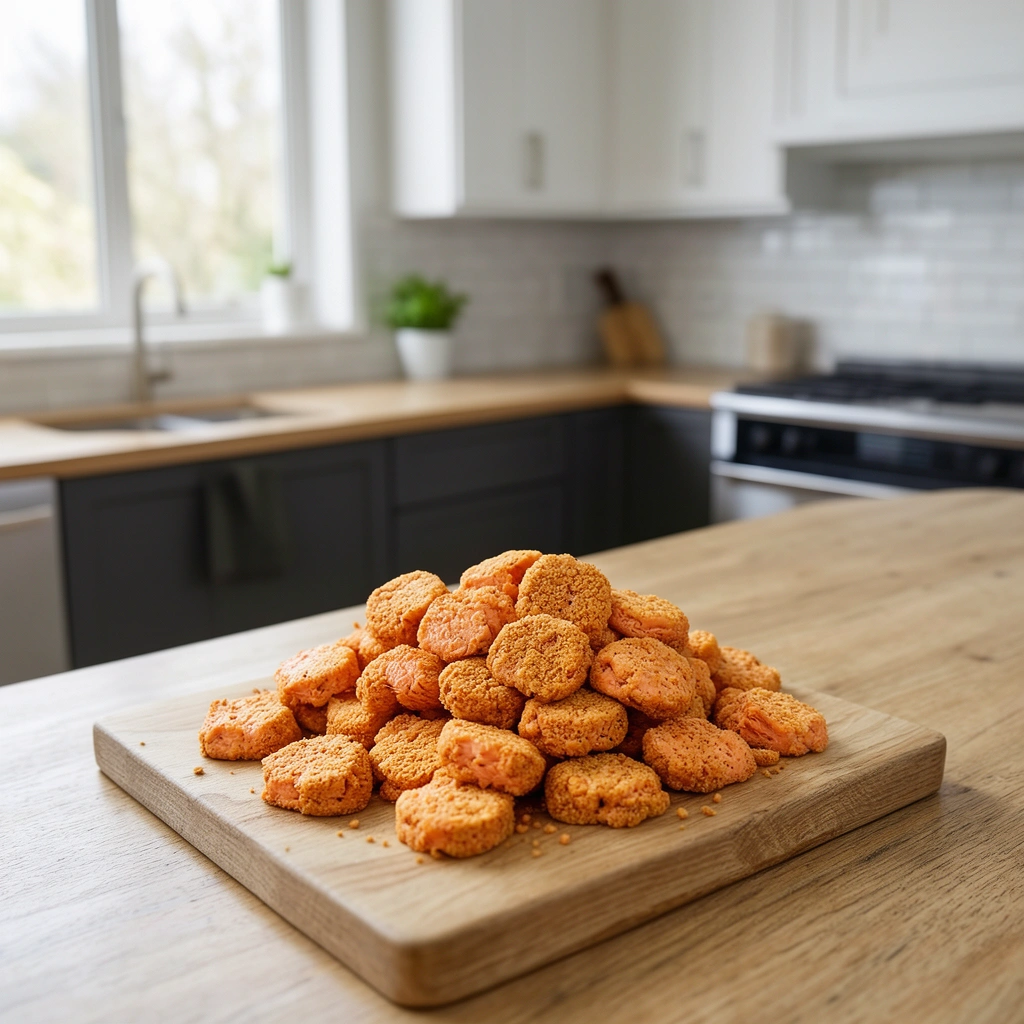
- Salmon jerky strips: Slice thin strips of cooked salmon and dehydrate for a chewy, single-ingredient treat.
Each variation gives you a way to keep things interesting without straying from the core benefits of using salmon as your main ingredient.
Wrapping It Up
Making salmon dog treats at home really isn’t complicated once you know the right steps and safety points to watch for. You get to control exactly what goes into your dog’s snack, skip the weird preservatives found in some store-bought bags, and bond with your pup over some quality kitchen time. Just remember to always cook the salmon fully, watch your portion sizes, and store everything properly so the treats stay fresh and safe.
Next time your dog gives you that pleading look, you’ll have a batch of homemade salmon dog treats ready to go, and you’ll know exactly what’s in every single bite.