Peanut Butter Dog Sandwich Cookies: A Treat Your Pup Will Beg For
Ever caught your dog staring at you with those big, hopeful eyes while you eat a sandwich? I have. That’s exactly why I started making peanut butter dog sandwich cookies. These little treats look just like the sandwich cookies we humans love, but they’re made completely safe and healthy for dogs. No sugar overload. No weird preservatives. Just simple, wholesome ingredients your furry friend will go crazy for.
I remember the first time I made these. My dog Max practically knocked me over trying to get to the cooling rack. That’s when I knew I had a winner.
What Exactly Are Peanut Butter Dog Sandwich Cookies?
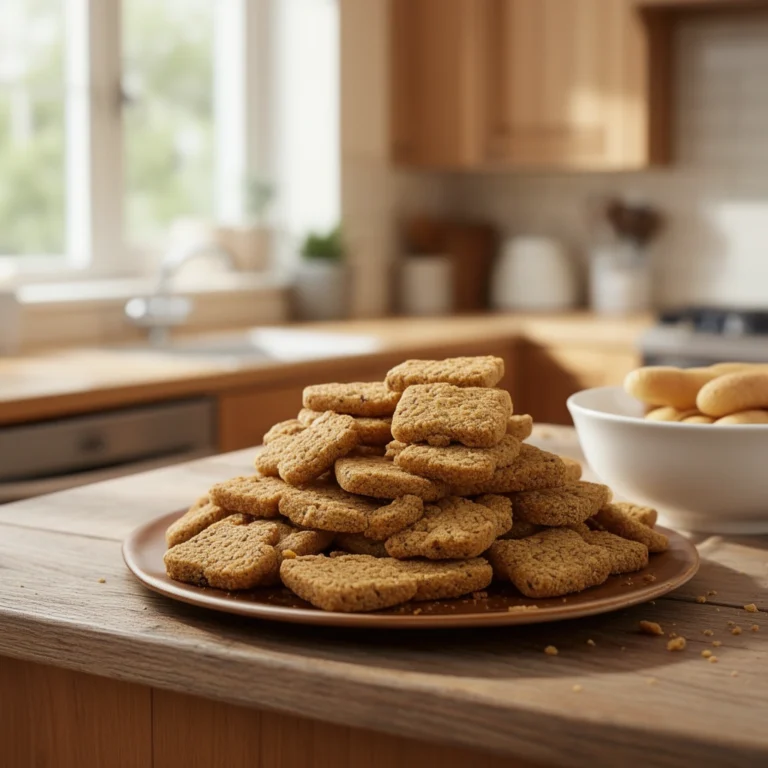
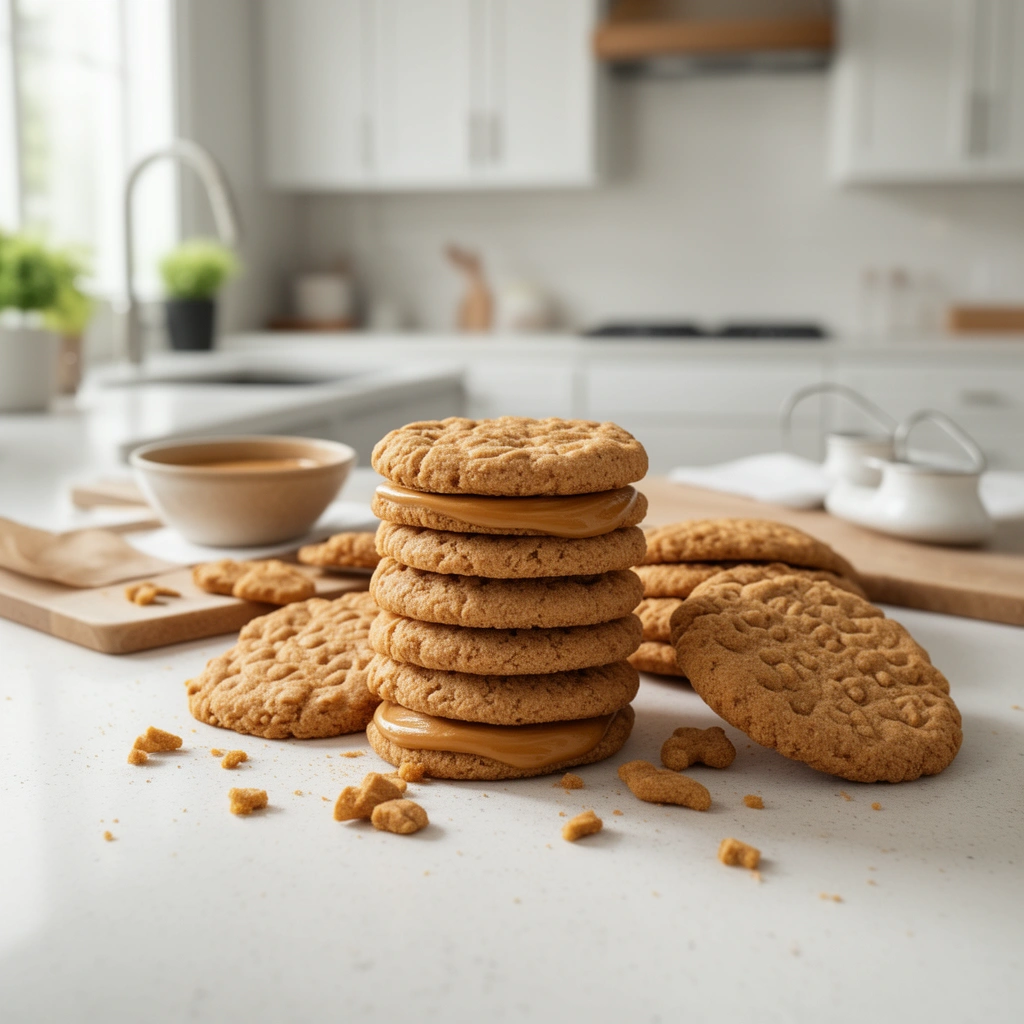
Let’s break this down simply. Picture two soft, oat-based cookies. In between them sits a creamy layer of dog-safe peanut butter filling. That’s it. Simple, right?
These aren’t your average dog biscuits either. Regular dog treats can feel dry and boring. These sandwich cookies bring texture, flavor, and a bit of fun to treat time. They’re perfect for training rewards, special occasions, or just because your dog deserves something nice.
The best part? You control every single ingredient. No mystery additives. No fillers you can’t pronounce. Just good, honest food made with love.
Key Terms You Should Know
Before we dive into the recipe, let’s clear up some terms you’ll see throughout this guide.
Xylitol
: A sugar substitute found in many human foods and some peanut butter brands. This ingredient is toxic to dogs and can cause seizures or death. Always check labels carefully.
Dog-Safe Peanut Butter
: Peanut butter made without xylitol, added sugars, or excessive salt. Many brands now sell peanut butter specifically labeled for pets.
Rolled Oats
: Whole oat grains that have been steamed and flattened. They provide fiber and help bind the cookie dough together.
Binding Agent
: An ingredient like egg or mashed banana that holds the dough together so it doesn’t crumble apart.
Cooling Rack
: A wire rack that allows air to circulate around baked goods, helping them cool evenly without getting soggy on the bottom.
Ingredients You’ll Need
Here’s what goes into these tasty treats:
- 2 cups rolled oats (ground into flour using a blender)
- 1 cup whole wheat flour (or oat flour for a gluten-free option)
- 1 egg
- 1/3 cup unsweetened applesauce
- 1/2 cup natural peanut butter (xylitol-free)
- 1/4 cup water (add more if needed)
- 1 teaspoon cinnamon (optional, but dogs seem to love it)
For the filling:
- 1/2 cup dog-safe peanut butter
- 2 tablespoons plain Greek yogurt
- 1 tablespoon coconut oil (softened, not melted)
Step-by-Step Instructions
Making these cookies isn’t hard. Follow these steps and you’ll have a batch ready in under an hour.
Preparing the Dough
- Preheat your oven to 350°F (175°C).
- Grind your rolled oats into a flour-like texture using a blender or food processor.
- In a large bowl, mix the oat flour, whole wheat flour, and cinnamon together.
- Add the egg, applesauce, and peanut butter to the dry mixture.
- Slowly pour in water while stirring until the dough forms a thick, workable ball.
- If the dough feels too dry, add a tablespoon of water at a time until it holds together.
Rolling and Cutting
- Place the dough on a lightly floured surface.
- Roll it out until it’s about 1/4 inch thick.
- Use a small round cookie cutter to cut out shapes. You’ll need an even number since each sandwich needs two cookies.
- Place the cut dough onto a parchment-lined baking sheet, spacing them slightly apart.
Baking
- Bake for 12 to 15 minutes, or until the edges turn golden brown.
- Remove from the oven and let the cookies cool completely on a wire rack. This step matters more than people think. Warm cookies will melt your filling instantly.
Making the Filling
- In a small bowl, combine the peanut butter, Greek yogurt, and softened coconut oil.
- Stir until smooth and creamy.
- If the mixture seems too thin, pop it in the fridge for 10 minutes to firm up slightly.
Assembling the Sandwiches
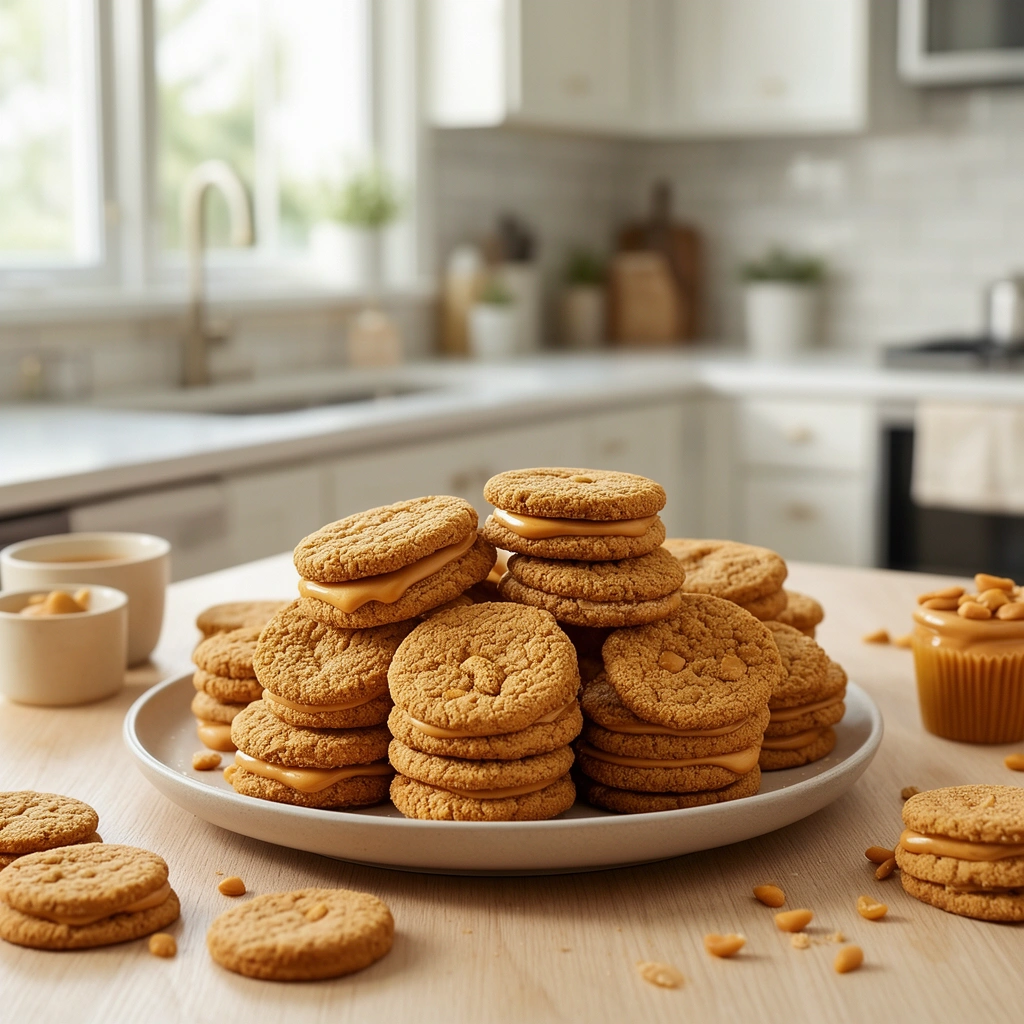
- Spread about a teaspoon of filling onto the flat side of one cookie.
- Top it with a second cookie, flat side down, and gently press together.
- Repeat until all cookies are used up.
- Store finished sandwiches in the refrigerator for at least 30 minutes before serving. This helps the filling set properly.
Tips for Success
Getting these cookies just right takes a little practice. Here are some pointers that helped me along the way.
- Always double-check your peanut butter label. Some brands sneak xylitol into their ingredients without much warning.
- Use parchment paper on your baking sheet. It prevents sticking and makes cleanup way easier.
- Let cookies cool fully before adding filling. Warm cookies cause melty, messy sandwiches.
- Store finished treats in an airtight container in the fridge. They’ll stay fresh for about a week.
- Freeze extras if you’re not planning to use them right away. They thaw quickly and taste just as good.
- Cut cookies uniformly in size. This makes matching pairs for sandwiches much simpler.
Common Mistakes and How to Avoid Them
I’ve made my fair share of blunders with this recipe. Here’s what to watch out for.
Using the Wrong Peanut Butter
This is the biggest mistake people make. Xylitol shows up in many “natural” or “healthy” peanut butter brands marketed to humans. Always read the ingredient list, not just the front label.
Rolling Dough Too Thin
Thin cookies break easily and don’t hold filling well. Aim for about 1/4 inch thickness for sturdy, sandwich-worthy cookies.
Skipping the Cooling Step
I get it. You’re excited to see the finished product. But rushing this step ruins the texture and causes the filling to ooze out everywhere.
Overfilling the Sandwiches
A little filling goes a long way. Too much and you’ll have a gooey mess that falls apart when your dog tries to eat it.
Forgetting to Check for Allergies
Some dogs have sensitivities to wheat or eggs. If your pup has never tried these ingredients before, start with a small piece and watch for any reactions like itching or stomach upset.
Variations You Can Try
Once you’ve mastered the basic recipe, feel free to get creative. Here are some fun twists.
Banana Peanut Butter Version
Swap the applesauce for mashed ripe banana. This adds natural sweetness and extra potassium.
Pumpkin Spice Sandwiches
Add 1/4 cup of pumpkin puree to the dough and skip the cinnamon for a slightly different flavor profile. Pumpkin also helps with digestion.
Carob Filling Alternative
If your dog needs a break from peanut butter, try a carob-based filling instead. Carob is safe for dogs, unlike chocolate, and offers a slightly sweet, earthy taste.
Gluten-Free Option
Replace whole wheat flour with oat flour entirely. This works well for dogs with grain sensitivities.
Frozen Yogurt Filling
Instead of the peanut butter filling, use frozen plain yogurt mixed with a spoonful of peanut butter. This creates a cool, refreshing treat perfect for hot summer days.
Wrapping Things Up
Making peanut butter dog sandwich cookies at home gives you full control over what your dog eats. You skip the questionable additives found in store-bought treats. You get to bond with your pup during the baking process too. Plus, watching them enjoy something you made with your own hands? That feeling never gets old.
Start with the basic recipe, then experiment with variations that fit your dog’s taste and dietary needs. Whether you stick with classic peanut butter or branch out into pumpkin and banana versions, your dog will thank you with wagging tails and happy barks. Give these peanut butter dog sandwich cookies a try this weekend. Your best friend deserves it.