Carob Dog Treats: The Ultimate Guide to Safe, Sweet Snacks Your Pup Will Love
Ever caught your dog giving you those big, sad eyes while you unwrap a chocolate bar? I know that feeling all too well. My dog Max used to sit right next to me, drooling, hoping I’d share. But here’s the thing—chocolate is toxic to dogs. That’s where carob dog treats come to the rescue.
Carob looks like chocolate. It smells kind of like chocolate too. But it’s completely safe for our furry friends. I started making carob treats at home a couple years ago, and honestly, it changed snack time for my whole household. No more guilt. No more worry. Just happy tail wags.
In this guide, I’m going to walk you through everything about carob dog treats—what carob actually is, how to make treats at home, mistakes to dodge, and fun variations to try. Let’s get into it.
What Exactly Are Carob Dog Treats?
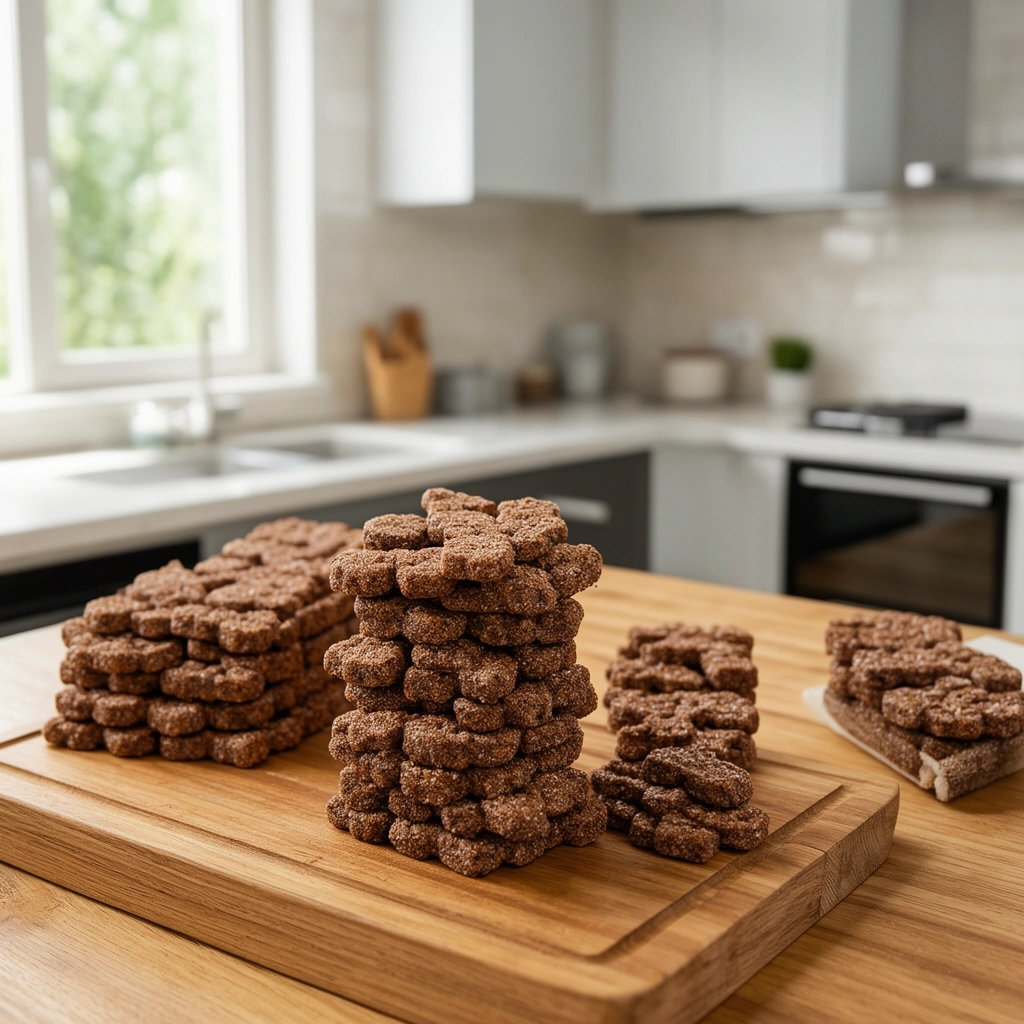
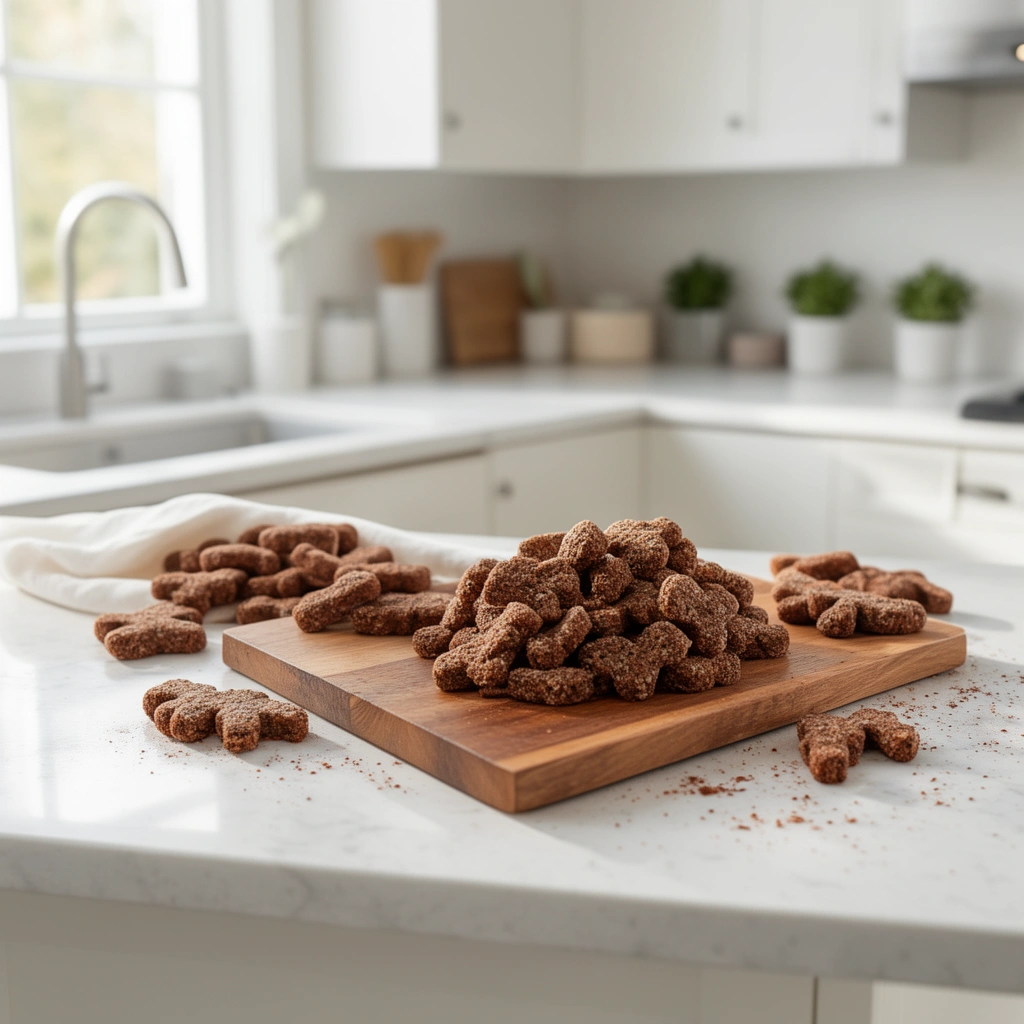
So what makes these treats special? Carob dog treats are baked snacks made using carob powder or carob chips instead of cocoa or chocolate. The carob comes from the pods of the carob tree, which grows in Mediterranean regions.
Unlike chocolate, carob contains no theobromine. That’s the chemical compound that makes chocolate dangerous for dogs. Theobromine messes with a dog’s heart rate and nervous system. Even small amounts can cause vomiting, seizures, or worse.
Carob, on the other hand, is naturally sweet, caffeine-free, and packed with fiber. It even has a decent amount of calcium and vitamins. So when you bake carob treats for your dog, you’re giving them something that tastes like a treat but works more like a health boost.
I’ll be honest, the first time I tasted carob myself, I was surprised. It’s earthier than chocolate, a bit less sweet, but still satisfying. Dogs seem to genuinely enjoy the flavor too.
Key Terms You Should Know
Before we jump into the recipe, let’s break down some terms you’ll see throughout this article.
Carob Powder
: A fine powder made from ground, dried carob pods. Used as a chocolate substitute in baking.
Carob Chips
: Small chip-shaped pieces made from carob, often used similarly to chocolate chips but safe for dogs.
Theobromine
: A toxic compound found in cocoa and chocolate that dogs cannot metabolize properly.
Xylitol
: An artificial sweetener extremely toxic to dogs, even in tiny amounts. Never use this in dog treats.
Binder
: An ingredient like egg or pumpkin puree that holds treat dough together.
Now that we’ve got the basics down, let’s talk about what you’ll actually need to make these treats.
What You’ll Need Before You Start
Here’s a simple list of ingredients and tools that work well for a basic batch of carob dog treats.
Ingredients:
- 1 cup whole wheat flour (or oat flour for grain-sensitive pups)
- 1/2 cup carob powder
- 1/2 cup pumpkin puree (unsweetened, plain)
- 1 large egg
- 2 tablespoons peanut butter (xylitol-free)
- 1/4 cup water (add more if needed)
Tools:
- Mixing bowl
- Rolling pin
- Cookie cutters (bone shapes are fun, but any shape works)
- Baking sheet
- Parchment paper
- Oven
That’s really it. Nothing fancy. I actually used a mason jar lid as a cookie cutter once because I couldn’t find mine. Worked just fine.
Step-by-Step: How to Make Carob Dog Treats
Alright, let’s get into the actual process. I’ve made this recipe dozens of times, and it’s pretty forgiving even if you’re new to baking.
- Preheat your oven to 350°F (175°C). Line your baking sheet with parchment paper.
- Mix dry ingredients. In a large bowl, combine the flour and carob powder. Whisk them together so there are no clumps.
- Add wet ingredients. Stir in the pumpkin puree, egg, and peanut butter. Mix until it starts forming a dough.
- Adjust texture. Slowly add water, a tablespoon at a time, until the dough feels firm but not sticky. You want something you can roll out without it falling apart.
- Knead briefly. Just a minute or two on a floured surface helps everything come together nicely.
- Roll out the dough. Aim for about 1/4 inch thickness. Thinner treats bake crispier, thicker ones stay chewier.
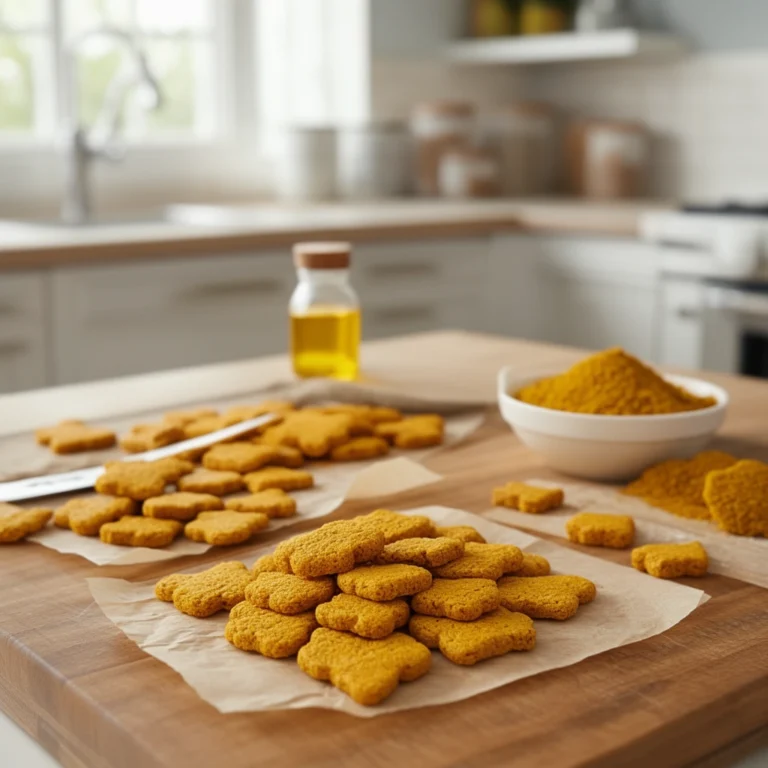
- Cut shapes. Use your cookie cutters to create fun shapes. Place them on the baking sheet with a little space between each one.
- Bake for 20-25 minutes. Keep an eye on them toward the end. You want them firm and slightly golden, not burnt.
- Cool completely. This step matters more than people think. Cooling helps them firm up and get that satisfying crunch.
- Store properly. Keep treats in an airtight container. They’ll last about a week at room temperature, longer in the fridge.
That’s the whole process. Pretty straightforward, right? My dog usually starts pacing around the kitchen the moment he smells these baking.
Tips for Success
I’ve learned a few things through trial and error that make a real difference.
- Always double-check your carob powder label. Some brands sneak in sugar or other additives you don’t want.
- Use unsweetened pumpkin puree, not pumpkin pie filling. Pie filling has spices and sugar that aren’t great for dogs.
- Roll dough evenly. Uneven thickness means some treats burn while others stay underdone.
- Let treats cool on a wire rack instead of the baking sheet. This prevents sogginess on the bottom.
- If your dough feels too dry, add water in tiny amounts. It’s easier to add moisture than to fix a soggy mess.
- Test a small piece with your dog before baking a huge batch. Every pup has different taste preferences.
Common Mistakes and How to Avoid Them
I’ve messed up more than a few batches over the years, so let me save you some trouble.
Mistake: Using chocolate instead of carob by accident.
This sounds obvious, but carob and cocoa powder can look similar in bulk bins or unlabeled containers. Always double-check your packaging before baking.
Mistake: Adding xylitol or other sweeteners.
Some recipes call for “natural” sweeteners without checking dog safety. Xylitol is deadly for dogs, even in small doses. Stick to pumpkin or plain applesauce for sweetness instead.
Mistake: Overbaking the treats.
Carob treats can go from perfectly crunchy to rock hard pretty fast. Set a timer and check a few minutes before the recipe suggests.
Mistake: Skipping the cooling step.
Warm treats seem softer and more appealing, but they won’t hold their shape or texture properly until fully cooled.
Mistake: Not adjusting for allergies.
Some dogs have wheat or egg sensitivities. Always know your dog’s dietary restrictions before introducing new ingredients.
Fun Variations to Try
Once you’ve nailed the basic recipe, it’s fun to switch things up. Here are some variations I’ve personally tested at home.
Carob Peanut Butter Bites
: Add extra peanut butter and swap half the flour for oat flour. Creates a softer, chewier texture.
Carob Banana Treats
: Mash one ripe banana into the dough for natural sweetness and a fruity twist.
Carob Coconut Crisps
: Mix in a tablespoon of unsweetened shredded coconut for added texture and flavor.
Frozen Carob Yogurt Drops
: Melt carob chips, mix with plain dog-safe yogurt, and freeze in small silicone molds for a cool summer treat.
Carob Oat Bars
: Use rolled oats instead of flour for a heartier, fiber-rich version. Great for dogs needing extra digestive support.
Each variation keeps that safe, chocolate-like flavor dogs love while switching up texture and nutrition slightly. I rotate through these depending on the season. Frozen yogurt drops are a hit during summer walks.
Wrapping It Up
Making carob dog treats at home isn’t complicated, and the payoff is huge. You get to watch your dog enjoy a sweet, chocolate-like snack without any of the danger real chocolate brings. Plus, homemade treats mean you control every single ingredient that goes into your dog’s body.
I’ve been baking these for years now, and honestly, it’s become one of my favorite weekend activities with my dog hovering nearby, waiting for a taste test. Whether you stick with the basic recipe or try one of the fun variations, carob dog treats are a simple way to spoil your pup safely. Give it a try this weekend—your dog will probably start doing that happy little dance the moment the oven timer goes off.