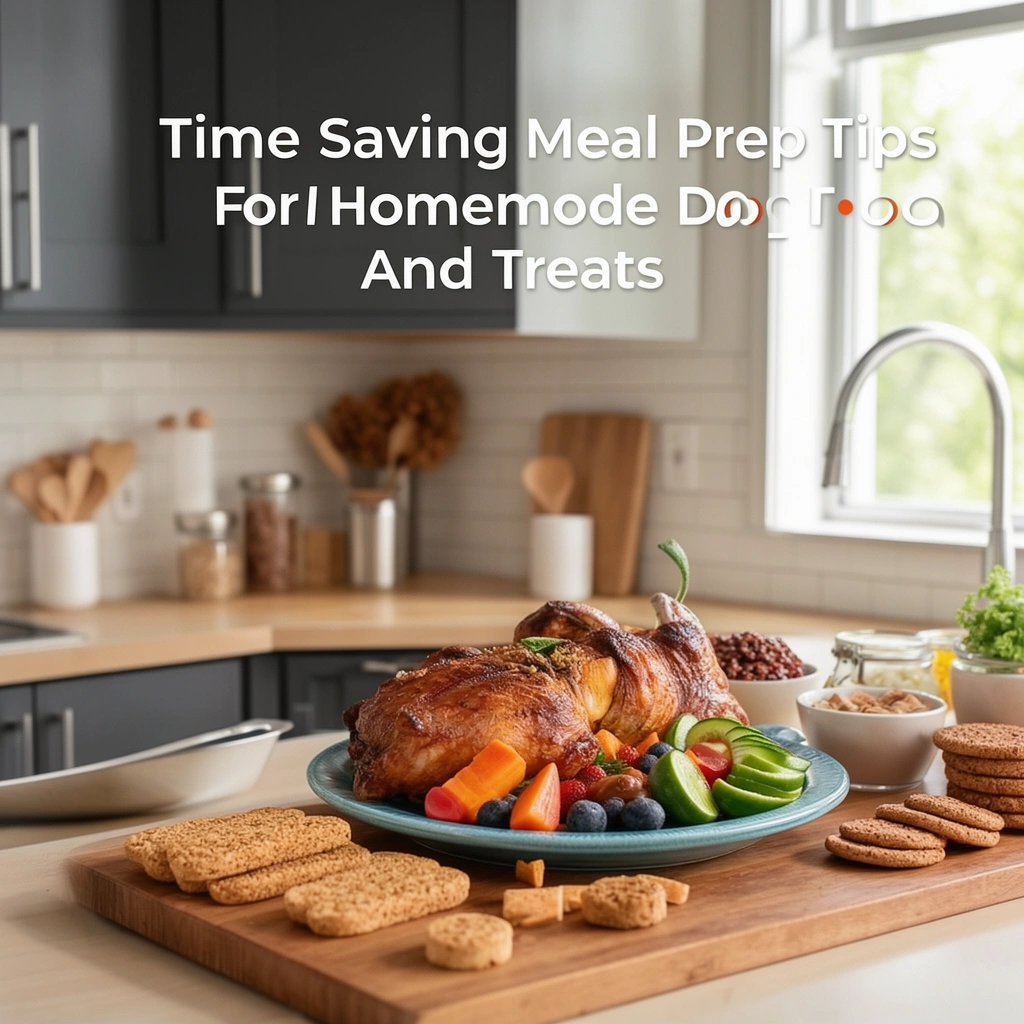
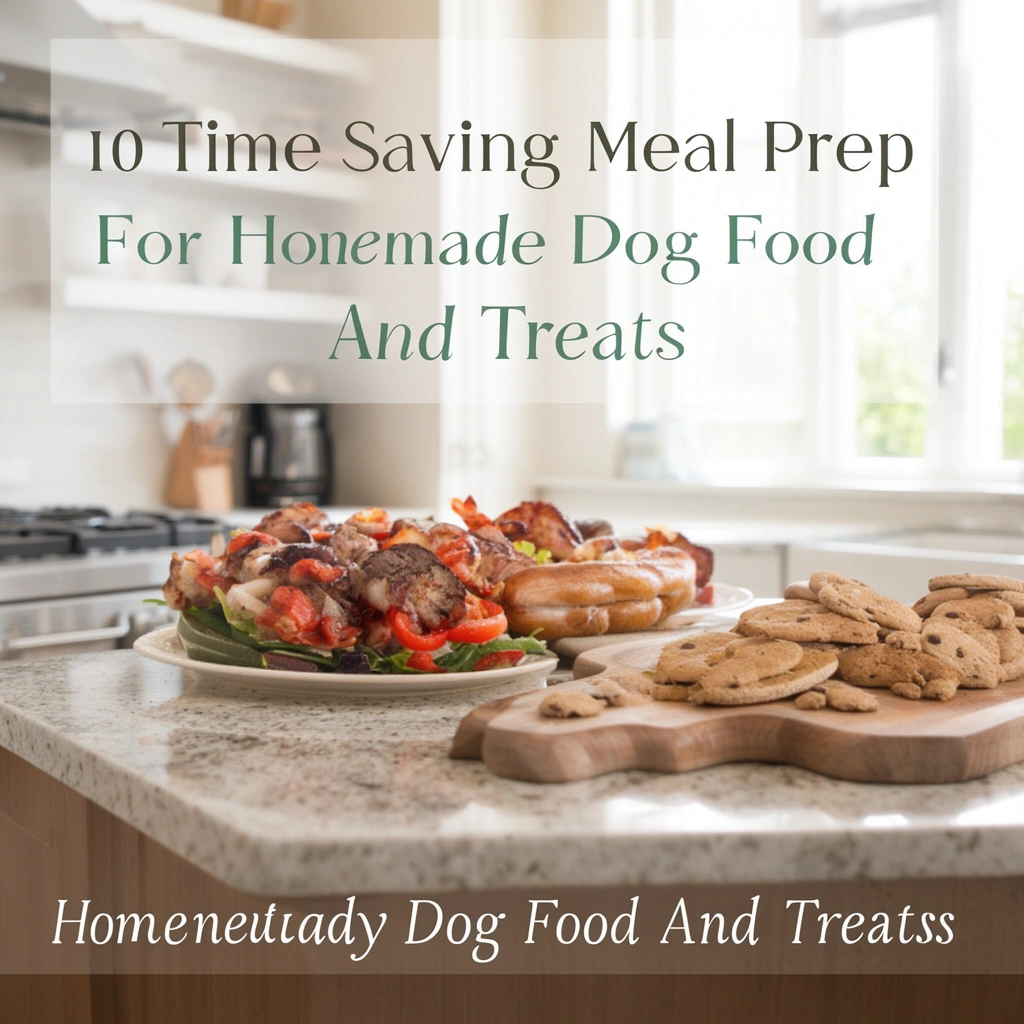
10 Time-Saving Meal Prep Tips For Homemade Dog Food And Treats
Ever stood in your kitchen at 9 PM, dog food ingredients scattered everywhere, wondering why you decided to make homemade dog food in the first place? I’ve been there. Cooking for your pup can feel like a second job if you don’t have a system. But here’s the good news: with the right meal prep tips for homemade dog food, you can cut your kitchen time in half while giving your dog fresher, healthier meals than anything from a bag.
I started making my own dog food years ago after my Cavalier’s stomach couldn’t handle store-bought kibble anymore. What began as a stressful weekly chore turned into a smooth, almost relaxing routine once I figured out the right shortcuts. Let me walk you through everything I wish someone had told me on day one.
What We’re Building: A Repeatable Meal Prep System
Before diving into tips, let’s talk about what we’re actually creating here. This isn’t just “cook once, eat all week.” A proper meal prep system for dog food means having a repeatable routine that covers shopping, cooking, portioning, storing, and rotating meals so your dog gets variety without you losing your sanity.
Think of it like meal prepping for yourself, but with stricter safety rules and different nutritional targets. Dogs need specific ratios of protein, fat, carbs, and micronutrients, so batch cooking isn’t just about convenience. It’s about consistency too.
Key Terms You Should Know
Batch cooking: Preparing large quantities of one recipe at once, then dividing it into smaller portions for later use.
Portioning: Measuring out individual meal sizes based on your dog’s weight, age, and activity level.
Freezer burn: Dehydration and oxidation that happens to frozen food when it’s not sealed properly, causing dry, grayish patches and off flavors.
Rotation feeding: Alternating between different protein sources and recipes to prevent nutrient gaps and food boredom.
Balanced homemade diet: A diet that includes the right proportions of protein, healthy fats, carbohydrates, calcium, and other essential nutrients dogs need daily.
Dehydrating: Removing moisture from treats or food using low, steady heat to extend shelf life without cooking at high temperatures.
Tools That Actually Save You Time
Before jumping into the steps, gather these tools. Trust me, having the right equipment makes the biggest difference in how fast this whole process goes.
- Large stockpot or slow cooker for batch cooking proteins and grains
- Food processor or blender for pureeing veggies and organs
- Digital kitchen scale for accurate portioning
- Silicone muffin trays or ice cube trays for freezing individual portions
- Vacuum sealer or heavy-duty freezer bags
- Permanent marker and masking tape for labeling
- Dehydrator (optional but a game-changer for treats)
Step-By-Step Meal Prep Process
Here’s the exact process I follow every couple of weeks. It’s simple once you get the hang of it.
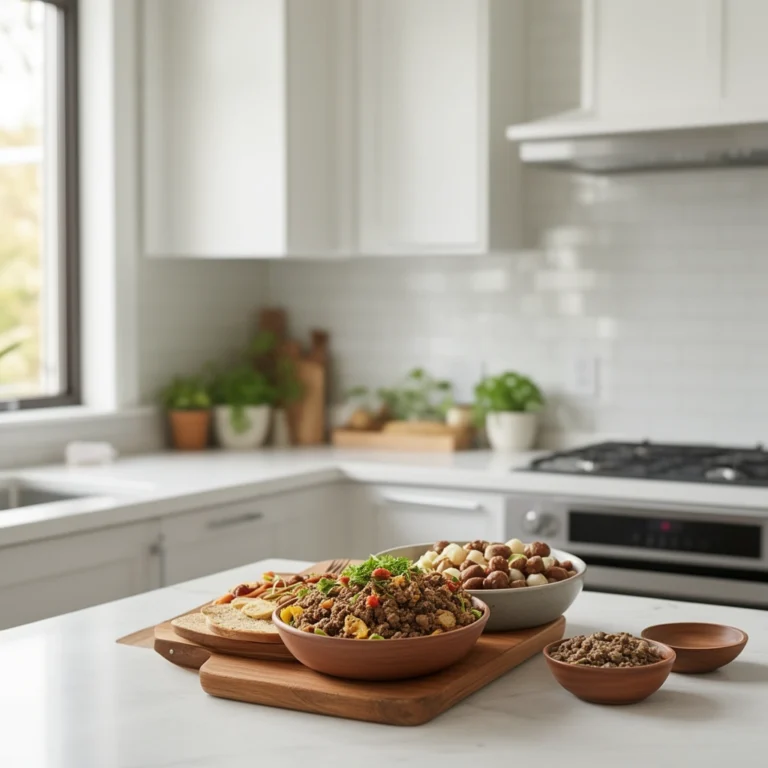
- Plan your recipes for the month. Pick two or three rotating recipes so you’re not cooking something new every single week.
- Make one big shopping list. Buy proteins, veggies, and grains in bulk to save both money and trips to the store.
- Cook proteins first, separately from veggies. This keeps textures right and lets you mix and match later.
- Steam or boil vegetables lightly. Overcooking destroys nutrients, so keep it brief.
- Blend organ meats and tough vegetables. This helps picky eaters and improves digestibility.
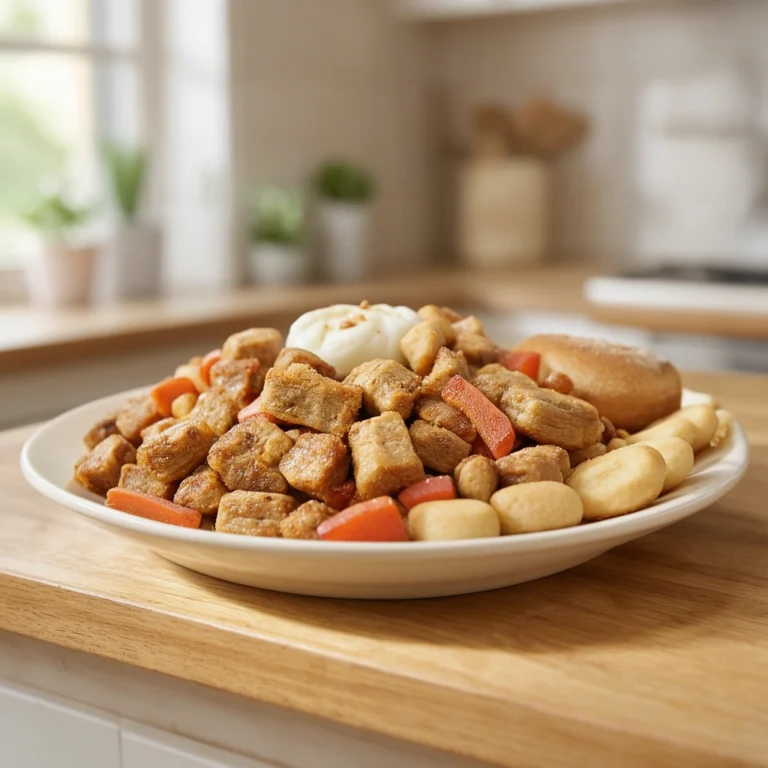
- Mix everything in the ratio your vet or nutritionist recommended. Usually it’s around 40% protein, 30% veggies, and 30% carbs, but this varies by dog.
- Portion immediately using your scale. Don’t eyeball it. Consistency matters for weight management.
- Freeze in daily or weekly portions. Silicone trays work great for small dogs, while freezer bags work better for bigger portions.
- Label everything with the date and recipe name. Trust me, six weeks from now, you won’t remember what’s in that bag.
- Thaw only what you need, 24 hours ahead in the fridge. Never leave raw or cooked dog food thawing on the counter.
Making Treats Alongside Meals
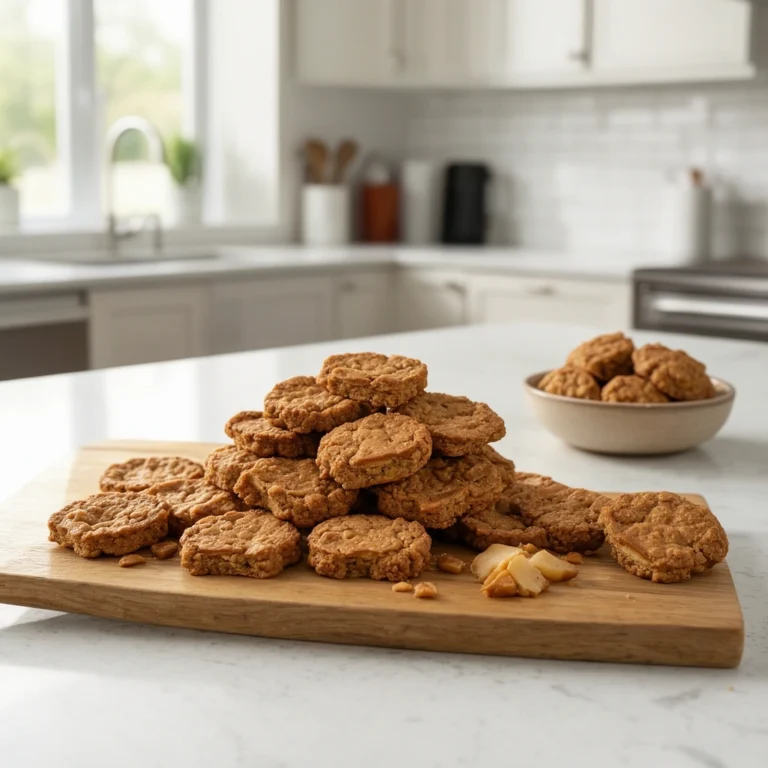
Since we’re talking about treats too, let’s not skip this part. Treats are easier to prep in bulk because they usually just need baking or dehydrating.
- Make treat dough while your protein is cooking on the stove. This saves oven time later.
- Use cookie cutters to create uniform sizes, which helps with portion control.
- Bake treats at low temperatures (around 250°F) for a longer time. This dries them out properly so they last longer.
- Cool treats completely before storing, or moisture will build up inside the container.
- Store treats in glass jars for the fridge, or freezer bags if you’re batching a big supply.
Tips For Success
I’ve made every meal-prep mistake possible, so let me save you the trouble.
- Cook proteins in bulk once a month, but chop veggies fresh weekly for better texture and nutrition.
- Always cool food completely before sealing containers. Warm food trapped in a sealed bag creates condensation, which speeds up spoilage.
- Keep a printed recipe card taped inside your kitchen cabinet. It saves you from scrolling through your phone with messy hands.
- Prep in themed batches, like “chicken week” or “beef week,” so shopping and cooking feel less scattered.
- Use a permanent rotation calendar on your fridge to track which meals go out when. This prevents feeding the same recipe five days straight by accident.
Common Mistakes And How To Avoid Them
Mistake: Skipping the calcium source.
Many homemade diets miss calcium because owners focus only on meat and veggies. Add crushed eggshell powder or a vet-approved supplement to avoid deficiencies.
Mistake: Freezing food in one giant block.
This forces you to thaw way more than needed at once. Always freeze in individual meal-sized portions instead.
Mistake: Overcrowding the fridge with thawed food.
Only thaw two to three days’ worth at a time. Homemade dog food doesn’t have preservatives, so it spoils faster than store-bought options.
Mistake: Using the same protein every single time.
This limits nutrient variety and increases the risk of food sensitivities. Rotate between chicken, beef, turkey, and fish every few weeks.
Mistake: Not labeling containers.
It sounds minor, but unlabeled bags turn into a guessing game fast. Always write the date and recipe name before freezing.
Mistake: Cooking treats at high heat.
This can burn the outside while leaving the inside raw. Low and slow is always the better approach for homemade treats.
Tasty Variations You Can Try
Once you’ve got your system down, mixing things up becomes way easier. Here are some variations worth trying.
- Swap chicken for turkey or white fish for dogs with poultry allergies.
- Add pumpkin puree instead of sweet potato for dogs needing extra fiber.
- Make a slow cooker version of your base recipe for a hands-off cooking day.
- Turn leftover meal mix into dehydrated jerky-style treats by spreading thin layers and drying them out.
- Create a “topper” version by leaving out grains, then serve it over your dog’s regular kibble for extra flavor and nutrients.
Wrapping It Up
Meal prepping homemade dog food doesn’t have to eat up your entire weekend. Once you build a system with the right tools, clear labeling, and a rotating recipe list, the whole process becomes second nature. I’ve turned what used to be a stressful chore into something I actually enjoy doing every couple of weeks.
Give these meal prep tips for homemade dog food and treats a try, and I promise your future self (and your dog) will thank you for it.