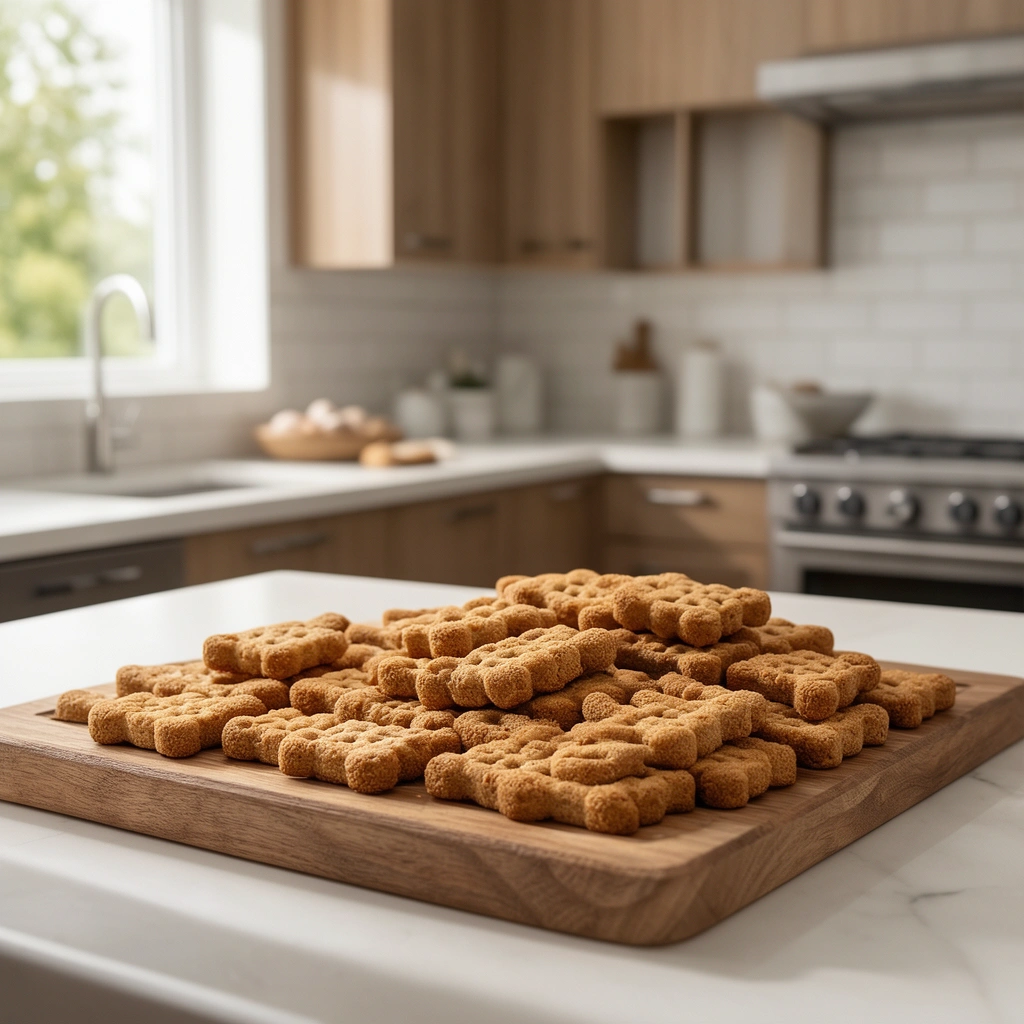
Pear Dog Treats: The Sweet, Healthy Snack Your Pup Will Beg For
Ever caught your dog staring at you while you munch on a juicy pear? I have. My Cavalier practically drools every time I slice one open in the kitchen. That got me thinking—why not turn this fruit into something my dog can actually enjoy safely? That’s how I stumbled onto pear dog treats, and honestly, they’ve become a staple in my house.
If you’re searching for a natural, vet-approved way to reward your furry friend without loading them up on sugar or preservatives, you’re in the right place. Pears are packed with fiber, vitamin C, and antioxidants. When prepared correctly, they make an excellent base for homemade dog treats that are both tasty and good for your pup’s health.
What Are Pear Dog Treats, Exactly?
Pear dog treats are simple snacks made primarily from fresh or dehydrated pears, sometimes combined with other dog-safe ingredients like oats, peanut butter, or cinnamon. Unlike store-bought biscuits filled with fillers and artificial flavors, these treats let you control exactly what goes into your dog’s mouth.
I’ve noticed a lot of dog owners overlook pears entirely when it comes to homemade treats. Apples get all the attention. But pears actually offer a softer texture and a slightly sweeter taste that many dogs prefer. Plus, they’re gentler on sensitive stomachs compared to some other fruits.
Here’s a quick breakdown of key terms you’ll come across:
Dehydration
: The process of removing moisture from pear slices using low heat, either in an oven or a dehydrator, to create a chewy or crispy treat.
Core removal
: Taking out the center of the pear where seeds are located, since pear seeds contain trace amounts of cyanide compounds that can harm dogs.
Binder ingredient
: A component like oat flour or mashed banana that helps hold treat mixtures together, especially when baking rather than dehydrating.
Portion control
: Limiting treat size and frequency to prevent digestive upset, since pears are high in natural sugar and fiber.
Why Pears? The Nutritional Case
Before jumping into the recipe, let’s talk about why pears deserve a spot in your dog’s treat rotation.
Pears contain:
- Vitamin C, which supports immune function
- Vitamin K, important for blood clotting
- Dietary fiber, which aids digestion
- Copper, a trace mineral that supports red blood cell production
- Low fat content, making them a lighter option than many commercial treats
That said, moderation matters. Too much fruit sugar can cause loose stools or contribute to weight gain over time. I always treat pear snacks as an occasional reward, not a meal replacement.
Step-by-Step: How to Make Pear Dog Treats
I’ve tested a few variations, but this dehydrated pear chip method is the easiest and requires the fewest ingredients. Here’s exactly how I do it.
What You’ll Need:
- 2–3 ripe pears (Bartlett or Anjou work well)
- A sharp knife or mandoline slicer
- Baking sheet lined with parchment paper (or a dehydrator)
- Optional: a light sprinkle of cinnamon (never nutmeg—it’s toxic to dogs)
The Process:
- Wash the pears thoroughly under cold water to remove any pesticide residue.
- Cut the pear in half and scoop out the core and seeds completely. Don’t skip this step—pear seeds contain amygdalin, which converts to cyanide.
- Slice the pear into thin, even pieces, about 1/8 inch thick. Thinner slices dehydrate faster and get crispier.
- Arrange the slices on your lined baking sheet or dehydrator tray, making sure none overlap.
- If using an oven, set it to the lowest temperature possible (usually around 200°F) and bake for 2–3 hours, flipping halfway through.
- If using a dehydrator, set it to 135°F and let it run for 6–8 hours, checking periodically for your desired crispiness.
- Let the treats cool completely before storing or serving. They’ll firm up as they cool.
- Store in an airtight container for up to two weeks, or freeze for longer shelf life.
That’s it. No fancy equipment required, and your kitchen will smell amazing the whole time.
Tips for Success
I’ve made plenty of batches, and I’ve picked up a few tricks along the way that make a real difference.
- Choose ripe but firm pears. Overripe pears turn mushy and don’t dehydrate well.
- Slice uniformly. Uneven thickness means some pieces burn while others stay soggy.
- Keep the oven door slightly cracked if your oven runs hot, to mimic a dehydrator’s low, steady airflow.
- Test one batch small before committing to a large one, especially if it’s your dog’s first time trying pear treats.
- Watch your dog’s reaction for the first 24 hours. Every dog’s digestive system is different.
- Label your storage container with the date. Homemade treats don’t have preservatives, so freshness matters.
Common Mistakes and How to Avoid Them
I’ve made a few blunders myself, so let me save you the trouble.
Mistake: Leaving the core in
This is the biggest one. Always remove the core and seeds entirely before slicing. Even small seed fragments pose a risk.
Mistake: Slicing too thick
Thick slices take forever to dry and often end up chewy in a bad way—more like a wet sponge than a treat. Aim for thin, consistent cuts.
Mistake: Adding sugar or honey
Pears are naturally sweet enough. Adding extra sugar defeats the purpose of making a healthier treat and can upset your dog’s stomach.
Mistake: Overfeeding
Because these treats taste great, it’s tempting to hand them out constantly. Stick to one or two small pieces per day, especially for smaller breeds.
Mistake: Skipping the cooling step
Serving warm treats straight from the oven can burn your dog’s mouth. Patience pays off here.
Mistake: Ignoring canned pears
Canned pears often come packed in heavy syrup loaded with sugar. Always use fresh, raw pears for homemade treats.
Variations Worth Trying
Once you’ve nailed the basic recipe, there’s plenty of room to experiment. Here are a few variations I’ve tried and loved.
- Pear and peanut butter bites: Mash cooked pear with a spoonful of unsweetened, xylitol-free peanut butter, mix with oat flour, and bake into small bite-sized cookies at 350°F for 15 minutes.
- Pear and carrot chews: Combine grated pear and grated carrot with a bit of oat flour to form a dough, then bake into small chewy squares.
- Frozen pear pupsicles: Blend pear with plain yogurt (unsweetened) and freeze in an ice cube tray for a cooling summer treat.
- Pear and pumpkin biscuits: Mix pear puree with canned pumpkin (100% pure, no additives) and whole wheat flour for a fall-inspired baked biscuit.
- Pear jerky: Slice pears slightly thicker than the chip recipe and dehydrate longer for a chewier, jerky-like texture that’s great for slower chewers.
Each variation keeps the core benefit of using pears while giving you flexibility based on what your dog prefers or what ingredients you have on hand.
Wrapping It Up
Making pear dog treats at home doesn’t require culinary expertise or expensive tools. It just takes a bit of patience and the right technique. You get to control every ingredient, avoid the mystery fillers found in store-bought snacks, and watch your dog get genuinely excited over something you made with your own hands.
I’ve found that once you start making these, it’s hard to go back to bagged treats. There’s something satisfying about handing your dog a snack you know is safe, fresh, and made with real food. Give pear dog treats a try this week—your pup will thank you with those puppy-dog eyes that make all the slicing and dehydrating totally worth it.